RVs are a great way to explore the country while enjoying all the comforts of home. But as with any vehicle, your RV is subject to wear and tear. One of the most common issues that RV owners face is a leaky roof, which can result in water damage, mold, and other costly problems. Fortunately, there is a solution: polyurea. In this blog post, we’ll explore the benefits of using polyurea to repair your RV roof and provide step-by-step instructions on how to do it yourself.
What is Polyurea?
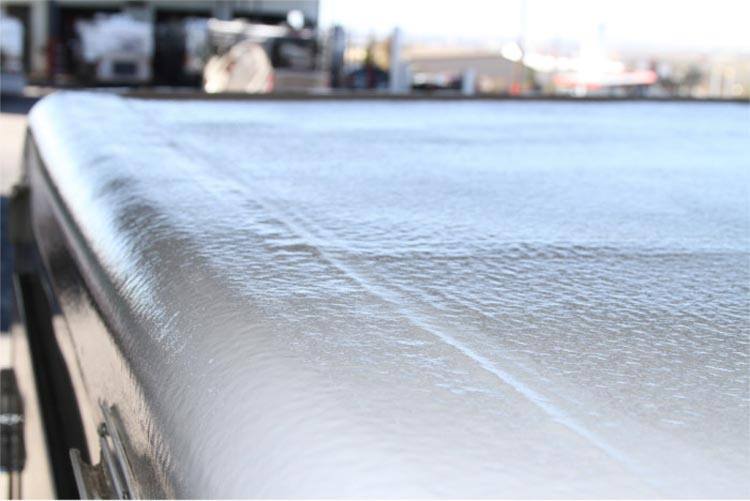
Polyurea is a flexible, waterproof coating that bonds to a variety of surfaces, including metal, concrete, and wood. It is often used in industrial and commercial applications such as truck bed liners, flooring, and pipelines. One of the key advantages of polyurea is its ability to resist water, impact, and chemicals. It also has a fast cure time, typically within seconds, making it an ideal solution for RV roof repair.
Materials Needed:
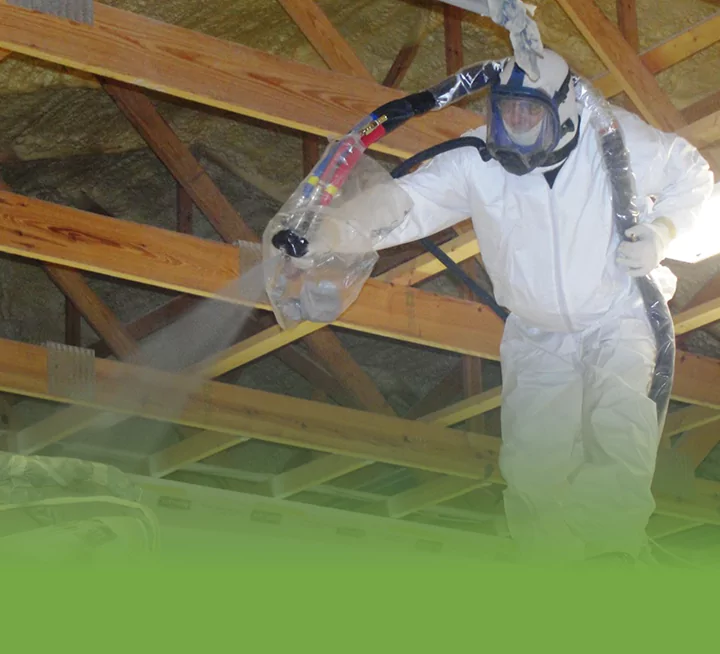
Before you can start repairing your RV roof with polyurea, you’ll need a few key materials. First and foremost, you’ll need the polyurea coating itself, which can be purchased online or from home improvement stores. You’ll also need a roller, a disposable brush, a putty knife, and a sharp utility knife. It’s also a good idea to have a respirator, safety glasses, and gloves to protect yourself from any fumes or chemicals.
Step-by-Step Instructions:
- Clean the Roof: Start by cleaning the roof thoroughly with a cleaner designed for RV roofs. Remove any dirt, debris, or loose material. Allow the roof to dry completely before proceeding.
- Mask Off the Edges: Use painter’s tape to mask off the edges of the roof, including any AC units or vents. This will help to ensure clean, straight lines when applying the coating.
- Apply the Polyurea: Apply the polyurea coating using the roller, disposable brush, or putty knife. Be sure to follow the manufacturer’s instructions carefully, as the curing time can vary depending on the product. Apply the coating in thin, even layers, allowing each layer to dry before applying the next.
- Smooth Out Any Bumps: If the surface is not perfectly smooth after the polyurea is applied, use the putty knife to smooth out any bumps or bubbles.
- Remove Painter’s Tape: Once the polyurea has cured, remove the painter’s tape from the edges of the roof.
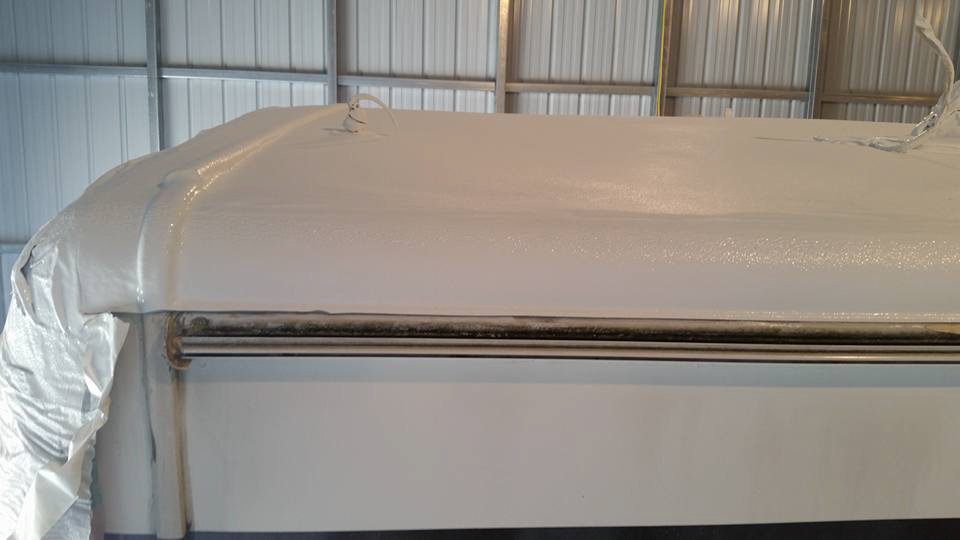
Polyurea is a fast and effective way to repair your RV roof and prevent leaks and other damage. By following these steps and using the proper materials and safety precautions, you can successfully apply polyurea to your RV roof and enjoy a comfortable, leak-free home away from home. As always, if you have any doubts or concerns about performing this task yourself, contact a professional who can help you. Happy RVing!
