⚡ Key Takeaways
- Every solar panel mount creates roof penetration points that require careful sealing
- Use only sealants compatible with your specific roof material (EPDM, TPO, or fiberglass)
- Adhesive-mounted systems eliminate penetration risk but can trap moisture under panels
- Cable entry glands (not silicone caulk) are the correct solution for wire penetrations
- Inspect all mount points and cable entries at least twice yearly after solar installation
The Solar Revolution Has Reached RV Roofs — But There Is a Catch
Solar panels on RV roofs have gone from a niche enthusiast upgrade to a mainstream feature — and for good reason. A quality solar setup allows full-time RVers and extended campers to run appliances, charge devices, and live comfortably without plugging into shore power. Panel costs have dropped dramatically over the past decade, and the technology has matured into a reliable option for most RV owners.
But there is a critical aspect of RV solar installation that most YouTube videos, forum posts, and even professional installers overlook: the waterproofing implications. Every solar panel you add to your RV roof creates new penetration points, new stress loads, and new vulnerabilities that can lead to significant water damage if not addressed properly.
The Hidden Water Risks of RV Solar Installation
Every Mount Is a Potential Leak
Standard RV solar panel mounting systems use bolts or screws that penetrate the roof membrane and attach to the roof structure below. Each of these fasteners is a hole in your roof. Done correctly with proper sealant, the holes are completely sealed and you will never have a problem. Done incorrectly or with sealant that degrades prematurely, those holes become entry points for water that can cause serious interior damage.
The industry standard is to use self-leveling lap sealant (like Dicor) around each fastener and to seal the entire base plate of each mounting bracket. But the quality of this work varies enormously between installers. Ask specifically how roof penetrations will be sealed before agreeing to any solar installation.
The Weight and Stress Problem
Solar panels add significant weight to the roof. A standard 200-watt rigid panel weighs 20-30 pounds. A four-panel 800-watt system adds 80-120 pounds to a roof not designed with that load in mind. Over time, this additional weight increases the flexing stress on the roof membrane around mount points, which can cause sealant failure and membrane cracking much sooner than it would occur without the panels.
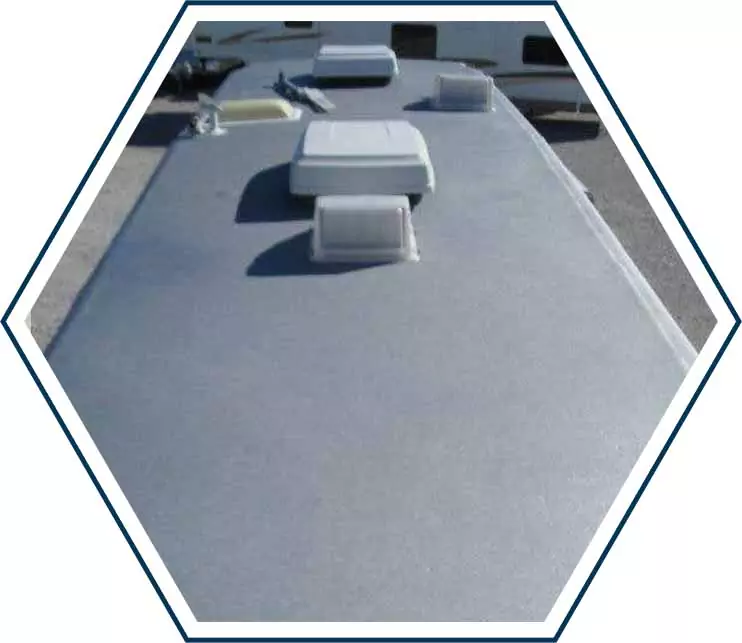
Standing Water Creates New Problems
Solar panels mounted on flat brackets create areas where water can pool on your RV roof. Rubber and TPO roofs are designed to shed water quickly — areas of standing water accelerate membrane degradation and give water more time to find any weakness in your sealing system. Elevated mounting brackets that allow water to drain freely underneath are preferable to flush-mount systems for this reason.
The Right Way to Waterproof RV Solar Installations
Pre-Installation Roof Condition Assessment
Before adding any solar panels, assess the current condition of your roof. If your sealant is cracking, your coating is degraded, or you have any areas of concern, address those first. Adding solar panels to a roof in poor condition locks in your existing problems and makes future maintenance much more difficult.
Choose the Right Mounting System
Adhesive-mounted or non-penetrating mounting systems have become increasingly popular precisely because they avoid creating holes in the roof. High-quality adhesive mounting products, when properly applied to a clean surface, can provide the same structural security as bolted systems for the wind loads experienced by most recreational vehicles. For RVers who are not full-time travelers and do not face extreme weather, adhesive mounts eliminate the most significant waterproofing risk.
If you choose penetrating mounts, use a mounting base with a wide footprint to distribute the load, and apply butyl tape as an under-gasket before bolting down, followed by generous sealant around the entire base perimeter.
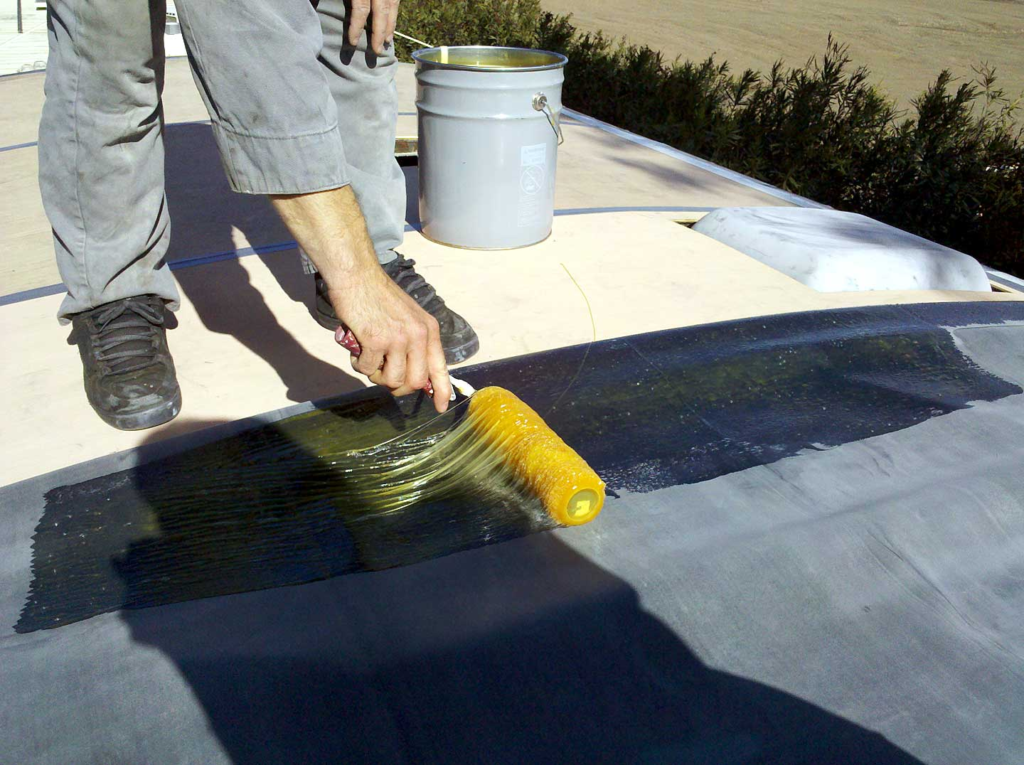
Use Compatible Sealants
This is where many installers cut corners or simply do not know better. EPDM roofs require EPDM-compatible sealant. TPO roofs require TPO-compatible sealant. Using the wrong sealant type — even an excellent product formulated for a different material — will result in poor adhesion and premature failure. Always confirm sealant compatibility with your specific roof material before application.
Seal Cable Entry Points Properly
The wiring from your solar panels has to get through the roof somehow. Cable entry glands specifically designed for RV use are the correct solution — they create a waterproof seal around the cables while allowing them to pass through. The gland housing itself should be sealed to the roof membrane using the appropriate sealant. This is commonly done poorly in DIY installations, with the entry point simply stuffed with silicone caulk — not an adequate long-term solution.
Maintenance Schedule for Solar Panel Roofs
RV roofs with solar panels require more frequent sealant inspection than unequipped roofs. The additional weight, thermal mass, and vibration stress means sealant around mount points can degrade faster. Inspect every mount base and cable entry point at least twice per year — spring and fall — and re-apply sealant wherever you see any cracking, lifting, or gap formation. This annual maintenance investment takes less than an hour and prevents the kind of slow, invisible water intrusion that causes thousands in damage.
What About Flexible Solar Panels?
Flexible solar panels that adhere directly to the roof surface (rather than being mounted on raised brackets) are marketed as a waterproofing-friendly option because they use adhesive rather than screws. While it is true they avoid penetration points, they create a different set of concerns. Adhesive-mounted flexible panels can trap moisture underneath them, preventing normal evaporation of dew and condensation. They also make it impossible to inspect, clean, or coat the roof surface beneath them without removal. If you choose flexible panels, ensure they are mounted in a way that allows some air circulation underneath, and understand that future roof maintenance will require panel removal.
The Bottom Line on Solar and RV Roof Protection
Solar power is a transformative upgrade for RV living, and the waterproofing challenges are entirely manageable with the right approach. The key is treating every solar installation decision — mount type, sealant selection, cable entry system — as a waterproofing decision first. Done right, solar panels can coexist with a healthy RV roof for the full life of both systems. Done carelessly, you could be dealing with hidden water damage that is not discovered until it has become a very expensive problem.
🛡️ Protect Your RV Roof Today
Don’t wait until water damage forces a costly repair. Our certified RV roof protection specialists can assess your roof, apply professional-grade coatings, and give you the peace of mind every RV owner deserves.
Further Reading
- How to Walk on Your RV Roof Without Causing Damage — Safe roof access techniques for solar installation work.
- Best RV Roof Sealants for Sealing Solar Mount Points — Products for sealing your solar panel mounting holes.
- RV Roof Leaks: Warning Signs to Monitor After Solar Installation — What to watch for after your panels are installed.