⚡ Key Takeaways
- Always step on structural rafters, not in the spans between them
- Use a walk board to distribute weight during extended roof work sessions
- Wear rubber-soled, flat-bottomed shoes — never hard-soled boots or bare feet
- Never access the roof when it is wet, frosty, or windy
- Soft spots are danger zones — test before applying full weight and note them for repair
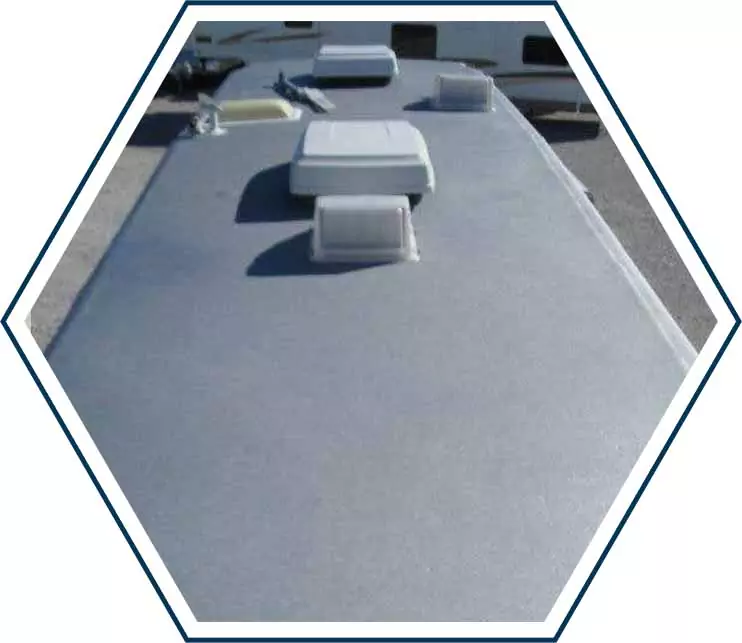
Yes, You Can Damage Your RV Roof Just by Walking on It
One of the most common ways RV owners inadvertently damage their own roofs is by walking on them incorrectly. While most RV roofs are designed to be accessed for maintenance — you need to get up there to inspect and clean, after all — there is a right way and several very wrong ways to navigate your roof. The wrong approach can cause punctures, membrane separation, and structural damage that is expensive to repair.
Know Your Roof’s Weight Capacity
Before stepping onto your RV roof for the first time, find out what weight it is rated to support. This information should be in your owner’s manual or available from the manufacturer. Most modern RV roofs are engineered to support one or two adults for routine maintenance purposes, but the capacity varies significantly between models and construction types.
A fully loaded Class A motorhome with a solid substrate and structural framing close together is much more capable of supporting foot traffic than a lightweight travel trailer with thin membrane roofing stretched over widely spaced rafters. When in doubt, treat your roof as though it has limited weight capacity — distribute your weight carefully and minimize time spent in unsupported spans.
Walk on the Rafters, Not Between Them
This is the most important rule of RV roof walking. The structural rafters (typically running front-to-back or side-to-side depending on the RV design) are what actually support your weight. The areas between rafters are supported only by the substrate board — typically thin plywood or luan — that can flex, crack, or puncture under direct body weight.
On most RVs, you can see where the rafters are from outside because the roof surface will have slight indentations or visible lines running across it. Learn to identify these structural support lines before you walk, and keep your feet on or near them. If you cannot identify them visually, move slowly and feel for firmer versus softer areas underfoot.
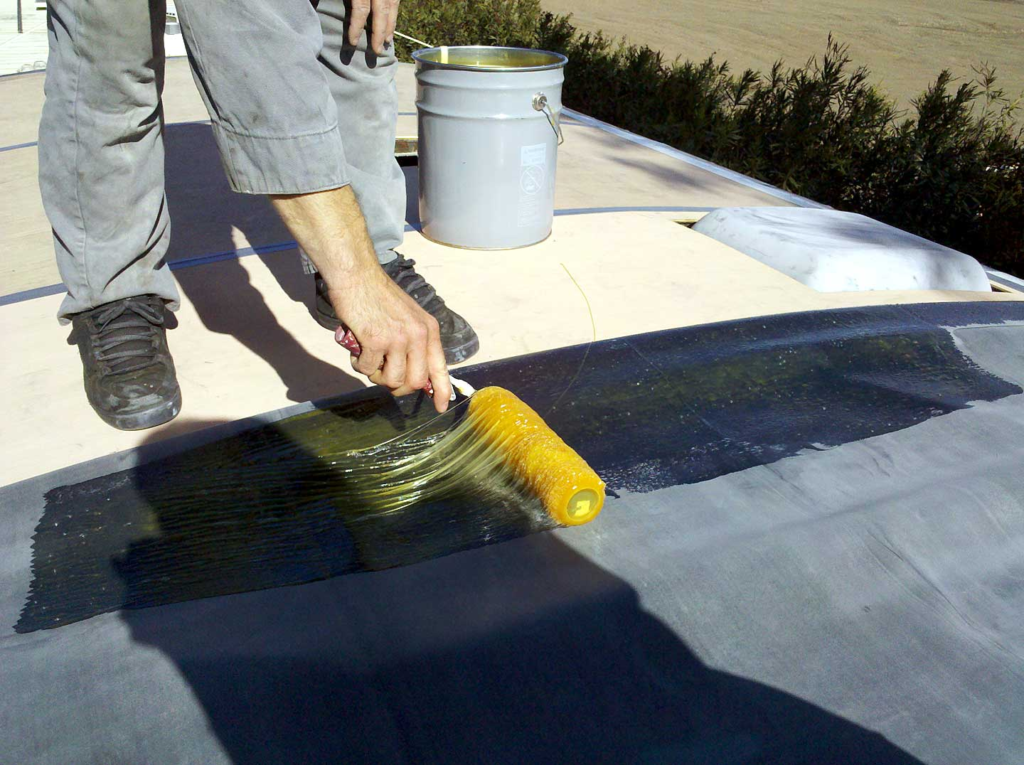
Use a Walk Board
For extended roof work — applying a coating, doing a thorough inspection, or cleaning — use a walk board (also called a roof crawl board). A walk board is a wide plank or pad that distributes your weight over a larger area, reducing point-load pressure on the roof membrane and substrate. You can purchase purpose-made RV roof walk boards or improvise with a wide, smooth-bottomed piece of plywood.
The walk board should be wide enough to span at least two rafter positions and long enough to provide a stable working platform. Move it progressively as you work your way across the roof rather than stretching or leaning beyond its edge.
Footwear Matters
Always wear rubber-soled shoes with a soft, clean sole when walking on your RV roof. Hard-soled shoes, boots with aggressive tread patterns, or shoes with embedded gravel or debris can puncture or abrade the roof membrane. The ideal footwear has a flat or low-profile sole that provides grip without concentrating too much pressure in any one spot. Many RVers keep a dedicated pair of soft-soled shoes specifically for roof work.
Never walk on your roof in bare feet — your toes and heels can create significant point pressure. And never let anyone walk on your roof in hard-soled work boots or shoes with metal hardware.
The Approach Matters Too
Getting on and off the roof safely requires the right ladder positioning and mounting technique. Position your ladder at a solid structural point — never against a potentially weak overhang. Step onto the roof at the ladder’s top and immediately transfer your weight to a rafter location. Have someone spot you from the ground, especially on your first climb and when carrying tools or supplies.
Never step onto a wet RV roof. The combination of rubber membrane, wet conditions, and the sloped shape of most RV roofs creates extreme slip hazard. Even a seemingly flat roof can shed water in a way that creates drainage paths that are invisible until you step in one.
Soft Spots Are Danger Zones
If you feel any give or sponginess when testing an area of your roof, do not put your full weight on it. A soft spot indicates water-damaged substrate that has lost its structural integrity. Step around it carefully to reach solid areas, and note the location for repair. Putting full body weight on a significantly weakened roof area can result in your foot punching through the membrane and substrate — a difficult and expensive repair, and a potential safety hazard.
How Often Should You Actually Get on Your Roof?
The answer is at least twice a year for inspection and maintenance, and whenever you need to address a sealant or coating issue you have identified. The more you access your roof for legitimate maintenance purposes, the better condition it will be in over time — but every roof access is also an opportunity for accidental damage, so make it count. Have a checklist ready before you climb, gather all the supplies you need, and complete all necessary tasks in one focused session rather than making multiple unnecessary trips up and down.
When You Should NOT Walk on Your Roof
There are conditions under which you should never access your RV roof regardless of the urgency. Never walk on a wet or frost-covered roof. Never access the roof in high winds. If your RV is parked on an unlevel surface, the roof pitch may be significantly steeper than it appears — use extra caution. And if you have discovered significant soft spots or structural damage, do not walk on the roof until a professional has assessed whether it can safely bear your weight. Your safety is worth more than whatever maintenance task can wait for better conditions.
🛡️ Protect Your RV Roof Today
Don’t wait until water damage forces a costly repair. Our certified RV roof protection specialists can assess your roof, apply professional-grade coatings, and give you the peace of mind every RV owner deserves.
Further Reading
- RV Roof Leaks: What to Look for During Your Inspection — What to check for while you are up on the roof.
- How to Reseal an RV Roof Yourself — Put your roof access to good use with our resealing guide.
- RV Roof Coating Reviews 2025 — Apply a protective coating while you have roof access.