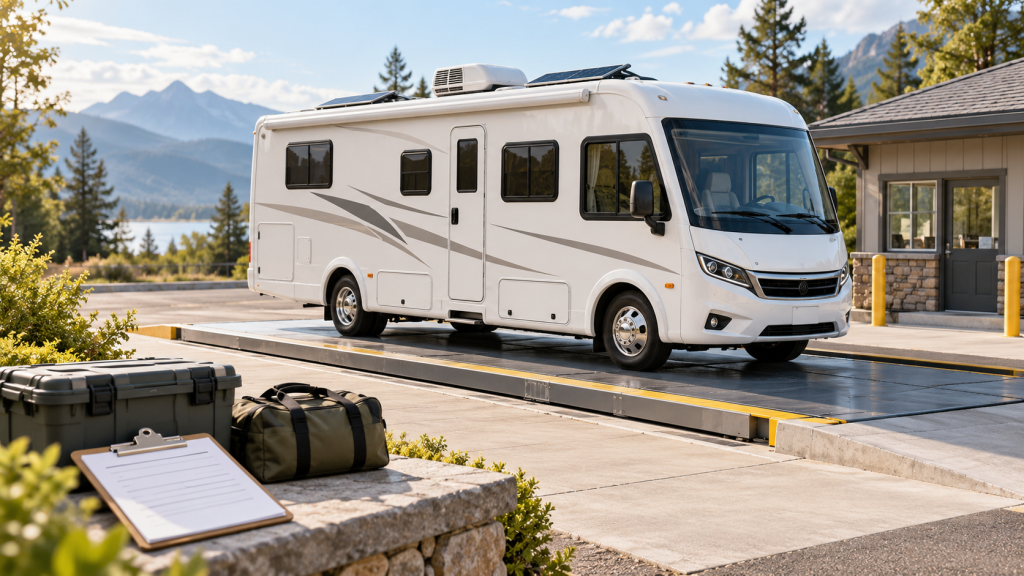
After RV Roof Work: Confirm Your Travel Height and Update the Cab Card
In short
Confirm your RV’s actual travel height after roof or equipment changes, document the measured setup, update the cab card, and check route restrictions.
On this page
A roof-service appointment can leave you with a different travel profile, especially when the job includes a new air conditioner, vent cover, antenna, or solar mounting system. Before the next trip, close out one more item: confirm the RV’s actual travel height and put the verified information where every driver can find it.
Make this part of the handover after roof work. A coating-only job may leave the highest point unchanged, while replacement equipment or its mounting arrangement may change it. Ask what was altered and arrange a measurement of the completed configuration instead of adding guessed inches to an old number.
Understand what the published height describes
Look up the height for your exact model and read its footnotes. Manufacturers can define published dimensions around particular equipment and loading assumptions. For example, the 2026 Winnebago Sunflyer operator manual describes height to the tallest standard feature on a typically equipped vehicle at curb weight. It also warns that chassis or equipment differences can change actual height by several inches.
That specification helps identify the original vehicle. Your records also need to describe the RV now: installed accessories, travel position, loading, and any relevant towing setup. A previous owner’s dashboard sticker deserves the same verification as a brochure dimension.
Request a documented measurement at handover
Ask a qualified RV service provider to measure the completed vehicle on a suitable level surface using a safe, appropriate method. The measurement needs to include the highest installed point in the approved travel configuration. Do not climb onto an unfamiliar roof, balance a ladder, or stand in traffic to obtain the number. If safe access or the method is unclear, leave the measurement to the shop.
Discuss how the measurement will represent your normal trip. Have the shop record the load and tank conditions, the applicable hitch connection, and the manufacturer-prescribed road suspension configuration. The vehicle must remain within its weight ratings and operating instructions. A dimension taken while parked on leveling equipment may not describe its road configuration.
Ask five practical questions:
- Which component is the highest point after this work?
- Were all adjustable rooftop items secured in their required travel positions?
- What loading, hitch, and suspension conditions were recorded?
- What method was used, and what measurement uncertainty remains?
- Which future changes should trigger another measurement?
If you routinely travel in materially different configurations, ask the provider how to establish usable records for those conditions. Avoid assuming that one reading represents every combination of cargo, tanks, towing equipment, and ride-height settings.
Build a cab clearance card
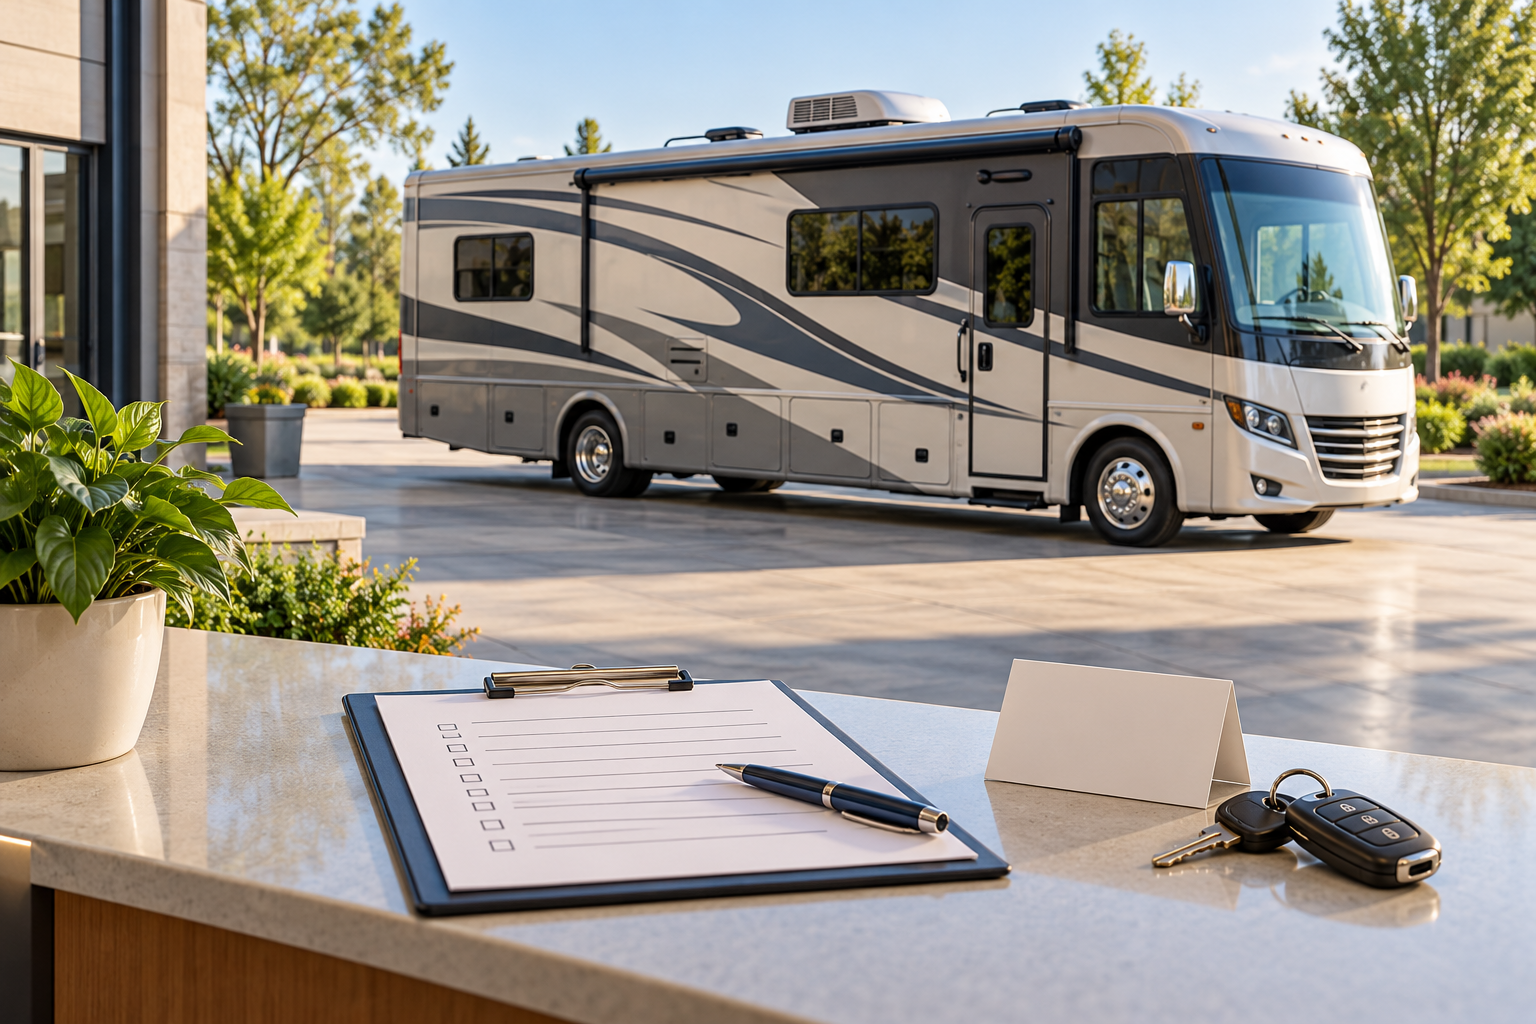
Keep a short card in the motorhome cab or tow vehicle, positioned without obstructing visibility, controls, or airbags. Give it a clear heading such as “Measured RV Travel Height” and include:
- Vehicle identification and measurement date
- Measured overall height, with units written clearly
- The highest rooftop component
- A brief description of the measured travel configuration
- Where the complete shop measurement record is stored
Use feet and inches unambiguously. If trips require metric measurements, have the conversion checked and retain the original reading. Decimal feet and feet-and-inches notation are different formats; a hurried driver should not have to interpret an unclear number.
Keep the actual measured value identifiable. If a navigation system or service provider recommends a separate planning allowance, label that separately and follow the relevant instructions. No single extra number establishes safe clearance for every vehicle, structure, road surface, or approach.
Update the navigation profile before departure
Enter the verified dimensions in your RV navigation system according to its manual, then check that the correct vehicle profile is active. Review other required fields, including width, length, and weight. A height update alone does not establish that a route is suitable for the entire combination.
Garmin’s RV 895/1095 vehicle-profile guidance explains that map limitations can prevent restrictions and road conditions from being reflected in every route or warning. Drivers must follow posted signs and actual conditions. Treat a suggested route as one planning input, and check official road information and the destination’s access instructions before leaving.
Verify the path the vehicle will actually use
A clearance figure needs context. The National Park Service’s Blue Ridge Parkway tunnel guidance distinguishes heights at the roadway edge from heights at the center. It directs drivers to remain in their lane and use a detour when clearance is insufficient. A larger centerline dimension is no permission to cross into opposing traffic.
Check current route alerts and restrictions, including those affecting width, length, or weight. For a campground, service bay, or storage entrance, ask the operator about the specific approach and overhead obstructions. General statements that a property accepts RVs leave important details unanswered.
When clearance is uncertain, do not enter to test it. Use a safe stopping location before committing to the approach and seek guidance from the road authority or property operator. An old photograph, a familiar route, or the absence of a navigation warning cannot verify present conditions.
Keep the record current
Revisit the card after rooftop replacements, mounting changes, or changes to the vehicle’s travel setup. Remove superseded cards, update the navigation profile, and brief anyone else who drives. The useful result of roof-service handover is a traceable measurement tied to a defined configuration, ready for careful route planning.
Researched planning guidance. Follow current manufacturer and relevant authority instructions. Cover: original AI-generated conceptual illustration.
Free quote
Ready to stop resealing?
Get a seamless polyurea roof from a certified applicator near you. Tell us about your rig in about a minute.