⚡ Key Takeaways
- Soft spots, musty odors, and wall delamination are early signs of a roof leak — often appearing months before visible water damage
- Inspect your RV roof at minimum twice per year: once in spring, once in fall
- The most vulnerable areas are around AC units, roof vents, front cap seams, and slide-out toppers
- Early detection can save $2,000–$10,000 compared to dealing with advanced water damage
- A quality roof coating is the most cost-effective preventive measure available
Why RV Roof Leaks Are More Dangerous Than You Think
Water is the silent destroyer of recreational vehicles. Every year, thousands of RV owners face catastrophic structural damage, mold infestations, and electrical failures — all because a small roof leak went undetected for months or even years. The most alarming part? The warning signs were there all along, hiding in plain sight.
According to industry estimates, water damage is the single most common and costly repair RV owners encounter. Yet most people don’t notice the problem until they see a stain on the ceiling or water dripping during a rainstorm. By then, the damage has often already spread deep into the walls, subfloor, and frame.
The 7 Hidden Signs of an RV Roof Leak
1. Soft Spots on the Ceiling or Walls
One of the earliest indicators of a roof leak is a subtle softness in the ceiling panels or sidewalls. Press gently on different areas of your interior ceiling — if you notice any give or sponginess where there should be firm resistance, moisture has likely been accumulating inside the structure. Don’t wait for discoloration to appear; by the time you see brown stains, the wood underneath is often already rotting.
2. Mysterious Musty Odors
If your RV smells musty after it has been closed up, that is a major red flag. Mold and mildew thrive in dark, damp spaces — exactly the kind created by a slow roof leak inside your walls. You might not see the mold, but your nose will detect it. This is particularly common around roof vents, skylights, and seams where water tends to pool.
3. Delamination on the Exterior Walls
Walk around the outside of your RV and look closely at the fiberglass panels. Bubbling, blistering, or a wavy appearance — known as delamination — occurs when moisture gets between the fiberglass skin and the foam insulation underneath. This is almost always caused by water intrusion from above. Once delamination starts, it spreads rapidly and can cost thousands of dollars to repair.
4. Cracked or Lifting Roof Sealant Around Vents and Seams
Inspect every roof penetration point: air conditioner bases, vent fans, antenna mounts, solar panel brackets, and the seams along the roof edge. Old, cracked, or lifted sealant is an open invitation for water. This is easy to miss because you have to actually get up on the roof and look closely — something most owners rarely do.
5. Warped or Swollen Cabinet Doors
Cabinet doors that suddenly do not close properly, drawers that stick, or trim pieces that seem to have shifted are often signs of moisture in the walls. Wood swells when it absorbs water, and this movement shows up in the furniture and cabinetry long before visible damage appears on the surface.
6. Rust Stains or Discoloration Around Screws and Fasteners
Look at the ceiling and sidewall areas near any metal fasteners. Rust-colored streaks or halos around screws indicate that water is wicking in along the fasteners and oxidizing the metal. This is common around slide-out mechanisms, roof rack attachments, and ladder mounts.
7. Increased Condensation Inside
While some condensation is normal, excessive moisture on windows, walls, or ceiling surfaces when it has not been raining is a warning sign. A compromised roof membrane can allow humidity to penetrate, raising interior moisture levels and creating the perfect environment for mold growth.
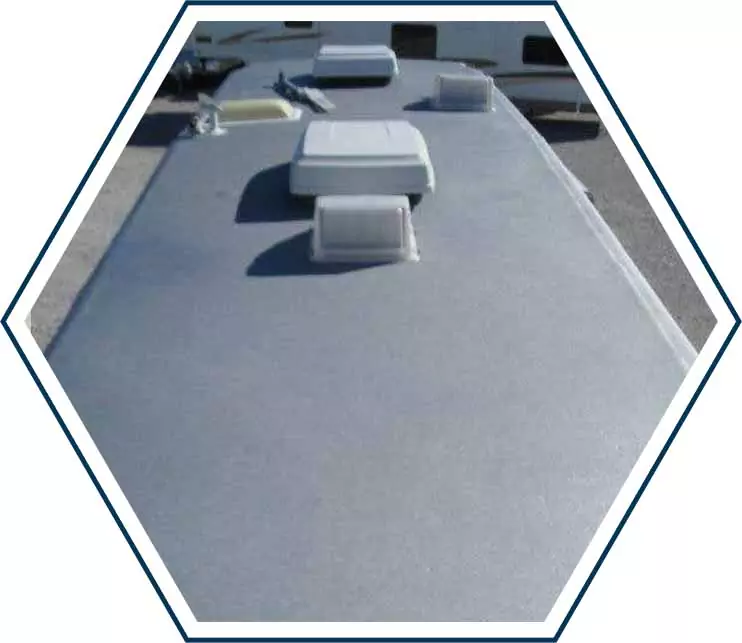
Where RV Roof Leaks Most Commonly Originate
Understanding where leaks typically start helps you know where to focus your inspections. The most vulnerable areas include: around the air conditioner unit, at roof vents and fan openings, along the front cap seam, at the slide-out toppers, and along every ladder mount and roof accessory bracket. Every penetration point and every seam is a potential entry point for water.
How to Do a Proper RV Roof Inspection
You should inspect your RV roof at least twice a year — once in spring before camping season and once in fall before storage. Get up on the roof safely using a proper ladder, then systematically check all sealant for cracks, gaps, or lifting edges. Inspect the roof membrane for tears or punctures, examine every penetration point, and walk through your RV interior after heavy rainfall looking for any signs of water entry.
What to Do If You Find a Leak
Do not panic — but do not delay either. Time is your enemy when it comes to water damage. Document the damage with photos, determine the source by tracing the water back from inside to outside, and apply a temporary patch using RV roof tape to prevent additional water from entering while you arrange for a proper repair.
For immediate protection and long-term peace of mind, consult a professional who specializes in RV roof restoration. Many damage situations that look severe can be addressed with high-quality coatings and sealants if caught early enough, saving you thousands compared to a full roof replacement.
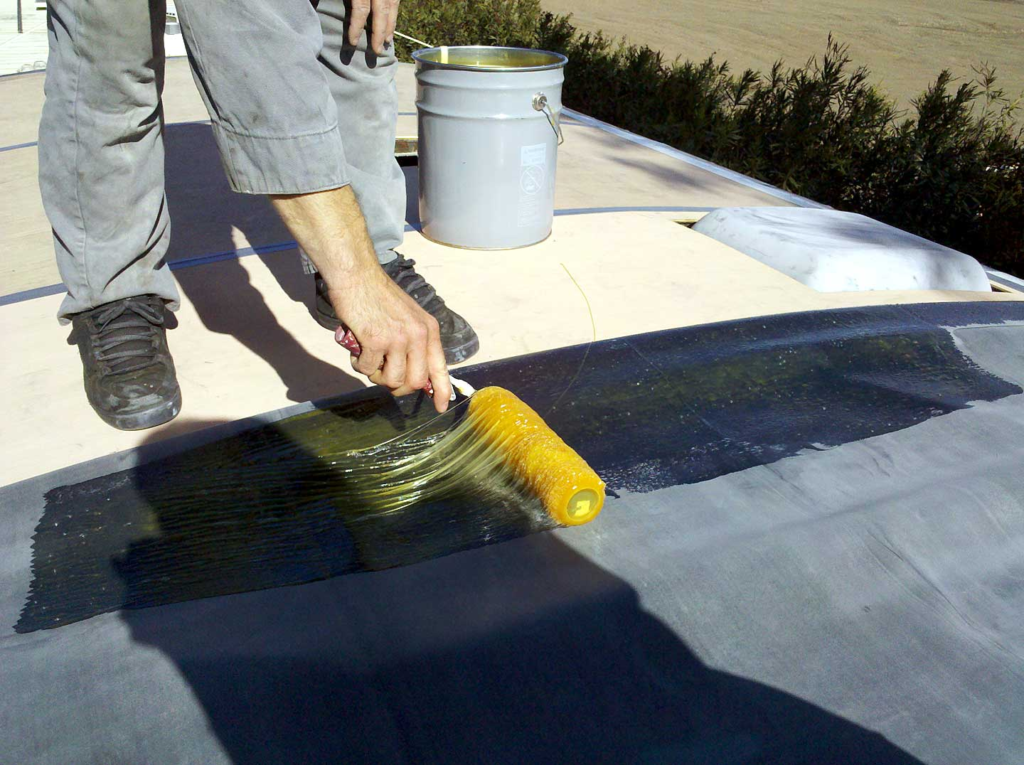
Prevention: The Best Strategy
The most cost-effective approach to RV roof leaks is aggressive prevention. A quality roof coating creates a seamless, waterproof barrier over your entire roof surface, eliminating vulnerabilities at every seam, penetration point, and joint. Applied every few years, a proper roof coating can dramatically extend the life of your RV roof and provide peace of mind on every trip. Regular inspection, prompt sealant maintenance, and a protective coating are the three pillars of a leak-free RV. The hidden signs are there — now you know what to look for.
🛡️ Protect Your RV Roof Today
Don’t wait until water damage forces a costly repair. Our certified RV roof protection specialists can assess your roof, apply professional-grade coatings, and give you the peace of mind every RV owner deserves.
Related Articles You May Find Helpful
Now that you know how to identify hidden RV roof leaks, here are some related guides to help you protect your investment:
- How to Reseal an RV Roof Yourself and Save $3,000+ — A complete DIY guide to resealing your roof once you have identified a problem.
- EPDM vs TPO vs Fiberglass RV Roof: Which Lasts Longest? — Understand which roof material is best for your RV type and usage.
- The Best RV Roof Sealants That Won’t Fail in Extreme Weather — Find the right sealant products for long-lasting repairs.
- How Long Does an RV Roof Last? — Discover what factors affect roof lifespan and how to extend yours.