⚡ Key Takeaways
- DIY resealing can save $1,500–$3,000+ compared to professional costs
- Thorough surface preparation is the most critical step — rushing this causes failures
- Always use RV-specific roof cleaner and compatible sealants for your roof material
- Allow complete drying (24–48 hours) between cleaning, sealing, and coating steps
- Materials cost approximately $300–$600 for a typical travel trailer-sized roof
Why DIY RV Roof Resealing Can Save You Thousands
A professional RV roof resealing job can cost anywhere from $1,500 to $5,000 or more depending on the size of your rig and the extent of the work needed. The good news? With the right products, a free weekend, and this step-by-step guide, most RV owners can tackle this job themselves and achieve professional-quality results at a fraction of the cost.
The key is understanding what you are actually doing and why each step matters. Rushing through or skipping steps is how DIY roof jobs fail — water finds every shortcut you take. Do it right and your resealed roof can last 5-10 years before needing attention again.
What You Need Before You Start
Tools and Materials
Before climbing up on your RV roof, gather everything you need so you do not have to make multiple trips up and down. You will need a pressure washer or garden hose with a spray nozzle, a stiff-bristle brush, RV roof cleaner (not household cleaners), a putty knife or plastic scraper, self-leveling lap sealant, non-self-leveling lap sealant for vertical surfaces, RV roof coating or membrane material, a paint roller with an extension handle, paint brushes for detail work, painter’s tape, and safety equipment including rubber-soled shoes and a roof walk board if your roof cannot support your full weight.
Step 1: Safety First
Before stepping onto your RV roof, know its weight capacity. Most modern RV roofs are rated for 250-300 pounds, but this capacity decreases significantly if the roof has any soft spots or existing water damage. Distribute your weight by stepping on structural supports (rafters) rather than in the center of spans. Always have someone on the ground when you are working on the roof, and never work alone in case of a fall.
Step 2: Thorough Cleaning
This is the most important step and the one most people rush through. A clean roof is the foundation of a successful seal. Start by removing all loose debris with a soft broom. Then apply RV roof cleaner according to the manufacturer’s instructions and scrub the entire surface with a long-handled brush. Pay extra attention to the areas around vents, the AC unit, and any roof accessories where oxidation and grime tend to accumulate.
Rinse thoroughly and allow the roof to dry completely — ideally 24 to 48 hours of warm, sunny weather. Any moisture trapped under your new sealant will compromise adhesion and lead to premature failure.
Step 3: Remove All Old Sealant
Using your putty knife or plastic scraper, carefully remove all existing sealant from every seam, joint, and penetration point. Work carefully to avoid gouging the roof membrane. If the old sealant is extremely hardened, a heat gun on a low setting can soften it for easier removal. This step is critical — applying new sealant over old, failed sealant is a common mistake that leads to early resealing failures.
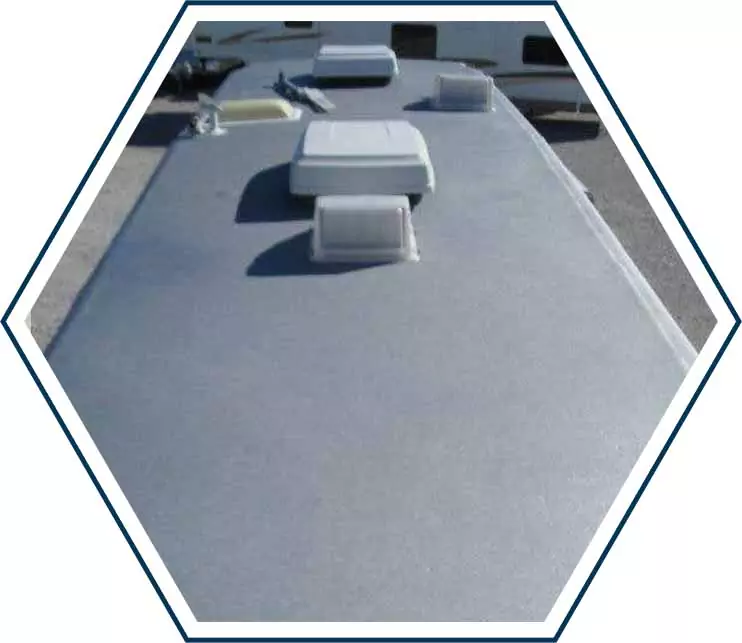
Step 4: Inspect and Repair the Membrane
With the sealant removed, carefully inspect every inch of the roof membrane. Look for cracks, tears, punctures, or areas where the membrane has lifted from the substrate. Small holes and tears can be patched with self-adhesive RV roof repair tape, pressing firmly to ensure complete adhesion. Larger damaged areas may require a more substantial repair or patch kit specific to your roof type (EPDM, TPO, or fiberglass).
Step 5: Apply New Sealant to All Penetrations and Seams
Using your self-leveling lap sealant, apply a generous bead around every roof penetration: the air conditioner, all vents and fans, antenna mounts, solar panel brackets, and any other hardware attached to the roof. The sealant should extend at least two inches in every direction from the edge of each component.
Use the non-self-leveling version on vertical surfaces and areas where the sealant would otherwise run off. Apply along all roof edge seams, the front cap joint, and any sidewall transitions. Smooth the sealant with a gloved finger or a damp putty knife for a clean, professional appearance.
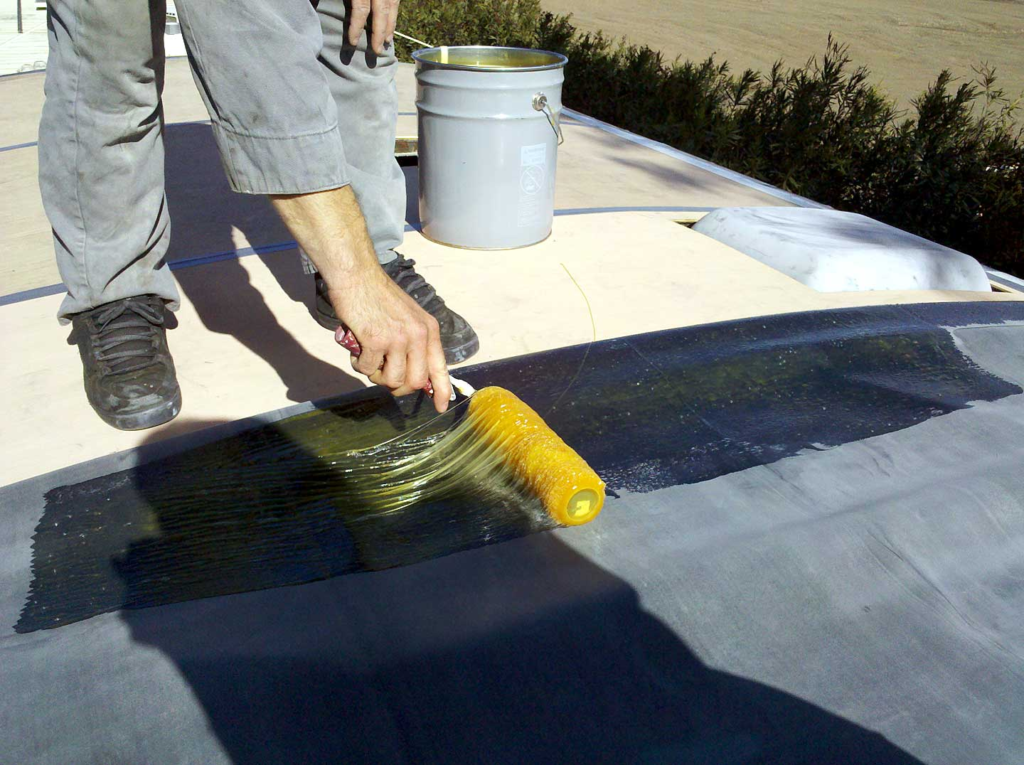
Step 6: Apply a Quality Roof Coating
Once your sealant has fully cured (typically 24 hours), apply a full-coverage roof coating over the entire roof surface. This adds an additional waterproof barrier and UV protection that significantly extends the life of your roof. Use a paint roller for the broad areas and a brush for detail work around edges and accessories.
Most quality coatings require two coats — allow full drying between applications as specified by the manufacturer. A properly applied coating will leave no brush marks, will appear uniform in color, and will flex slightly when pressed with your finger after drying.
Step 7: Final Inspection
Walk every inch of your roof after the coating has cured and look for any areas you missed, any pinholes in the coating, or any sealant that did not fully adhere. Address any issues now before you put the RV back in service. Then come back inside and run water over every area you sealed to check for any remaining entry points.
How Much Will You Actually Save?
A typical 35-foot Class A motorhome roof has roughly 350-400 square feet of surface. Materials for a complete DIY reseal and coating job typically run $300-600 depending on the products you choose. Compare this to a professional job at $2,000-4,000 and you are looking at savings of $1,400 to $3,400 or more. Even accounting for your time investment of one to two weekends, the return on investment is exceptional.
When to Call a Professional Instead
DIY resealing is appropriate when your roof membrane is structurally sound and you are dealing primarily with sealant maintenance and a protective coating. However, if you find significant membrane damage, widespread delamination of the roof substrate, or evidence of deep structural rot, calling in a professional is the right move. Trying to coat over serious structural damage will only mask the problem temporarily while it continues to worsen underneath.
🛡️ Protect Your RV Roof Today
Don’t wait until water damage forces a costly repair. Our certified RV roof protection specialists can assess your roof, apply professional-grade coatings, and give you the peace of mind every RV owner deserves.
Further Reading
- RV Roof Leaks: The 7 Hidden Signs 90% of Owners Miss — Learn how to identify the early signs of water intrusion.
- The Best RV Roof Sealants for Extreme Weather — Choose the right sealant products for a lasting job.
- RV Roof Coating Reviews 2025 — Find the best protective coating to finish your reseal project.
- How Long Does an RV Roof Last? — Understand how proper maintenance extends roof lifespan.