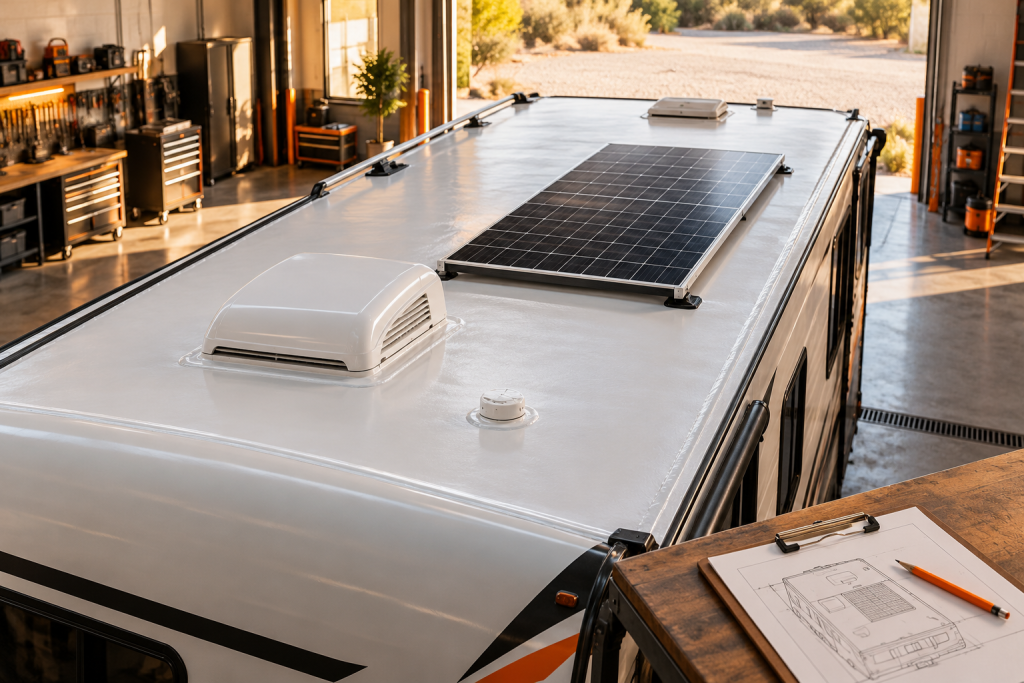
RV Rubber Roof Coating: What Works, What to Skip and How to Choose
In short
Planning an RV rubber roof coating? Compare acrylic, silicone and spray polyurea, learn the prep that matters and how to choose a pro.
On this page
If your travel trailer or motorhome has a white membrane roof, you have probably searched for an RV rubber roof coating after spotting chalky streaks, a dull finish or a seam that no longer looks tight. The right move depends on what is actually wrong, what is already on the roof, and who will be applying the new coating. This guide walks through the choices in plain language so you can decide before you buy a bucket or book a shop.
Most “rubber” RV roofs are EPDM, short for ethylene propylene diene monomer, a synthetic rubber widely used in roofing membranes (Wikipedia: EPDM rubber). It is flexible and waterproof out of the factory, but it lives in the sun, and sun is what wears it down.
What an RV rubber roof coating actually has to do
A roof coating is not paint. On an RV it has to do four jobs at once:
- Stay waterproof across seams, screw heads and the edges of every vent, skylight and air conditioner base.
- Flex with a roof that expands in daytime heat, contracts overnight and vibrates down every highway.
- Resist UV so the film does not chalk, crack or yellow after a few seasons outdoors.
- Bond to the surface under it. Adhesion is where most coatings succeed or fail, and it is mostly decided before the first drop of coating goes on.
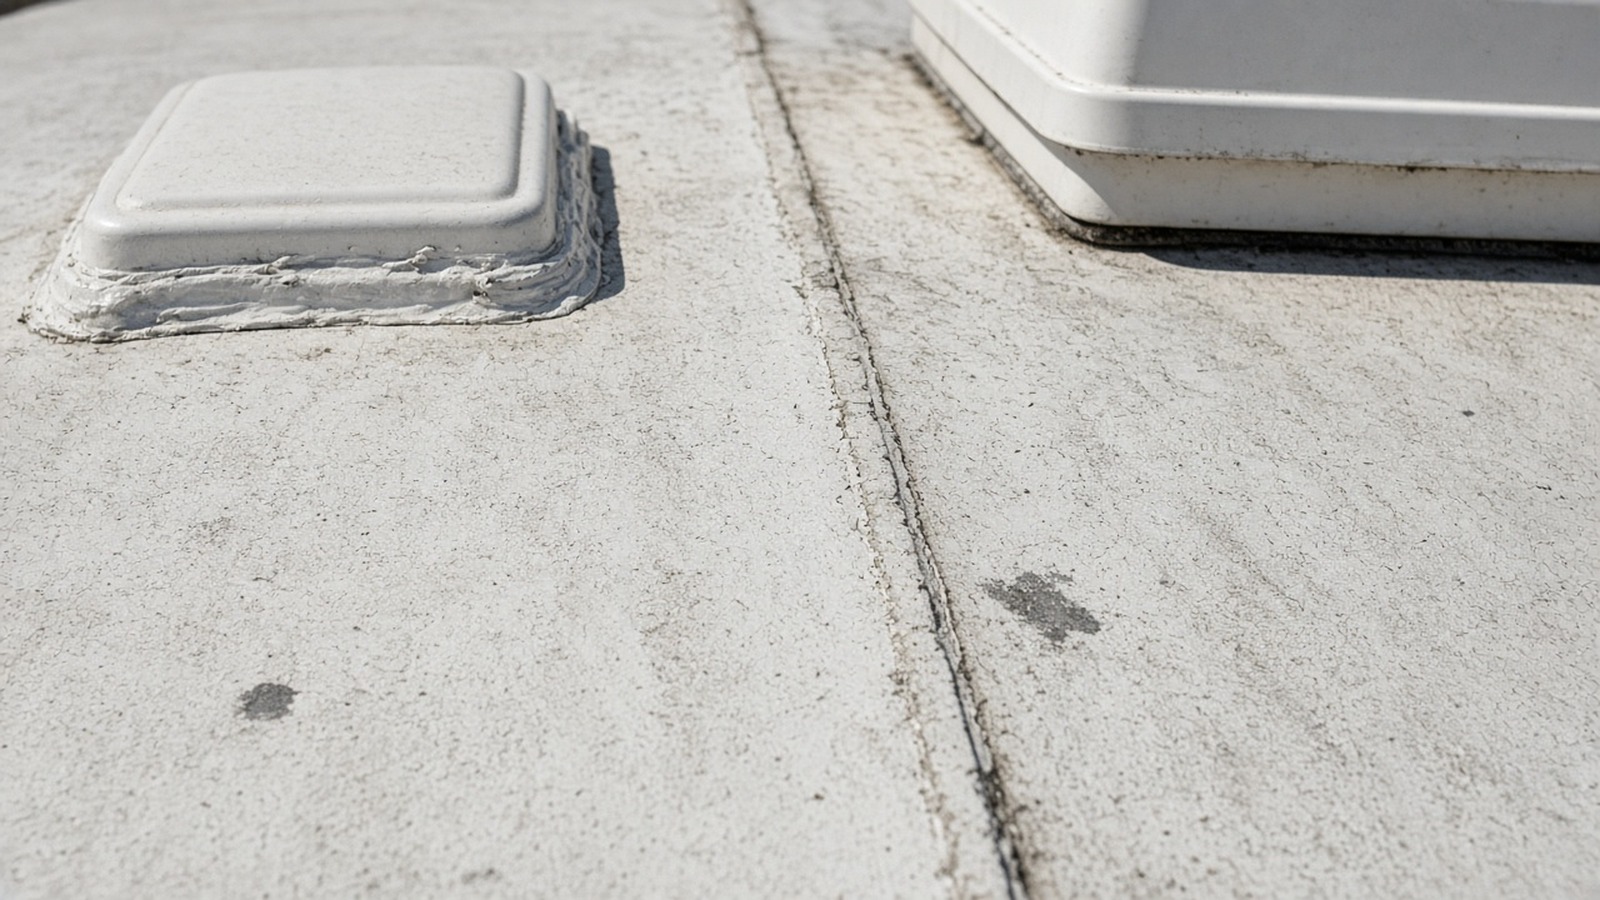
Signs your rubber roof is ready for coating, and signs it needs repair first
A coating can renew a roof that is aging. It cannot rescue a roof that is already failing underneath. Walk the roof with a flashlight and a notepad before you do anything else.
Good candidates for coating:
- Heavy chalking that rubs off white on your hand
- Fading and uneven color, with the membrane still tight and flat
- Hairline surface crazing, with no cuts or open seams
- Lap sealant that is dry but still bonded
Repair or replace first:
- Soft, spongy or bouncy spots when you press down, which can mean wet decking
- Bubbles or lifted membrane
- Open seams, cuts or punctures
- Ceiling stains inside the coach that keep coming back
If you are not sure whether you are dealing with a leak or just condensation, our guide on telling condensation from a roof leak shows what to document first, and RV roof leak detection warning signs covers what to look for on the ceiling and walls.
RV rubber roof coating options compared
There are four families of products owners run into. Each has real strengths, and each asks something different of the person applying it.
Acrylic elastomeric coatings. These are water-based, roll on like thick paint and are popular with DIY owners. They add reflectivity and a fresh surface. The tradeoff is that they need dry weather and a full cure time before rain or heavy dew.
Silicone coatings. Silicone is valued for weather resistance. One major RV products maker states its silicone system for EPDM and TPO roofs requires a cleaner and primer step first, at least two coats, and that the entire process, priming plus both coats, must be completed in a single day (Dicor product instructions). That is a useful reminder: even a roll-on coating is a one-day, weather-dependent project, not an afternoon chore.
Liquid rubber and other brush-on systems. These can be good for patches and small repairs. Over an entire roof, the questions are the same ones every time: how thick is the finished film, how well will it bond to what is already there, and what happens at the seams. We compare these systems in detail in how polyurea compares to liquid rubber and other DIY roof coatings.
Professionally sprayed polyurea systems. These are applied with plural-component spray equipment by trained applicators and form a seamless membrane. They are not a weekend DIY product, because they need heated high-pressure equipment and training. We cover how they stack up against rubber in polyurea for RV roofs and across roof types in comparing RV roof coating options.
Preparation decides how long an RV rubber roof coating lasts
Every coating maker agrees on this: the surface under the coating matters more than the label on the can. A realistic prep sequence for any rubber roof looks like this:
- Wash the roof. Dicor, a major maker of RV roofing membranes, says to clean an EPDM roof at least four times a year and warns against cleaners with petroleum solvents, harsh abrasives or citrus (Dicor roof care instructions). Chalk, sap and body oils all get in the way of adhesion.
- Repair first. Cut out and patch damaged membrane, then reseal around every penetration.
- Follow the primer rules. Many systems require a specific cleaner or primer for EPDM or TPO. Skipping it is the most common reason coatings peel.
- Check the weather. Surface temperature, dew point, humidity and rain chances all matter. A coating that fails to cure properly will not recover.
- Protect the sidewalls. Overspray and drips on gelcoat or decals are hard to remove.
If you plan to wash the roof yourself, our walkthrough on DIY RV roof cleaning without voiding your warranty covers products and technique.
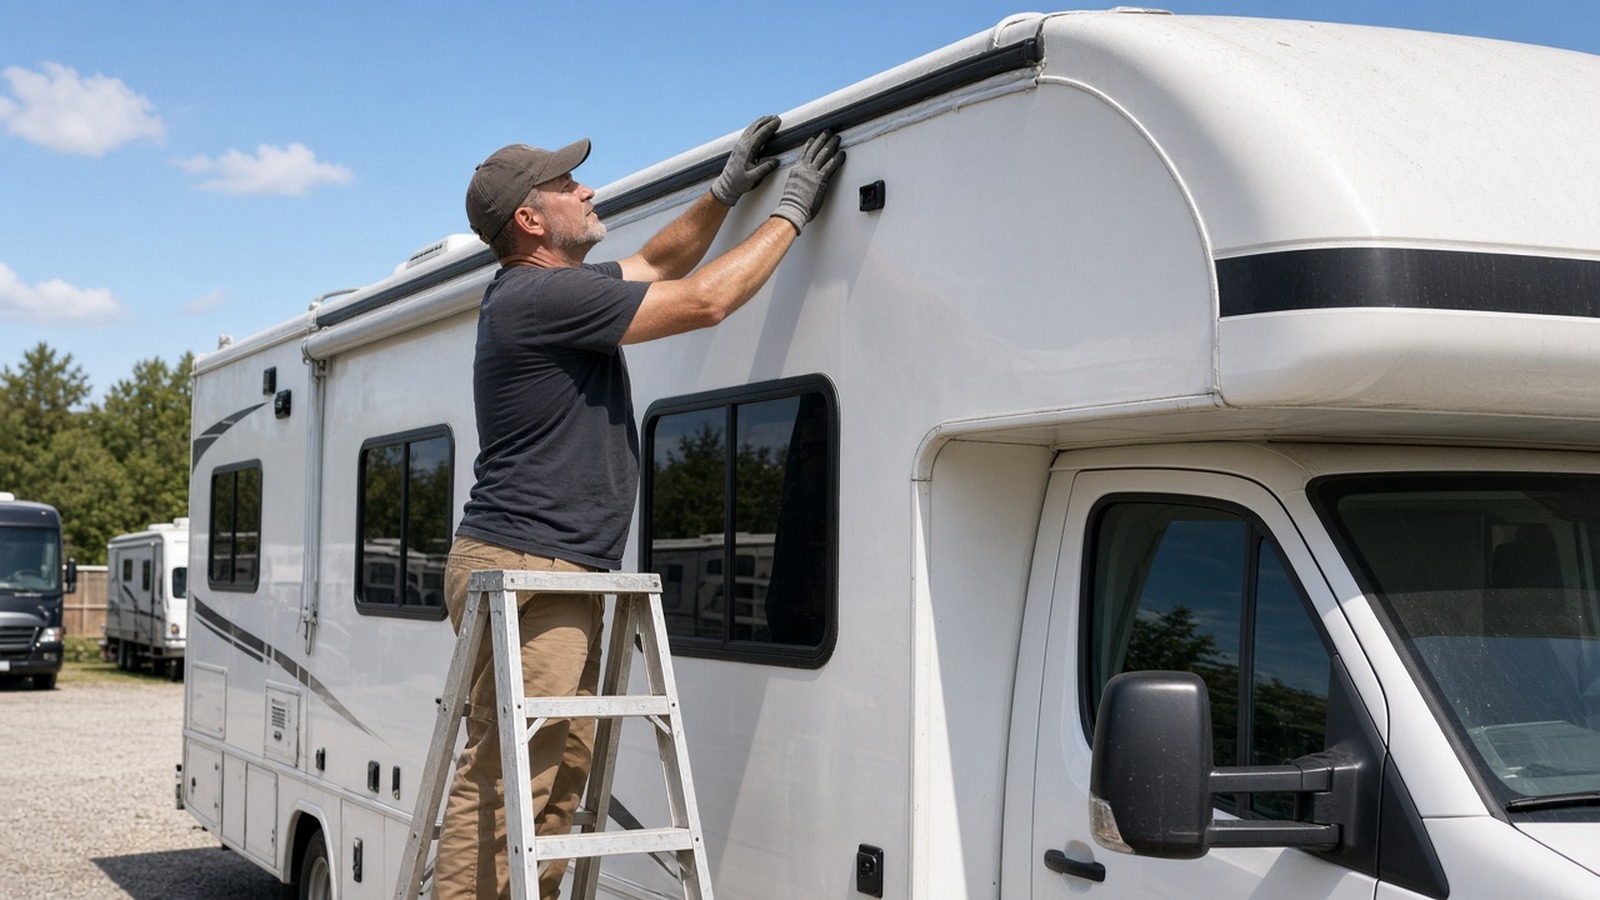
Where professional spray-applied polyurea fits
Owners who want a seamless, spray-applied membrane instead of a roll-on coating often ask about professional polyurea. ArmorThane offers three spray-applied roof products for RVs: ArmorSeal 100 AL, SureGrip and ArmorFlex UV. Each is a different tool, and the right one depends on the roof, the climate and what the applicator sees when they inspect it. Here is what the manufacturer’s technical data sheets say about them:
- ArmorSeal 100 AL is a two-component, 1:1, 100 percent solids, fast-set modified polyurea liner system for metal, concrete, fiberglass and wood surfaces, primarily for roofing. The sheet lists a tack-free time of 20 to 40 seconds at 150 mils and a service temperature range of minus 20 to 250 degrees Fahrenheit.
- SureGrip is a fast-set, flexible, aromatic spray polyurea with a listed elongation of 650 percent, zero VOC content and a service temperature range of minus 40 to 250 degrees Fahrenheit. Its fast gel time allows application down to minus 20 degrees Fahrenheit.
- ArmorFlex UV is a two-component aliphatic that is color stable, with a listed elongation of 725 percent, 100 percent solids with zero VOCs, and a QUV exposure result of less than 1.0 Delta E after 12,000 hours.
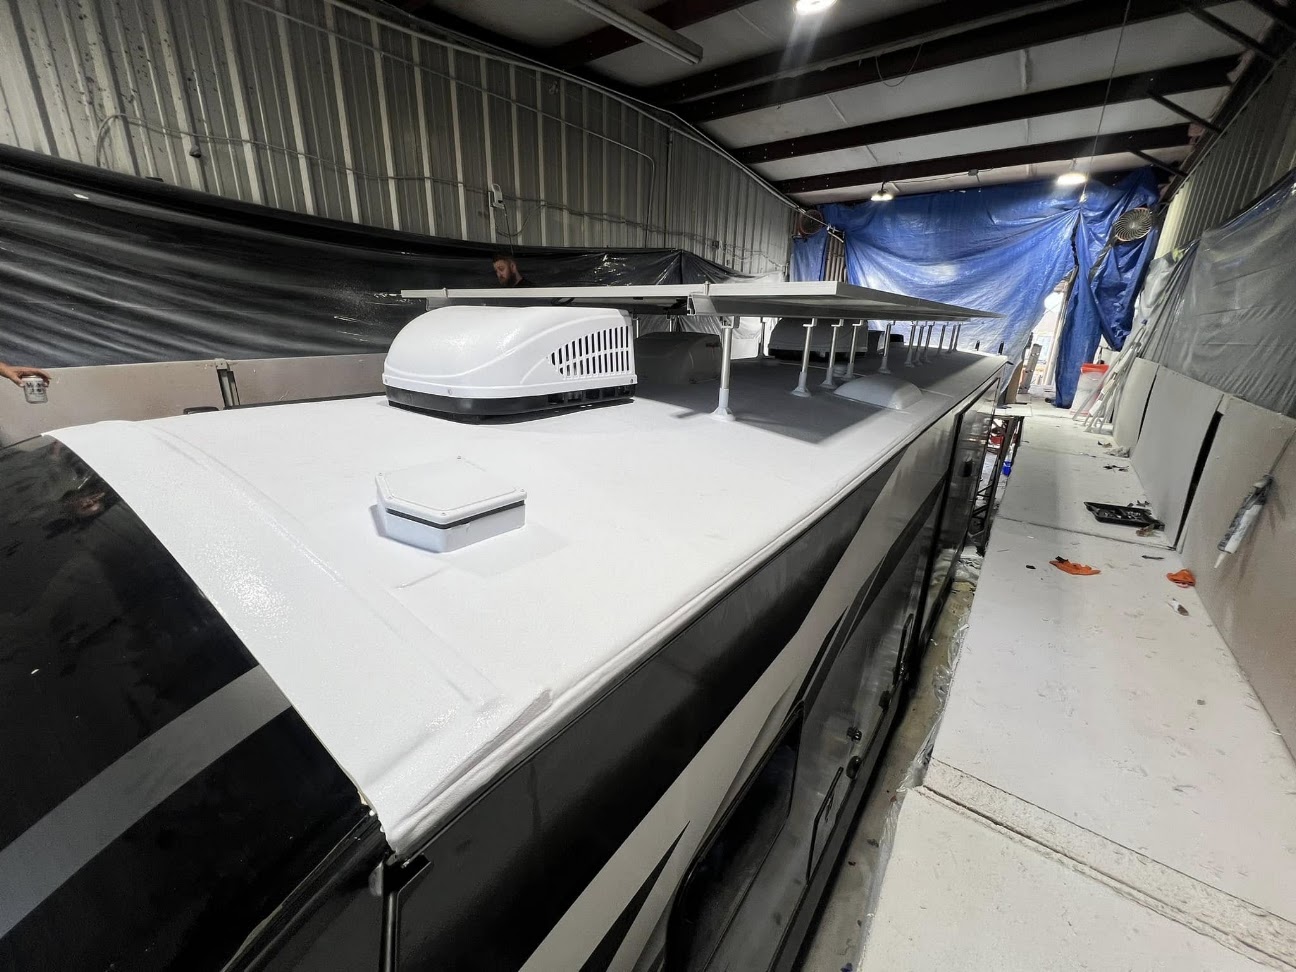
One honest caution: the technical data sheets for ArmorSeal 100 AL, SureGrip and ArmorFlex UV name metal, concrete, fiberglass and, for some systems, wood or geotextile as their substrates. Old EPDM rubber is a different surface with its own adhesion questions. That is why a qualified applicator should inspect your roof, test adhesion and plan the preparation before anyone sprays. If a shop promises the same result on every roof without looking at yours, keep shopping. You can read the manufacturer’s overview on the ArmorThane RV roof coatings page, or find an ArmorThane dealer or applicator near you.
How to choose: a short checklist
- Know your roof. Check your owner’s manual or the manufacturer for roof material. Our guide to RV roof types helps you identify it.
- Be honest about condition. Soft spots and open seams mean repair before any coating.
- Decide DIY or professional. Roll-on coatings are DIY-friendly but unforgiving of prep shortcuts. Spray-applied systems are professional work.
- Ask about prep and primer. Any good answer includes cleaning, repair, primer or adhesion testing and a weather plan.
- Ask what you get in writing. Get the product name, application method and warranty terms in writing, and make sure you know who stands behind the work. Our estimate packet guide lists what to gather before you call.
- Plan the long game. Whatever you pick, regular washing and annual inspections keep the roof healthy. See how long RV roof coatings last for honest expectations.
Frequently asked questions about RV rubber roof coating
Can you coat an RV rubber roof?
Yes, EPDM roofs are commonly coated, but only when the membrane is intact and bonded. Clean it thoroughly, repair damage and follow the coating maker’s primer requirements. Deteriorated or damaged substrates must be repaired or replaced before coating, as coating instructions from major makers state.
Is an RV rubber roof coating a permanent fix for a leak?
No. A coating protects and renews a sound roof, but a leak has a source: a failed seam, a cracked sealant joint, a puncture or a damaged vent. Find and repair the source first, then coat.
Which is better for a rubber roof, acrylic, silicone or polyurea?
There is no single winner. Acrylic and silicone are roll-on options that owners can apply themselves if they follow the full prep and weather requirements. Professionally sprayed polyurea gives a seamless membrane but requires trained applicators and equipment. Match the product to your roof condition, your climate and who is doing the work.
How often should I wash my RV rubber roof?
Dicor recommends at least four times a year for EPDM roofs, and more often if sap, fruit or fallout sit on the roof. Always use cleaners made for rubber roofs and avoid petroleum solvents and citrus cleaners.
Does an RV roof coating need a primer?
Often yes. Some silicone systems for EPDM require a cleaner or activator, and TPO roofs require their own primer. Always follow the instructions for the exact product and roof type you have.
Should I use a DIY kit or hire a professional?
DIY suits owners comfortable on a roof with time, dry weather and the patience to follow every step. A professional makes sense for large roofs, complicated roofs with solar panels and air conditioners, or when you want a spray-applied system.
Next step
If you are weighing a spray-applied option, talk with an applicator who will inspect your roof in person. You can find an ArmorThane dealer or applicator near you and ask about ArmorSeal 100 AL, SureGrip and ArmorFlex UV for your specific rig. Bring photos of your roof, the make and model of your RV, and your questions from this guide.
Free quote
Ready to stop resealing?
Get a seamless polyurea roof from a certified applicator near you. Tell us about your rig in about a minute.