Before You Book an RV Roof Coating: Build a Better Estimate Packet
In short
Prepare roof details, photographs and repair records before requesting an RV roof coating estimate, then compare scope, cure milestones and warranty terms.
On this page
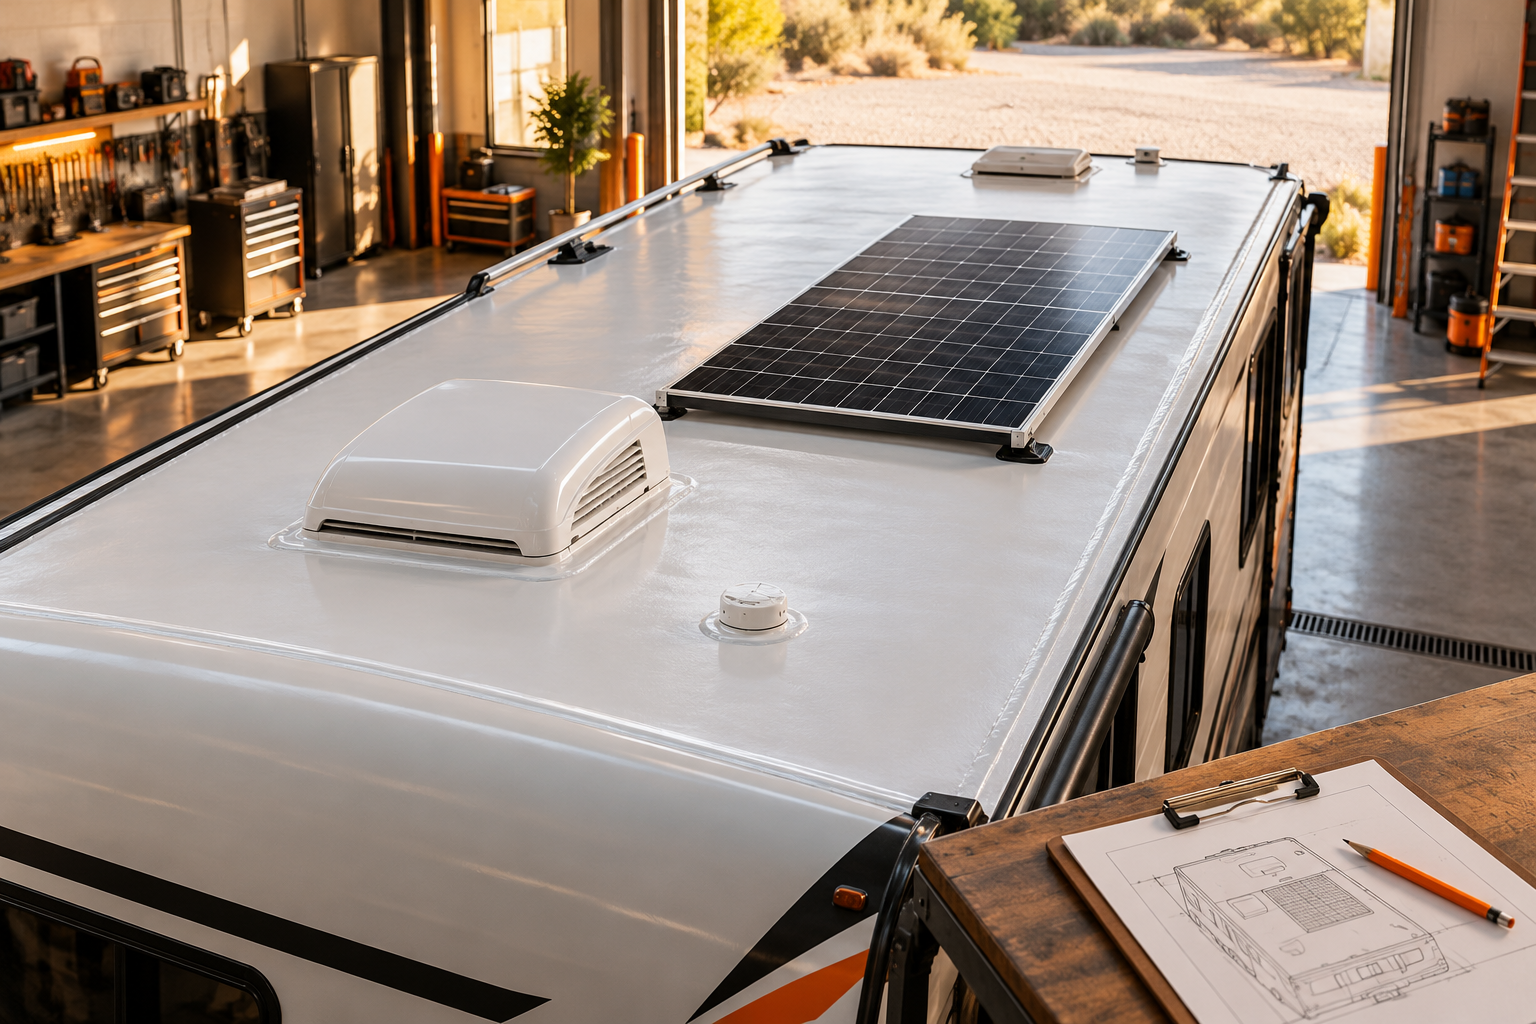
A useful RV roof estimate starts before anyone names a coating or quotes a price per foot. The installer needs to understand the roof already on your rig, the repairs beneath it, and the fixtures that will still need servicing after the work is finished. A little preparation makes the first conversation more productive and helps you compare proposals that actually cover the same job.
This is an owner’s planning checklist, not a way to diagnose hidden damage or choose a coating from photographs. The final scope should follow an inspection and the selected system’s written application requirements.
Start with the roof’s identity
Record the RV’s year, manufacturer, model, and body length. Find the roof material in the owner’s manual, original build information, or service records. If it has been replaced, the replacement invoice matters more than the original brochure. Write “unknown” when you cannot verify the membrane. Guessing from its color can send a quote in the wrong direction.
List any existing coatings, repair tapes, sealants, and adhesives you know about. Include product names and application dates where available. Keep a photo of the container or invoice rather than trying to remember whether a previous repair was silicone, acrylic, or something else. Different materials may require different preparation or removal.
Make a small, useful photo set
Ask the installer which views are helpful before gathering dozens of close-ups. Usually, a clear overview plus photographs of each roof edge, vent, skylight, air-conditioning unit, and accessory mount provides more context than isolated pictures of cracks. Pair each close-up with a wider view so the location is obvious.
Do not climb onto an unfamiliar or damaged roof to complete the packet. Follow the RV manufacturer’s access and load instructions. If you cannot photograph the area safely from an approved access position, leave it for the shop. A photograph is never worth a fall or additional roof damage.
Photograph interior stains too, noting the date and what was happening when you first noticed them. A stain near a ceiling fixture does not, by itself, identify the entry point. Tell the technician whether the problem appeared during rain, travel, washing, or a period in storage.
Bring the repair history, including the awkward parts
Include previous leak locations, repeated repairs, collision or branch damage, and any spots that feel different under normal use. Do not conceal a temporary patch because it looks untidy. It may be the most useful clue in the file.
Jayco’s seal-maintenance guidance emphasizes checking deteriorated seals and having water intrusion investigated promptly. Its instructions are a reminder to address the source rather than assume that a fresh outer surface resolves every existing problem. Use your own model’s current manual for its maintenance requirements.
Ask how the shop will assess the existing membrane and underlying deck, what findings would change the proposed approach, and when it would recommend repair or replacement instead of a coating. If hidden damage is discovered after removal begins, agree on the approval process before work starts.
Compare complete scopes, not coating labels
A proposal that says only “polyurea roof” leaves too much open. Ask for the named system, the preparation method, any primer and topcoat, and the specified finished thickness. Request the manufacturer’s current technical instructions rather than assuming that every formulation has the same requirements.
Have the installer explain what happens at terminations and penetrations. Which fixtures are removed and reinstalled? Which parts remain accessible for replacement? How are damaged vents or old accessories handled? The roof still has serviceable equipment, even when its protective membrane is continuous.
Separate the base job from allowances and optional work. A quote should identify removal, disposal, deck repairs, accessory work, taxes, and any storage charges that apply. You are not looking for the longest proposal. You are looking for clear boundaries around what the price includes.
Plan the handover before the appointment
Ask when the RV can be moved, exposed to weather, washed, and used normally. Tack-free, ready for travel, and fully cured may be different milestones. Let the installer give the schedule for the actual system and conditions rather than building travel plans around a general same-day claim.
Request the written warranty and maintenance instructions in advance. Clarify who handles an installation concern, what records you need to retain, and whether future accessory installation affects coverage. Keep before-and-after photographs and the final product information with your RV records.
Your one-page packet
- RV identification, body length, and verified roof material
- Dated overview and detail photos taken safely
- Known leaks, damage, repairs, and products already used
- A list of rooftop equipment and planned upgrades
- Your travel deadline and any storage constraints
- Questions about preparation, repairs, cure milestones, and warranty
For background on materials, start with our RV roof types guide. Once your packet is ready, request an estimate and use the same information with every installer you consult. Consistent inputs make differences in the proposals much easier to understand.
Free quote
Ready to stop resealing?
Get a seamless polyurea roof from a certified applicator near you. Tell us about your rig in about a minute.