RV Roof Replacement: When to Replace and What to Expect
In short
How to tell when an RV roof needs replacing, what your options are, what the job involves, what it costs and how insurance fits in. Includes a repair, recoat or replace decision tool.
On this page
Replace an RV roof when the decking underneath is soft over a wide area, the membrane is loose or worn through, or leaks keep coming back in new places after repairs. If the deck is solid and the membrane is still bonded, a repair or a full recoat usually costs far less and buys years. Published pricing for a full replacement runs from roughly 170 to 350 dollars per linear foot depending on the roof type and shop, before any deck repair, and a well-maintained roof typically lasts 10 to 20 years.
Replacing a roof is one of the bigger bills an RV owner faces, so it’s worth being sure. This guide covers the signs that a roof is done, a decision tool that weighs repair against recoat and replacement, the roof options you can choose from, what the job involves, what drives the price, and how insurance and warranties fit in.
Signs your RV roof needs replacing
No single sign settles it, but a few of these together usually do.
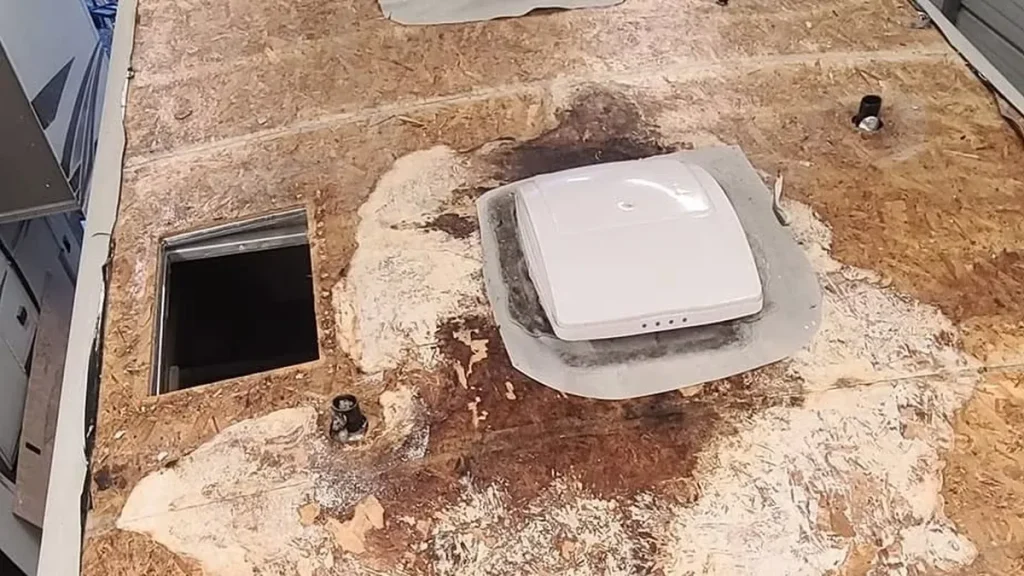
- Soft or spongy decking in several areas. Water has been reaching the wood for some time, and the rot is likely larger than what you can feel.
- Membrane pulling away from the deck. Bubbles, ripples and wrinkles across the roof, not just at one fixture, point to adhesive failure.
- Membrane worn through. Fabric scrim showing, heavy chalking everywhere, or splits that open up as fast as you patch them.
- Repeat leaks in new places. If you’re resealing and patching every season and still finding stains, the roof as a system is failing.
- Interior signs. Ceiling stains, sagging panels, delaminating walls near the roof line or a persistent musty smell. Roadtrippers also lists bubbles in wall coverings and mold patches as signs worth tracing back to the roof.
- Major storm or impact damage. Large tears, crushed areas or hail damage over much of the roof, which may also be an insurance claim.
If you see one isolated problem, start with our RV roof repair guide, which has a diagnosis flowchart. If the surface is worn but everything underneath is sound, read the RV roof coating guide before you commit to a new membrane.
Repair, recoat or replace: decision tool
Answer these about your roof as honestly as you can. The tool weighs the condition of the deck and membrane, the age of the roof and how long you plan to keep the RV, then suggests a path and a rough budget range from published pricing.
Repair, recoat or replace?
A guide, not a verdict. Have the deck checked in person before spending big.
Your replacement options
A replacement doesn’t have to mean the same material you have now. Most RVs can take one of several roof systems, and the right one depends on budget, weight, how you use the rig and who’s doing the work.
| Option | What it is | Strengths | Trade-offs |
|---|---|---|---|
| New EPDM membrane | Single-ply rubber sheet glued to the deck; the most common factory roof | Familiar to every RV shop, flexible, DIY kits exist | Chalks as it ages, needs regular resealing at fixtures |
| New TPO or PVC membrane | Single-ply thermoplastic sheet | Often lighter in color and resists chalking | Needs compatible sealants and primers; some brands are proprietary |
| Fiberglass or composite panel | Rigid roof skin | Hard surface, less maintenance on the surface itself | Heavier and more costly to install as a retrofit |
| Sprayed seamless roof | Polyurea sprayed over a repaired deck or prepared roof by a trained applicator | One continuous membrane over seams and around fixtures, sets fast | Requires professional equipment; quality depends on the applicator |
A sprayed roof is worth understanding before you decide. Applicators using ArmorThane products can choose among three RV roof systems: ArmorSeal 100 AL, a fast-set aluminum-pigmented polyurea made primarily for roofing; SureGrip, an aromatic polyurea basecoat finished with a UV-stable topcoat; and ArmorFlex UV, an aliphatic, color-stable polyurea sprayed on its own. ArmorThane’s RV roof coatings page covers the systems. For a broader look at how membranes and sprayed systems compare, see our polyurea for RV roofs post and the roof types guide.
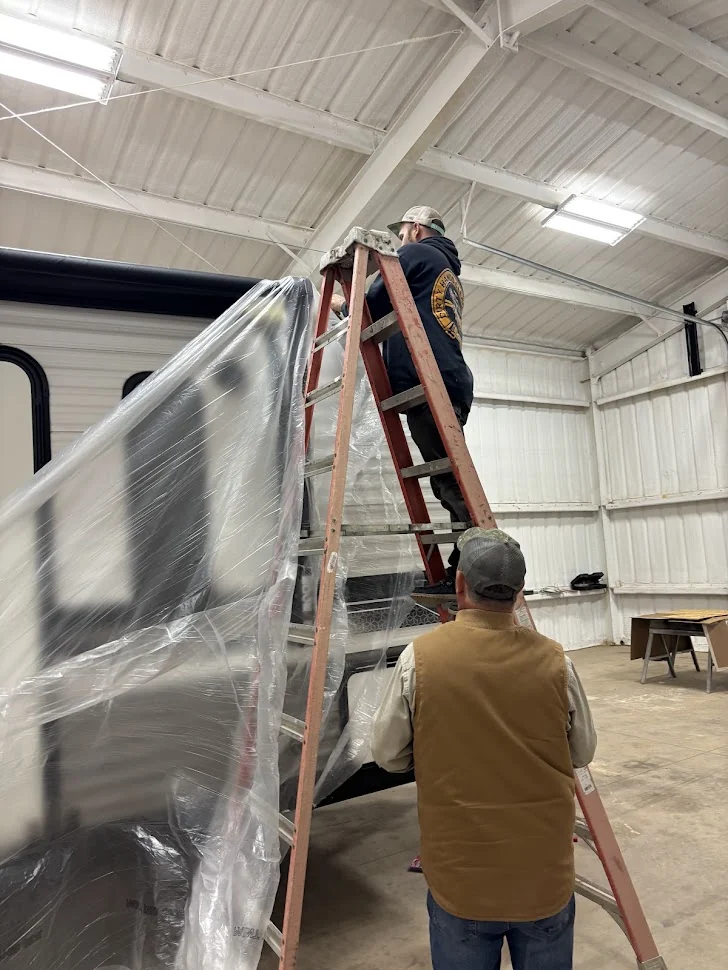
What happens during an RV roof replacement
Shops differ in the details, but a membrane replacement follows the same basic order. Knowing it helps you read a quote and ask good questions.
- Inspection and quote. The shop inspects the roof and estimates materials and labor. Expect a line or a note about decking, because nobody can see it all until the membrane is off.
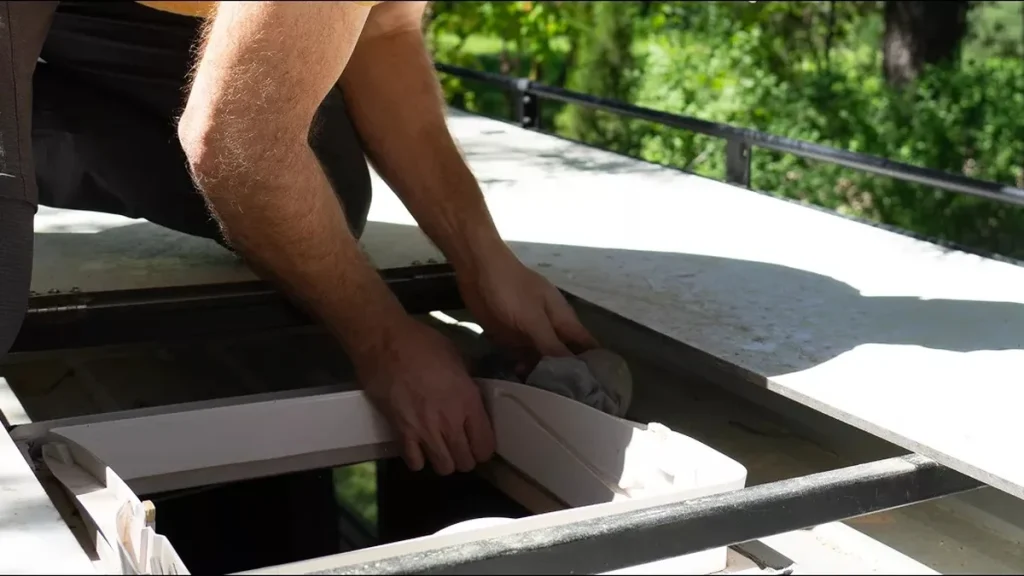
- Fixture removal. Vents, the AC, antennas, the ladder, skylights, solar mounts and edge trim come off and get set aside.
- Membrane removal. The old membrane is peeled or cut away. Some shops lay new membrane over a sound old one; ask which approach your quote assumes.
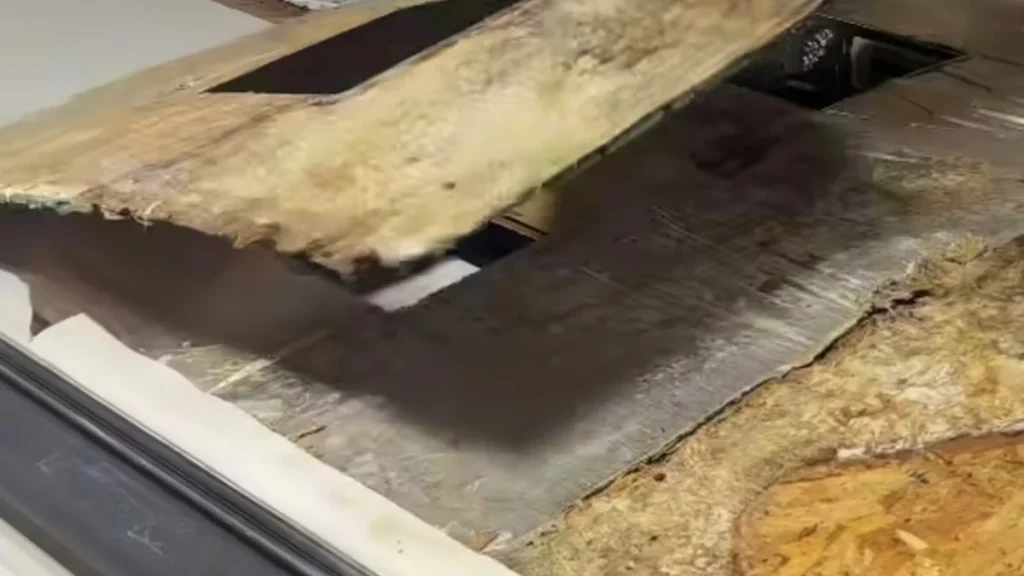
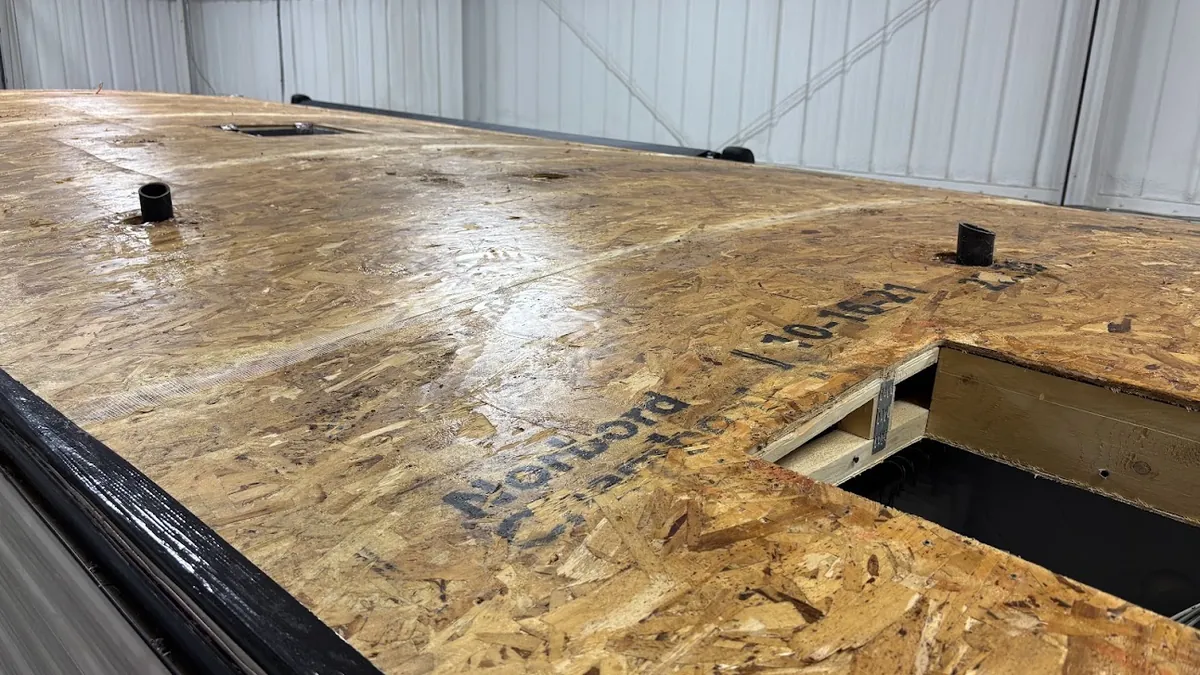
- Deck inspection and repair. Rotted plywood or OSB is cut out and replaced with material of the same thickness. This is where costs can change, and a good shop will call you with photos before going further.
- New roof installation. For a membrane, that means adhesive, the new sheet, and termination along the edges. For a sprayed roof, it’s masking, prep and spray.
- Fixtures back on. Each fixture goes back down on butyl putty tape and gets capped with compatible lap sealant. This is a good time to replace brittle vent lids and old gaskets.
- Water test and walk-through. The shop should water test the roof and walk you through what was found, including decking photos.
Roadtrippers notes that the whole process can take weeks or months once you include scheduling, insurance or warranty approvals and parts, and hidden damage found after the roof comes off can add time and cost. Booking during your off-season helps.
What RV roof replacement costs
Most shops quote by the linear foot of coach, measured bumper to bumper or along the roof. Published figures vary by source and region, so treat them as a range to sanity-check quotes rather than a price list.
| Source | Figure | For a 30 ft roof |
|---|---|---|
| Roadtrippers | About 300 to 350 dollars per linear foot | About 9,000 to 10,500 dollars |
| ArmorThane cost guide, independent shop re-roof | About 175 to 230 dollars per linear foot | About 5,250 to 6,900 dollars |
| ArmorThane cost guide, sprayed polyurea roof | About 170 to 210 dollars per linear foot | About 5,100 to 6,300 dollars |
| ArmorThane cost guide, dealer roof replacement | About 7,000 to 18,000 dollars total | Varies by coach |
| ArmorThane cost guide, rotted deck repair | Adds about 1,500 to 6,000 dollars | Depends on how much wood is replaced |
| ArmorThane cost guide, DIY TPO kit | About 700 to 900 dollars in materials | Plus your time, tools and help |
What moves a quote up or down:
- Length and fixtures. More roof and more things bolted to it means more labor.
- Deck condition. The single biggest swing factor, and the hardest to predict before the roof is open.
- Roof type. Membrane brand, color and whether it’s proprietary.
- Solar, satellite and extra AC units. Each has to be removed, stored and reinstalled.
- Shop vs dealer vs mobile. Dealers often charge more; mobile techs save you a trip but may not be set up for big deck repairs.
For a deeper breakdown with more examples, ArmorThane publishes a full RV roof replacement cost guide, and our older cost post adds context. When you request quotes, give every shop the same information; our estimate packet guide lists what to send.
Questions to ask before you sign a quote
Two roof quotes for the same coach can be thousands of dollars apart, and the cheaper one isn’t always the better deal. The difference is usually in what each shop assumed. These questions get those assumptions on paper.
- Is the old membrane coming off, or going under the new one? Either can be valid, but you should know which you’re paying for and why.
- How is decking priced? Ask for a per-sheet or per-square-foot rate for replacement wood, and ask the shop to call you with photos before it goes beyond a set amount.
- What material and brand, and what thickness? For a membrane, the product and its warranty. For a sprayed roof, the product and the target thickness in mils.
- What happens to the fixtures? Are vent lids, gaskets and old sealant being replaced, and is reinstalling solar or satellite included?
- What’s the warranty, and who backs it? Get labor and material terms in writing. Warranty terms vary by shop and applicator.
- How long will the RV be there? Ask about the schedule, storage while it waits, and what happens if weather delays the work.
- Will they water test before pickup? A shop that tests its own work is a good sign.
Our guide to reading a roof inspection report helps you make sense of what the shop finds.
Replacement differences by RV type
The basic job is the same, but the coach changes the details and the price.
- Travel trailers and fifth wheels usually have a full-length membrane that wraps over the front and rear edges or meets molded caps. Fifth wheels add the overhang over the hitch, which has its own seams to deal with.
- Class A motorhomes often have fiberglass front and rear caps and more roof equipment, including multiple AC units and sometimes generators or large solar arrays. More fixtures means more removal and reinstall labor.
- Class C motorhomes have the cab-over section, whose front seams and windows are a common leak area. Check that part carefully during any replacement.
- Aluminum-skinned trailers like Airstreams don’t have a membrane in the usual sense. Their roof work is about seams, rivets and fixtures, and is usually a specialist job. See our aluminum roof post.
Timing can save money, too. Many shops are busiest in spring, when owners pull RVs out of storage and find winter’s damage. Booking an inspection in late summer or fall, and scheduling the work for your off-season, gives you more time to compare quotes and gets the roof done before freeze and thaw cycles make any existing damage worse.
Insurance and warranty: who pays?
There are three ways a roof gets paid for: a warranty, insurance, or you. According to Roadtrippers, a manufacturer or extended warranty may cover a roof when the problem is a manufacturing defect, and you should be ready to show you maintained it. Insurance may cover damage from a collision or a natural event, such as a limb falling in a storm, usually under comprehensive coverage when the RV wasn’t moving. It’s unlikely to cover a roof that failed from age, wear or lack of maintenance.
That makes documentation valuable. Keep dated photos of your roof inspections and maintenance, and after any storm or impact, photograph everything before repairs start. Our posts on what RV insurance actually pays and documenting a roof claim go into detail.
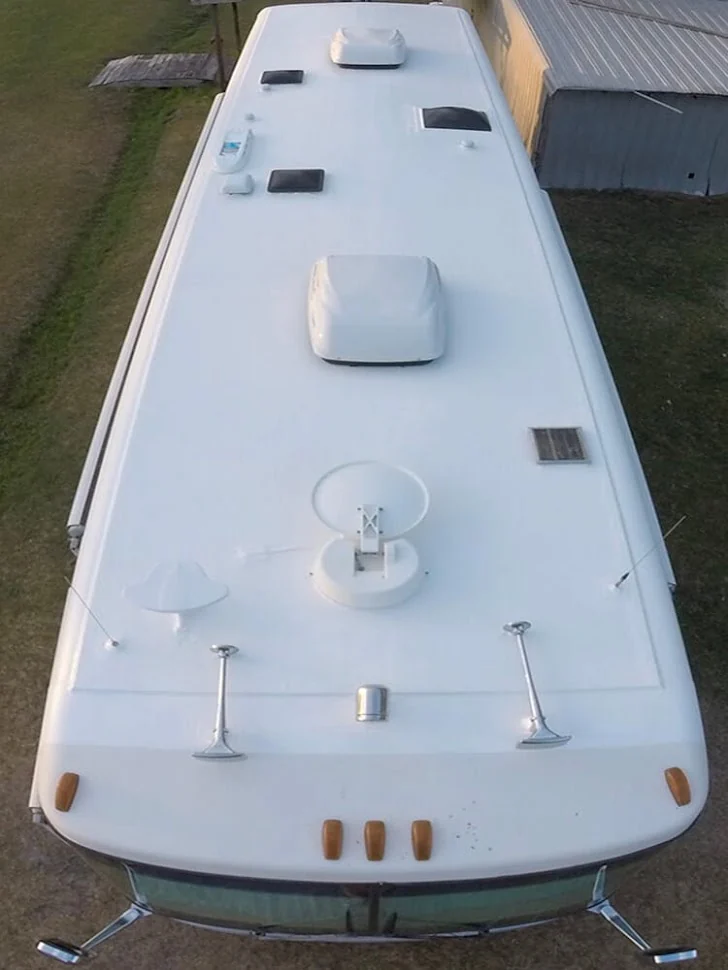
Can you replace an RV roof yourself?
Yes, and plenty of owners do. Retrofit membrane kits are sold for EPDM and TPO, and makers such as Dicor publish full installation guides for theirs. It’s a realistic job if you’re comfortable working at height, can line up two or three helpers for the membrane day, and have a covered space or a reliable weather window.
Before you commit, be honest about a few things:
- The deck decides the job. You won’t know how much wood needs replacing until the old roof is off.
- Weather matters. Adhesives and sealants have temperature and moisture limits, and an open roof can’t wait out a storm.
- Fixtures are most of the labor. Removing and resealing everything correctly is slow, and it’s where leaks start later if it’s rushed.
- Warranty. A DIY roof generally carries only the materials warranty, if that.
If you go the DIY route, plan the fixture work with our RV roof sealant guide and keep a few rolls of EternaBond tape on hand for seams and edges.
After the new roof is on
A new roof isn’t a reason to stop inspecting. Check fixtures and seams after the first few trips and then on a regular schedule; Keystone RV recommends roof inspections at least every 90 days. If the new roof is thicker, or fixtures were raised or changed, measure your travel height again; this travel height post explains why it matters. Keep the invoice, the materials list and the decking photos with your RV records. They help with warranty questions and resale.
Plan the first year, too. New sealant around fixtures continues to cure for weeks, and a new membrane settles as the coach goes through its first hot and cold cycles. A quick look after the first long trip and again before the first winter catches the occasional corner that pulled back or screw that was missed. Most shops would rather fix that under warranty in month two than hear about a stain in year two, so call them as soon as you spot anything.
If you’d like a quote for a sprayed seamless roof, you can find an applicator near you.
Choosing what goes on next? The RV roof types guide explains each membrane, and the coating comparison covers recoat options if replacement turns out to be more than you need. Once the new roof is on, the maintenance schedule keeps it that way.
Soft decking is usually what turns a repair into a replacement; our guide to RV roof soft spots explains how to judge how far the rot goes. To make a new roof last, follow our guide on how often to reseal an RV roof and consider RV roof covers for outdoor storage.
Frequently asked questions
How much does it cost to replace an RV roof?
Published figures run from about 170 to 350 dollars per linear foot. Roadtrippers puts it at roughly 300 to 350 dollars per foot, while ArmorThane’s cost guide lists about 175 to 230 per foot for an independent shop re-roof and 170 to 210 per foot for a sprayed polyurea roof. Rotted decking can add roughly 1,500 to 6,000 dollars.
How long does an RV roof last?
Roadtrippers puts a quality RV roof at 10 to 20 years when it’s regularly inspected and maintained. Sun exposure, storage and how quickly small problems get fixed make a big difference.
Does RV insurance cover roof replacement?
Often, if the damage came from a collision or a natural event such as a falling limb or a storm, usually under comprehensive or collision coverage. It’s unlikely to cover a roof that failed from age, wear or lack of maintenance.
How long does an RV roof replacement take?
The work itself may take days, but Roadtrippers notes the whole process can stretch to weeks or months once you add scheduling, insurance or warranty approvals and any hidden damage found when the roof comes off.
Can I replace my RV roof myself?
Yes. Retrofit EPDM and TPO kits are sold with installation guides, and ArmorThane’s cost guide lists DIY TPO kit materials at about 700 to 900 dollars. You’ll need helpers, a weather window or covered space, and a plan for any rotted decking.
Is it better to recoat or replace an RV roof?
Recoat when the deck is solid and the membrane is still bonded but worn on the surface. Replace when there are widespread soft spots, the membrane is loose across the roof, or it’s worn through and leaking in several places.
Sources
- Roadtrippers: RV roof replacement guide (per-foot pricing, lifespan, insurance and warranty, timeline)
- ArmorThane: RV roof replacement cost guide (shop, sprayed, dealer, deck repair and DIY kit ranges)
- Dicor: EPDM Plus roofing system retrofit installation guide
- Keystone RV: Roof assembly maintenance tips
- ArmorThane technical data sheets for ArmorSeal 100 AL, SureGrip and ArmorFlex UV
Free quote
Ready to stop resealing?
Get a seamless polyurea roof from a certified applicator near you. Tell us about your rig in about a minute.