RV Roof Vent Leaks: Reseal or Replace a Roof Vent Right
In short
Why RV roof vents leak, how to reseal the flange, how to replace a vent step by step, and a finder that checks fit and trim garnish size.
On this page
Most RV roof vent leaks come from cracked or lifted sealant around the vent flange, not from the vent itself, so the usual fix is to scrape off the old lap sealant, clean the area and apply a fresh bead over the flange edge and every screw head. If the vent body or lid is cracked, or water is getting under the flange, replace the vent: most RV roof vents and fans are built for a standard 14 by 14 inch opening, so a new one usually drops straight in. Set it on butyl tape or a gasket, screw it down and seal over the top with a sealant that’s compatible with your roof.
This guide covers how to tell a sealant leak from a failed vent, how to reseal one properly, how to replace one step by step, how to choose a replacement that fits (there’s a vent finder below) and how to keep vents from leaking again.
Why roof vents leak
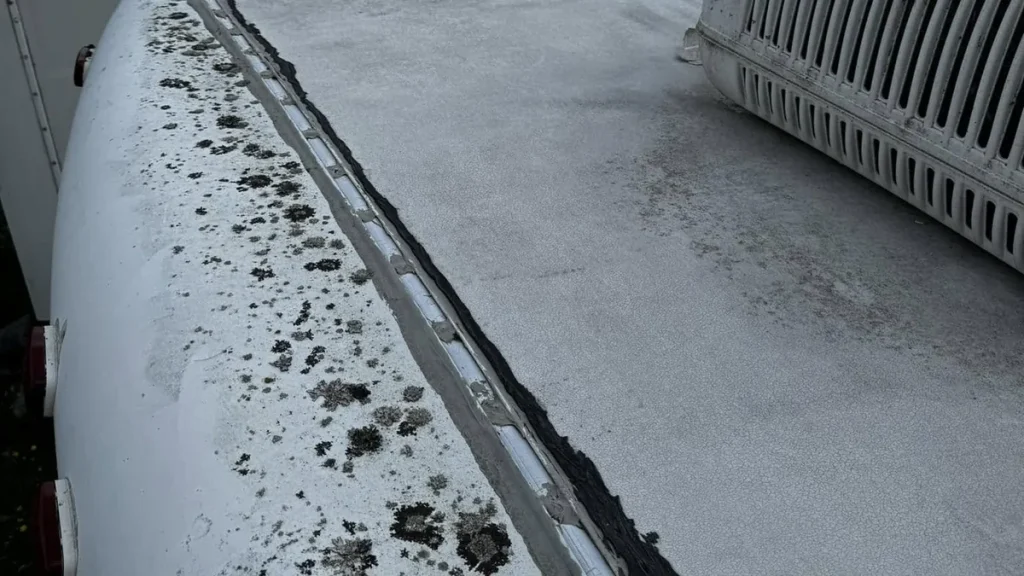
A roof vent is a hole in the roof, and every one is a joint where a plastic flange meets the membrane. That joint takes sun, heat, cold and the twisting of the coach on the road. Keystone RV’s owner’s manual says roof sealants deteriorate over time and that heavy sun, big temperature swings and cold climates speed that up, which is why it asks owners to inspect seams, joints and attachments at least every 90 days.
| What failed | What you’ll see | Fix |
|---|---|---|
| Lap sealant cracked, shrunk or lifting | Gaps at the flange corners, bare screw heads | Reseal |
| Screws loose or stripped | Flange moves when pressed; screws spin | Snug or replace screws; check the wood |
| Butyl or gasket under the flange failed | Water under the flange even with good sealant on top | Remove, re-bed on new butyl, reseal |
| Vent body or flange cracked | Cracks in the plastic, often at corners | Replace the vent |
| Lid cracked or brittle | Splits or chalky, crumbling plastic | Replace the lid, or the whole vent |
| Lid not closing fully | Rain blowing in through a partly open lid | Adjust or replace the crank mechanism |
The last row isn’t a roof leak at all, but it shows up the same way inside. Forest River’s maintenance chart includes lubricating the roof vent mechanism with light oil, which keeps lids closing properly.
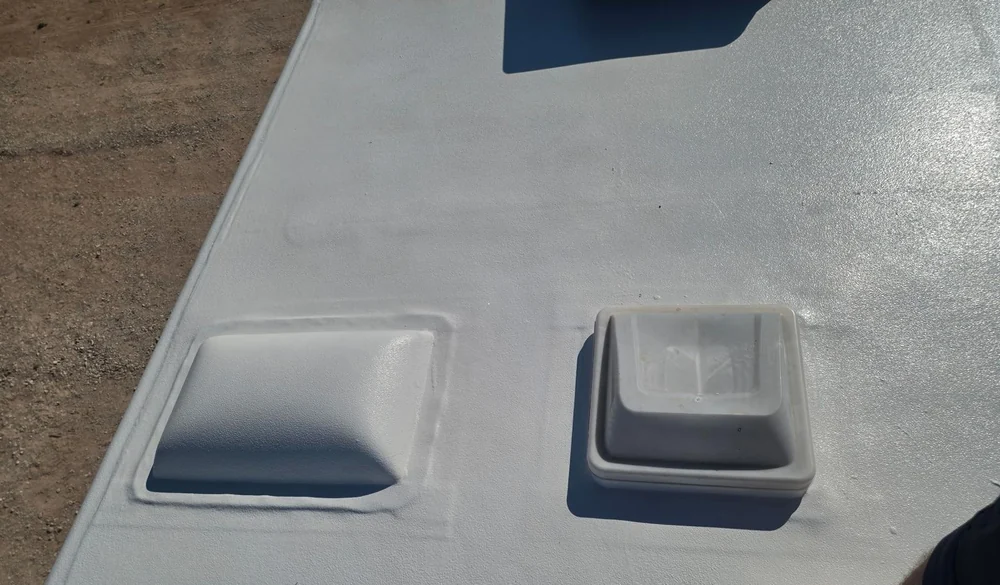
Is it the sealant or the vent?
- Look at the lid and dome for cracks, especially at hinges and corners. UV makes plastic brittle.
- Look at the flange. Check the corners and every screw head for cracked, lifted or missing sealant.
- Press on the flange. If it moves, the screws have loosened or the wood under them is soft.
- Check from inside. Remove the interior trim ring (the garnish) and look at the edge of the roof decking around the opening. Staining or soft wood means water has been getting in for a while.
- Hose test. With a helper inside, run water gently around the base of the vent first, then over the lid. Water at the base points to sealant or butyl; water only when the lid is wet points to the lid or crank.
If several fixtures show stains, or you can’t pin it down, our RV roof leak repair guide has a locator that sorts likely sources.
Before you climb up: roof safety
Every vent job starts with getting onto the roof, and not every RV roof is built to carry a person. Keystone’s owner’s manual says units with a factory-installed ladder have walkable roofs, some units without a ladder are also walkable, and others are neither; check your owner’s manual before stepping on it. Keystone also notes that its roofs are made for one person doing maintenance, not for chairs, coolers or groups, that its ladders are rated for 250 pounds and that a roof is slippery when wet. Work from a stable ladder or platform at the edge where you can, kneel on a piece of plywood to spread your weight on softer roofs, and stay off a roof that feels soft near the vent. Our guide to whether you can walk on an RV roof covers where to step.
How to reseal a roof vent
- Pick a dry day with no rain forecast for at least several hours. Dicor’s approximate cure times for its lap sealant in 50 to 70 degree weather: skins over in 5 minutes, waterproof in 4 hours, 80 percent cured in 48 hours and fully cured in 30 days.
- Remove loose and cracked sealant with a plastic scraper. You don’t have to take off sealant that’s still well bonded, but anything lifting or cracked has to go.
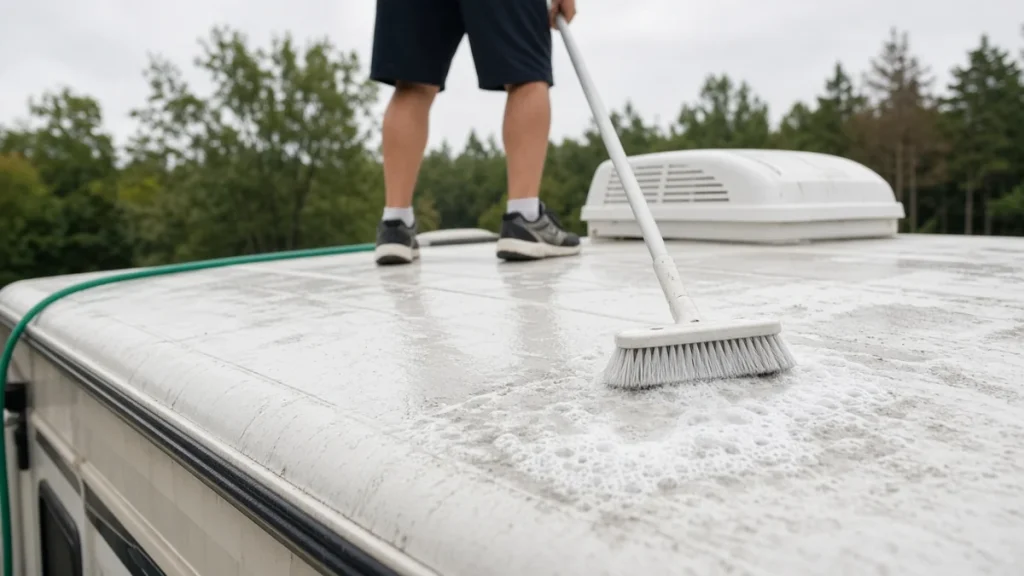
- Clean the area with a cleaner your roof maker approves. Dicor’s care instructions, for example, say that if soap and water don’t clean its lap sealant, you can wipe it with a cloth dampened with mineral spirits. Other roof makers prohibit petroleum products, so check first. See our RV roof cleaner guide for what’s safe on your membrane.
- Snug the screws. Replace any that spin with the next size up, or check the wood if they won’t bite.
- Apply self-leveling lap sealant over the flange edge all the way around, overlapping onto the roof, and over every screw head.
- Let it level and cure before rain or a wash.
Use the right sealant. Keystone says to use the same sealant that was originally installed when touching up, or remove all the old sealant first, because there’s no way to know whether two brands will bond. It also says not to use any silicone product on its roof material. Alpha Systems says only its own sealants should be used on Alpha roofs. Dicor says its 501 and 551 sealants are compatible with EPDM, TPO and PVC membranes. Our RV roof sealant guide has a sealant picker.
Roof vent replacement finder
Measure the roof opening (not the flange) and the roof thickness at the opening, then tell the finder what you want to install. It checks whether a standard vent will fit, which interior trim garnish size you need, and what to have on hand.
Roof vent replacement finder
Measure the hole in the roof, not the flange. Roof thickness is measured at the opening, from the roof surface to the ceiling panel. Garnish sizes follow Dometic’s Fan-Tastic Vent manual; other brands may differ.
How to replace an RV roof vent step by step
- Disconnect power if it's a powered fan. Dometic's installation manual says to shut off the gas supply, disconnect 120-volt power from the RV and disconnect the positive 12-volt terminal at the battery before installing.
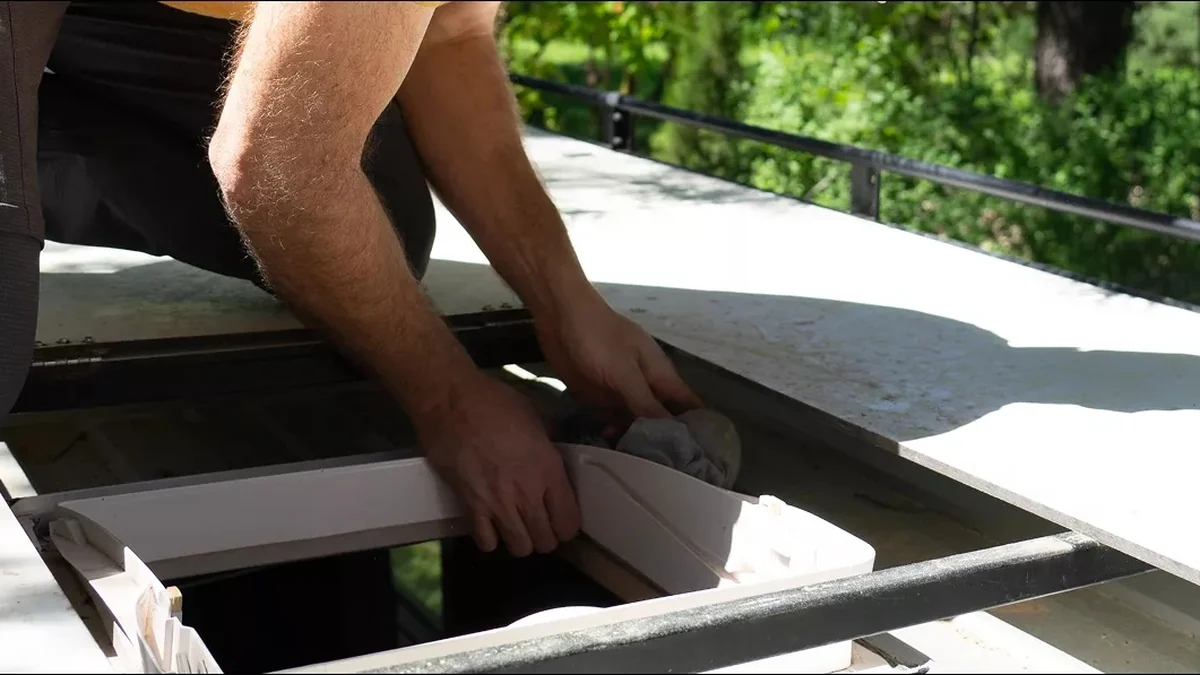
- Remove the interior trim garnish and any screen.
- Remove the old sealant on the roof with a plastic scraper until the screw heads are exposed.
- Remove the screws and lift the old vent out. Butyl tape will make it stick; work a putty knife under the flange gently so you don't tear the membrane.
- Clean the roof around the opening of old butyl and sealant, using a cleaner your roof maker allows.
- Check the opening. Measure it and look at the wood around it. Dometic's Fan-Tastic Vent manual calls for a 14-1/2 by 14-1/2 inch opening and says the opening should sit between the rafters without cutting them. Replace any soft wood before going further; our soft spot guide covers that repair.
- Seal the base. Lay butyl putty tape around the opening or under the flange, or use the gasket supplied. Dometic's manual says to line the opening with a compatible sealant or place the gasket so it's sandwiched under the flange, and to use an EPDM-compatible sealant on rubber roofs.
- Set the vent with the lid hinge toward the front of the RV, as Dometic directs, so wind on the road doesn't catch an open lid.
- Screw it down. Dometic's instructions use #8 self-tapping flat-head screws, 3/4 to 1 inch long. Tighten evenly so the butyl squeezes out slightly all around.
- Seal over the top. Apply sealant over the screw heads and the flange edge where it meets the roof.
- Reinstall the garnish inside, trimmed to your roof thickness, and reconnect power for a fan.
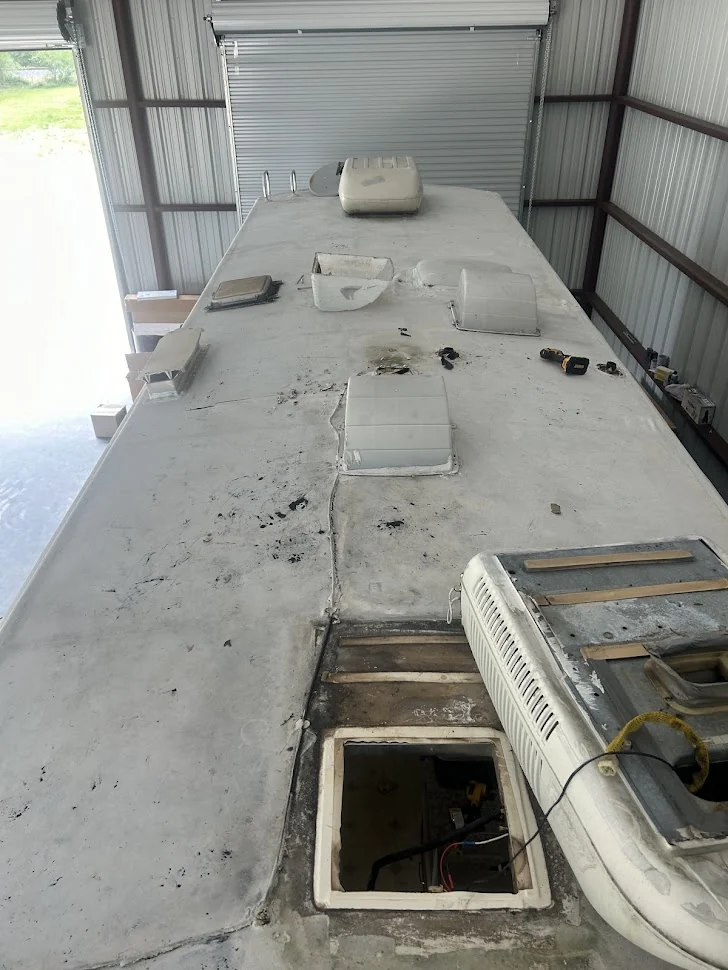
Choosing a replacement vent or fan
| Type | What it does | Good for |
|---|---|---|
| Manual vent | Crank-open lid, no fan | Basic ventilation, lowest cost |
| Powered vent fan | 12-volt fan, often reversible, multiple speeds | Moving heat and moisture out; reducing condensation |
| Fan with automatic features | Automatic lid and a rain sensor on some models | Ventilating while you're away without worrying about rain |
| Vent cover | Hood that mounts over the vent | Leaving the vent open in rain; shading the lid |
Most of these fit the standard 14 by 14 inch opening. Dometic lists its Fan-Tastic Vent models, for example, as fitting standard 14 by 14 inch openings, and says options can include a rain sensor that stops the fan and closes the lid when it senses moisture. Dometic's manual says that if the existing opening isn't 14-1/2 by 14-1/2 inches you may need to resize it, and if the roof is corrugated or not level you may need a frame to make a level platform. In either case it recommends a qualified service professional.
The inside trim ring and roof thickness
The plastic trim ring on the ceiling, called the trim garnish, covers the gap between the vent body and the ceiling panel. Its depth has to match the roof thickness, measured at the opening from the roof surface to the ceiling. Dometic's manual lists three sizes for its Fan-Tastic Vent: a 1-7/8 inch garnish for roofs 7/8 to 1-7/8 inches thick, a 4-1/4 inch garnish for roofs 2 to 4 inches thick, and a 6 inch garnish for roofs 4-1/4 to 6 inches thick, which you cut down to fit with a utility knife. The manual also says a clamp-style fan mount is only recommended for roofs under 4 inches thick that don't have a solid substrate for the rooftop screws. Measure before you order so you aren't stuck with a ceiling gap.
Upgrading from a manual vent to a fan
Swapping a plain vent for a powered fan uses the same opening, but it adds wiring. The fan needs a 12-volt feed at the opening. Some RVs are prewired for a fan at one or more vents; others need a new wire run from the nearest 12-volt circuit. Dometic's manual shows how to check the supply with a multimeter and says to disconnect the battery's positive terminal before wiring. If you're not comfortable with 12-volt work, that part is worth handing to a technician even if you set the fan yourself.
Skylights and other roof openings
Skylights, shower domes, plumbing stack vents and antenna or solar mounts all sit in the roof the same way: a flange on a bed of butyl, screwed down and sealed over. The same inspection and resealing steps apply. Skylight domes yellow and turn brittle in the sun like vent lids, so check them for cracks along with the sealant. Our RV roof repair guide covers the fixtures beyond vents.
When you only need a new lid
If the base, flange and sealant are sound and only the lid is cracked, a replacement lid is often enough. Lids are specific to the vent brand and model, so note the maker and model from the vent body or crank before ordering. If the base plastic is also chalky or cracked, replace the whole vent while you're up there; a sun-damaged base won't hold screws or sealant well for long.
Vents, condensation and leaks
Not every drip under a vent is rain. Warm, moist air rising to a cold vent frame condenses and drips, especially in cool weather while cooking or showering. A powered vent fan moving that air out often cures it, and Keystone's manual lists running roof vent fans as one way to dry an RV after water gets in. Our post on condensation vs a roof leak explains how to tell them apart.
Vents on coated and sprayed roofs
On a coated roof, the coating usually wraps up and over the vent flange, sealing it into the roof surface. That removes the separate sealant joint, but it means replacing a vent later involves cutting the coating around the flange and patching with a compatible product. Ask your applicator how they handle fixture replacement before the roof is coated. Applicators using ArmorThane products can choose from three RV roof systems: ArmorSeal 100 AL, SureGrip with a UV topcoat, or ArmorFlex UV, described on ArmorThane's RV roof coatings page. Our coating comparison covers what can go over each coating type when you repair it.
How to keep roof vents from leaking
- Inspect every 90 days. Look at the flange corners, screw heads and lid at each check; our reseal interval guide explains what each maker recommends.
- Keep lids closed while driving and when rain is coming, unless you have a cover or rain sensor.
- Lubricate the crank mechanism as part of routine maintenance.
- Watch for UV damage. Chalky or crazed lids are close to cracking.
- Keep the roof clean so sealant cracks are visible, and follow a routine like our roof maintenance schedule.
Common vent repair mistakes
- Using silicone caulk. Keystone says not to use silicone on its roof material, and silicone makes future repairs harder because little sticks to it.
- Mixing sealant brands over each other without removing the old one.
- Skipping the butyl. Lap sealant on top isn't a substitute for the compression seal under the flange.
- Overdriving screws and cracking the flange.
- Ignoring soft wood around the opening. A new vent screwed into rotted decking will leak again.
- Cutting a rafter to fit a new opening. Dometic's manual says not to cut the structure or rafters.
Frequently asked questions
Why is my RV roof vent leaking?
Most vent leaks come from cracked, shrunken or lifting lap sealant around the flange and screw heads. Other causes are failed butyl tape under the flange, loose screws, a cracked vent body or lid, or a lid that isn't closing fully.
What size are RV roof vents?
Most RV roof vents and vent fans fit a standard 14 by 14 inch opening. Dometic's Fan-Tastic Vent manual calls for a 14-1/2 by 14-1/2 inch cut-out. Measure the hole in the roof, not the flange, before buying.
Can I replace an RV roof vent myself?
Yes, if the opening is the standard size and the wood around it is sound. Remove the old vent and sealant, bed the new one on butyl tape or a gasket, screw it down and seal over the flange and screw heads. Non-standard openings, corrugated roofs and rotted decking are better handled by a shop.
What sealant should I use around an RV roof vent?
Use a self-leveling lap sealant compatible with your roof membrane, ideally the same one the factory used. Keystone RV says not to use silicone on its roofs, and Alpha Systems says to use only its sealants on Alpha roofs.
Which way should an RV roof vent face?
Dometic's instructions say the lid hinge should be closest to the front of the RV, so the lid opens toward the rear and wind on the road doesn't catch it.
How often should I check my roof vents?
Keystone RV asks owners to inspect roof seams, joints and attachments at least every 90 days. Check vent sealant, screw heads and lids at each roof inspection.
Sources
- Dometic: Fan-Tastic Vent installation and operation manual (opening size, garnish, mounting, sealing)
- Dometic: Fan-Tastic Vent 3350
- Keystone RV: 2027 Owner's Manual (sealant inspection, same-sealant rule, no silicone)
- Dicor Products: FAQ (lap sealant cure times, membrane compatibility)
- Dicor Products: EPDM roof care (resealing over existing sealant)
- Alpha Systems: Product care
- Forest River: Periodic maintenance chart
Free quote
Ready to stop resealing?
Get a seamless polyurea roof from a certified applicator near you. Tell us about your rig in about a minute.