RV Roof Leak Repair: Find the Source and Fix It for Good
In short
How to find where an RV roof leak is really coming from, fix each common source, dry out the damage and keep it from coming back. Includes an interactive leak locator.
On this page
To repair an RV roof leak, first find where water is actually getting in, which is often several feet from the stain inside, then fix that specific failure: reseal a fixture, replace a gasket, patch the membrane or reseal a side feature near the roof line. Dry the area thoroughly before you seal anything, and check for soft decking, because a leak that’s been running for a while usually means wet wood under the membrane. A strip of roof repair tape will hold for now if the weather won’t wait.
This guide is about the hunt as much as the fix. It covers what to do in the first day, a leak locator that turns the spot on your ceiling into a checklist of likely sources, the places RV roofs leak most, how to find leaks you can’t see, how to fix each source, and how to dry things out afterward. For bigger structural work like replacing rotted decking, our RV roof repair guide goes deeper.
The first 24 hours after you find a leak
Water damage in an RV gets worse fast because walls and ceilings are thin and full of wood, insulation and adhesive. A few quick steps limit the damage while you track down the source.
- Catch and divert the water. Put a container under drips and a towel along the wall where water is running.
- Photograph everything. Stains, drips, the outside of the roof, the weather and the date. If the leak came from a storm or impact, these photos matter for an insurance claim.
- Cover the likely area outside. If rain is coming, a clean, dry strip of roof repair tape over a suspect seam, or a well-secured tarp, buys time. Our guide to emergency roof repairs on the road covers this.
- Start drying. Open cabinets near the leak, run fans and a dehumidifier, and lift any rugs or cushions that got wet.
- Press around the stain. Gently press the ceiling and nearby wall panels. Soft, spongy or bulging panels mean water has been getting in for a while.
RV roof leak locator
Tell the locator where the water shows up inside and when it happens. It builds a checklist of the roof and side features most likely to be letting water in, in the order worth checking. Tick items off as you rule them out.
RV roof leak locator
Pick where water shows up inside and when. You get a checklist of likely sources in the order worth checking.
Where RV roofs leak most
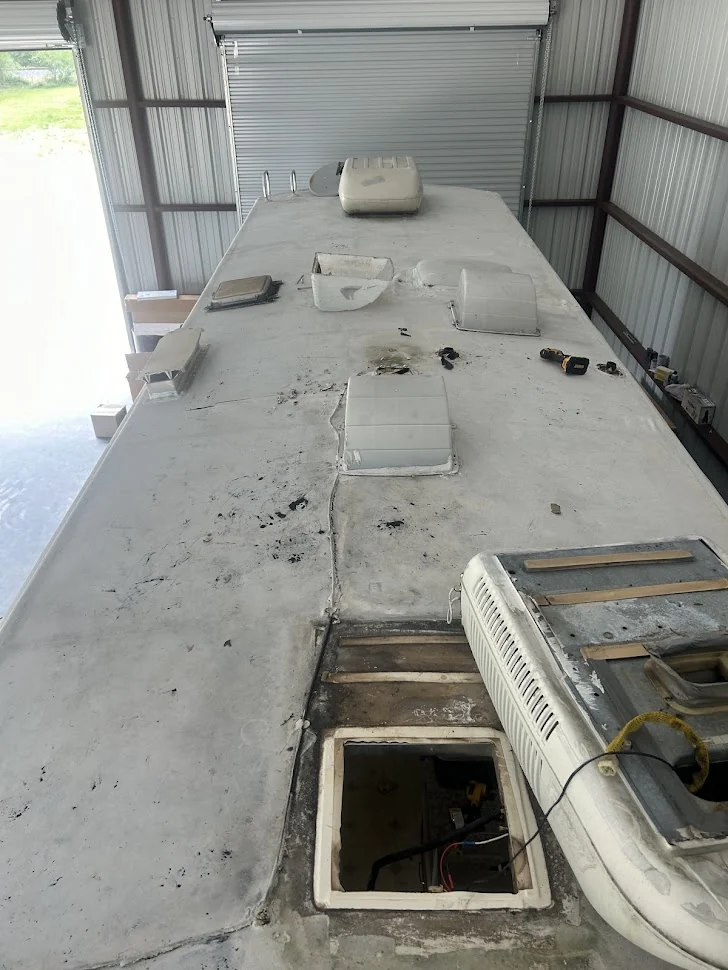
Most RV roof leaks come from a short list of places, and nearly all of them are joints: places where something passes through the membrane or two materials meet.
| Source | What fails | Typical sign inside |
|---|---|---|
| Roof vents and fans | Cracked or shrunken lap sealant at flange corners, cracked plastic, loose screws | Stain or drip right around the vent opening or a few feet downhill |
| Air conditioner | Compressed or cracked gasket, loose mounting bolts, blocked condensate drain | Water from the ceiling assembly or vents, often when the AC runs |
| Skylights | UV-cracked dome, failed flange sealant | Drips inside the skylight well, often over a shower |
| Front and rear cap seams | Sealant cracked where the roof meets a fiberglass or aluminum cap | Stains at the front or rear wall, over the bed or in the cab-over |
| Roof edge termination bars | Loose screws, failed sealant along the bar | Wet or delaminating sidewall near the ceiling line |
| Antennas, satellite domes, solar mounts | Unsealed or poorly sealed screws, often added after the RV was built | Small, localized stains away from any vent |
| Plumbing vent pipes | Cracked cap or failed sealant around the pipe flange | Damp around bathroom or kitchen walls |
| Ladder brackets and roof rack mounts | Screws worked loose by load | Stain on the rear wall near the ladder |
| Marker and clearance lights, awning rail, windows | Failed butyl or sealant on the sidewall | Looks like a roof leak but runs down the wall |
The last row trips up a lot of owners. Water that enters at a clearance light or the awning rail can run along the top of the wall and show up on the ceiling. If the roof checks out, look at the sidewall features near the roof line.
How to find a leak you can't see
Rule out condensation first
If water appears on cold mornings, while you're cooking or showering, or when the AC is running, with no rain involved, it may be condensation rather than a leak. Note when it happens and what the weather was. Our post on telling condensation from a leak explains what to record.
Run a methodical hose test
Start with a dry roof and a helper inside. Wet the lowest suspect area first with a gentle stream for several minutes, then work uphill one feature at a time. Testing from the top first just soaks everything below and tells you nothing. Mark each confirmed entry point with painter's tape and a photo. Don't forget to test side features such as marker lights and the awning rail.
Look for the trail
Water leaves evidence: staining on the underside of a vent trim ring, rust on screw heads, darkened wood visible around a fixture opening, a musty smell in one cabinet. Removing a vent's interior trim ring lets you see the edge of the roof decking around the opening, which is one of the best early places to spot water damage.
Use a moisture meter
An inexpensive pin or pinless moisture meter helps map how far water has spread through ceiling and wall panels. Readings that rise as you move toward a feature point you toward the source, and they tell you how big the drying or repair job is.
Ask about a pressure test
Some RV service shops can pressurize the coach with air and spray soapy water on the outside to see where bubbles form. It finds small leaks that a hose test misses, including ones on sidewalls and windows. It's worth asking for if you've chased a leak more than once.
For a broader list of early warning signs, see RV roof leak detection signs.
How to fix each leak source
Roof vents and fans
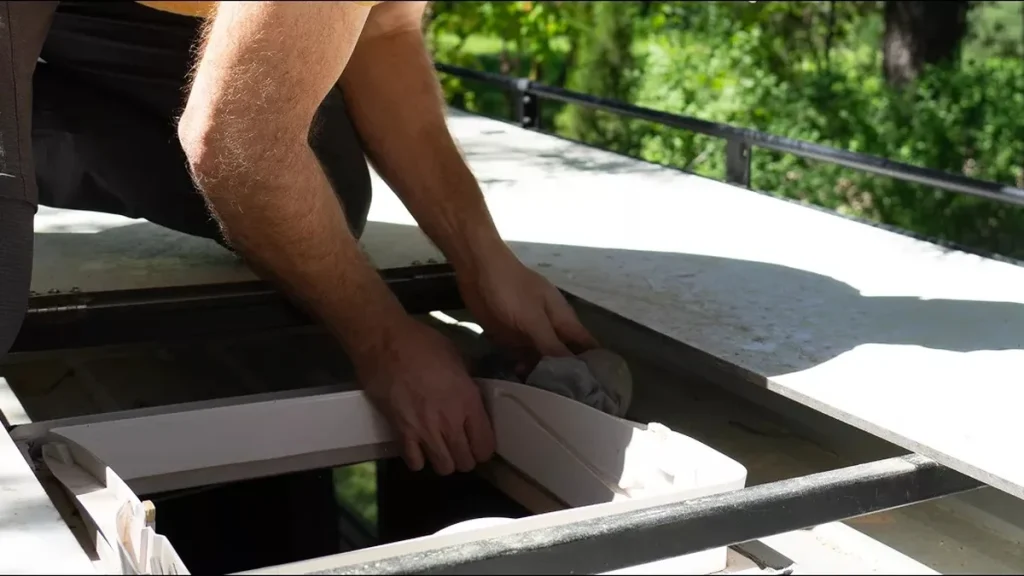
For a sound vent with failed sealant, scrape off the cracked or lifted lap sealant with a plastic scraper, clean the area with a cleaner your roof maker approves, snug the screws and apply a new bead of self-leveling lap sealant over the flange edge and every screw head. If the vent body is cracked, or water is getting under the flange itself, replace it: remove the screws and old sealant, check the wood around the opening, set the new vent on butyl putty tape and finish with lap sealant. Our RV roof sealant guide covers which sealant fits your roof.
Air conditioner
Rooftop AC units seal to the roof with a foam gasket, not with sealant. Leaks usually come from a compressed or cracked gasket, mounting bolts that have loosened, or a condensate drain that's blocked and overflowing. Check the bolts against the AC maker's specification, replace the gasket if it's flattened or cracked, and clear the drain. Don't caulk around the AC base; it doesn't fix the gasket and makes the next service harder. Our AC condensate check shows where that water should go.
Skylights
Look closely at the dome before you reseal. UV makes plastic skylights brittle, and fine cracks are easy to miss. A cracked dome needs replacing. If the dome is sound, reseal the flange like a vent.
Cap seams and termination bars
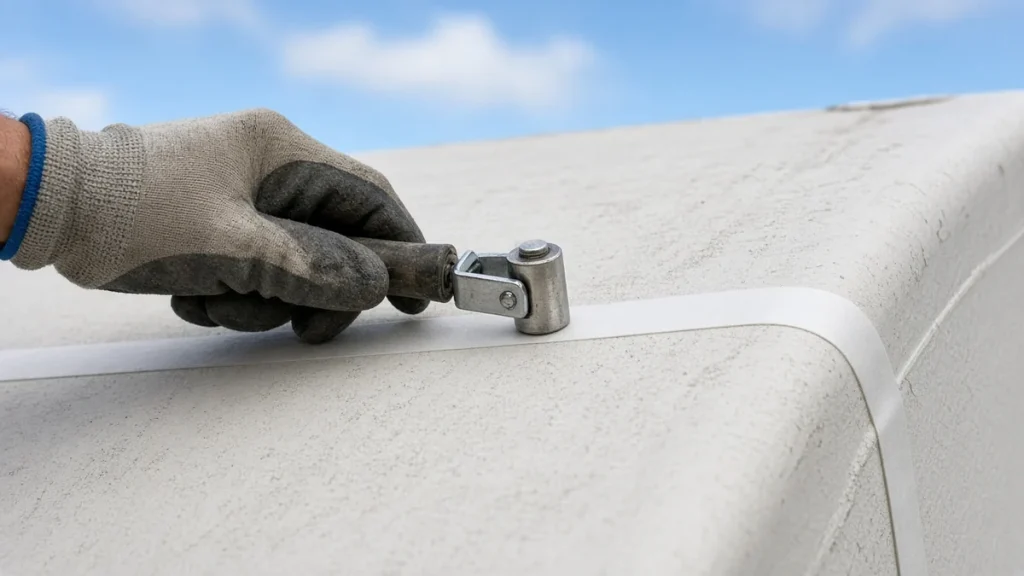
Front and rear cap seams are long joints between materials that move differently. Clean and reseal with lap sealant (non-sag on vertical faces), or cover the cleaned seam with roof repair tape. Termination bars along the roof edge need snug screws, butyl underneath and sealant on top; many owners tape over the bar to cover all the screws at once. Our EternaBond tape guide explains how to tape a seam properly.
Antennas, satellite and solar mounts
Look for screws that were never sealed, or sealed with a dab that's since cracked. Remove and re-bed loose mounts on butyl, cap every fastener with lap sealant, and seal any abandoned holes. Our post on solar installation and your roof covers mounts in detail.
Sidewall features
Marker lights, the awning rail and windows usually seal with butyl tape behind the flange. If the hose test points to one of them, remove it, clean off the old butyl, re-bed it on new butyl tape and reinstall. Sealing over the outside edge alone rarely lasts.
Holes and tears in the membrane
Clean the area, check the decking underneath, then patch with a repair tape or patch kit rated for your membrane, with rounded corners and firm pressure from a roller. Step-by-step instructions are in the repair guide.
Matching the material to the leak
Using the wrong product is one of the most common reasons a leak comes back. Each joint on an RV roof has a product designed for it, and your roof maker may restrict which brands can touch the membrane. Alpha Systems, for example, says only its own sealants should be used on its roofs.
| Job | Material | Notes |
|---|---|---|
| Sealing flange edges and screw heads on a flat roof | Self-leveling lap sealant | Flows into gaps; Dicor says its self-leveling sealant can go directly over its existing sealant after cleaning |
| Vertical seams, cap joints, sidewall features | Non-sag lap sealant | Stays put on vertical and angled faces |
| Under a vent, skylight or light flange | Butyl putty tape | Makes the compression seal; lap sealant goes on top |
| Long seams, termination bars, punctures | Roof repair tape rated for your membrane | Clean, dry surface and firm pressure with a roller |
| Rooftop AC base | Replacement AC gasket | Not sealant; check bolts against the AC maker spec |
| Rotted or soft decking | New plywood or OSB, then membrane, coating or spray | Structural repair; see the replacement guide |
Tools and supplies for a typical leak repair
- Plastic scraper and putty knife for old sealant, so you don't cut the membrane
- Cleaner approved by your roof maker, plus clean cotton rags
- Lap sealant (self-leveling and non-sag) matched to your membrane, and a caulk gun
- Butyl putty tape for anything you remove and re-bed
- Roof repair tape and a small hand roller
- Cordless driver, spare screws in the right length, and painter's tape for marking leak points
- Moisture meter, fans and a dehumidifier for the drying stage
Check the sealant's minimum application temperature and the time it needs before rain. Alpha Systems, for instance, lists 40 degrees F and up for application and about four hours before its sealant should get wet. If rain is due sooner, tape now and seal later.
Drying out and checking for hidden damage
Sealing the leak is only half the job. Water that's already inside will keep doing damage unless it dries out.
- Keep air moving. Run fans and a dehumidifier for several days, with cabinets and closet doors open.
- Remove what can't dry. Wet carpet pads, cushions and insulation you can reach may need to come out.
- Re-check with the moisture meter. Readings should drop steadily. If they don't, water is still getting in or is trapped behind a panel.
- Watch for mold. A musty smell after drying suggests mold behind panels, which needs to be dealt with properly.
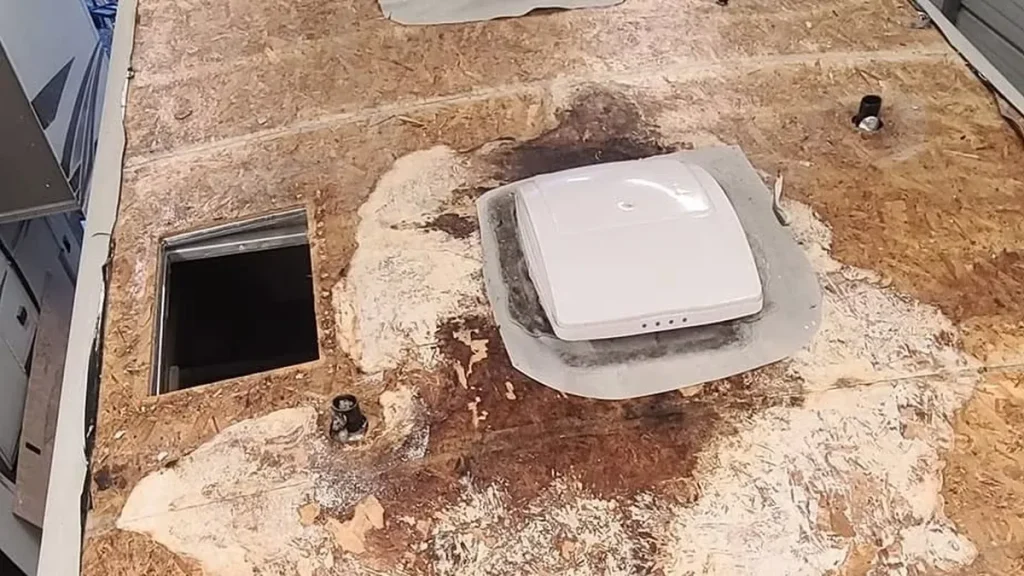
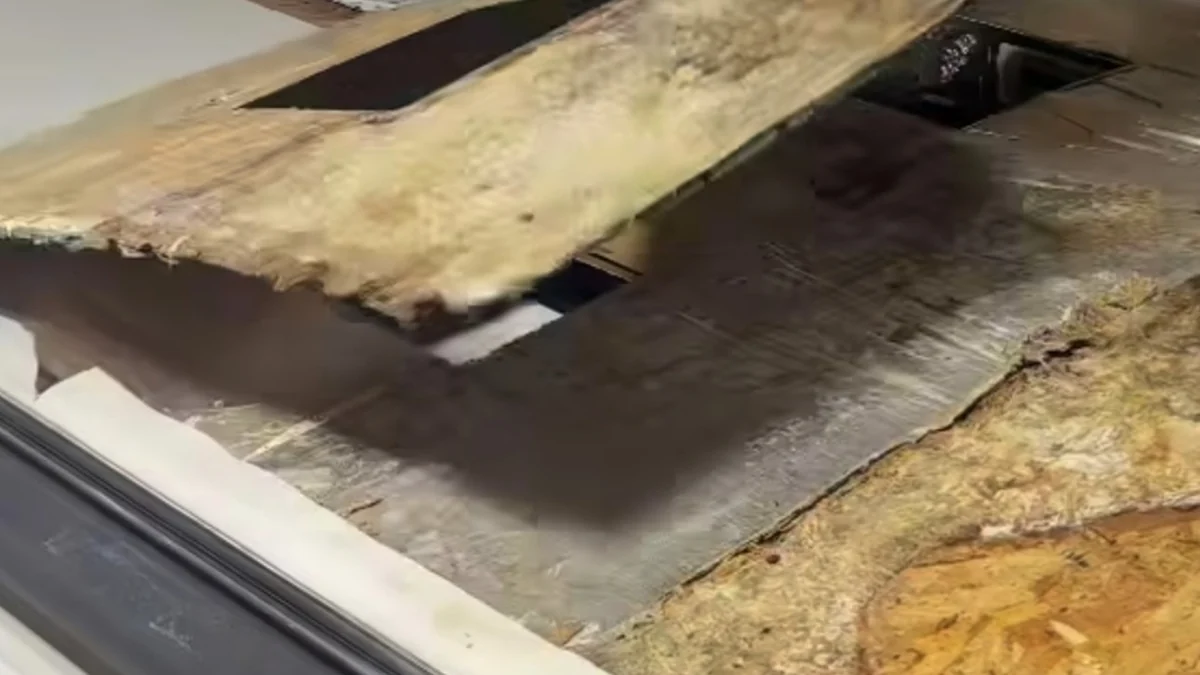
- Check the decking. Soft spots on the roof above the leak mean the plywood or OSB is wet or rotted. That's a structural repair, not a sealant job.
When a leak points to a bigger problem
A single leak at a single fixture is maintenance. Several leaks, repeat leaks at different places, or soft decking around the leak suggest the roof as a whole is near the end of its life. At that point, compare a full recoat with a replacement; our replacement guide has a repair, recoat or replace decision tool, and the coating guide covers what coatings can and can't fix.
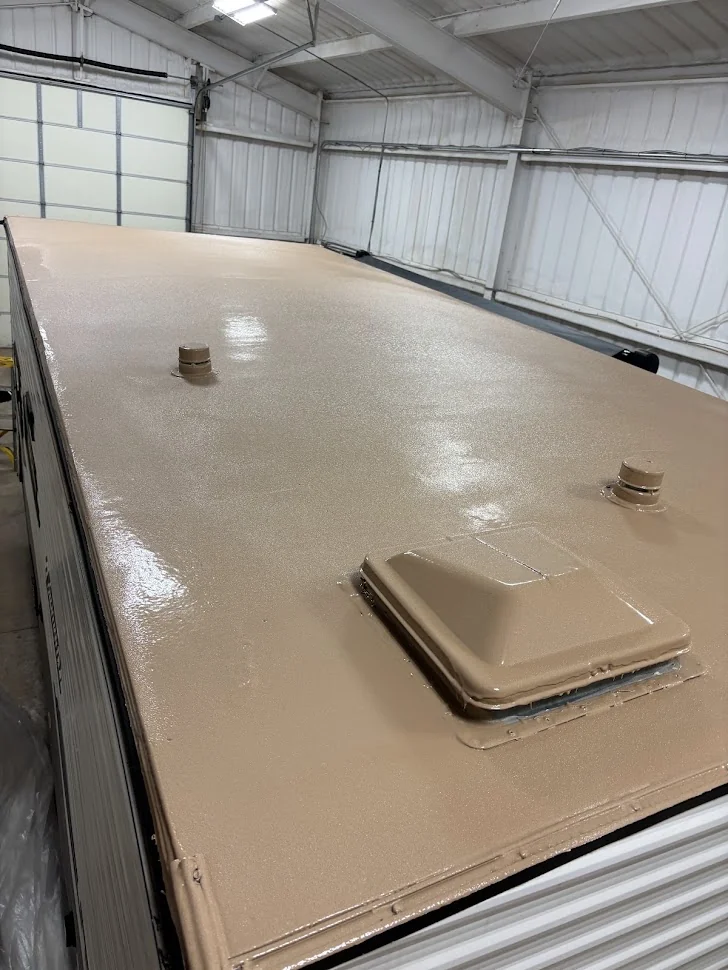
Some owners choose a professionally sprayed roof once the deck is repaired, because a continuous membrane wraps over the seams and around the fixtures that leak most. Applicators using ArmorThane products can pick from three RV roof systems: ArmorSeal 100 AL, SureGrip with a UV topcoat, or ArmorFlex UV. ArmorThane's RV roof coatings page covers the systems, and you can find an applicator for a quote.
Does insurance cover an RV roof leak?
Usually only when the leak comes from a covered event. According to Roadtrippers' roof replacement guide, insurance may cover damage from a collision or a natural event such as a falling limb or a storm, but it's unlikely to cover a roof that leaked because of age, wear or lack of maintenance. Your dated photos and maintenance records are what separate the two. Our posts on what RV insurance pays and documenting a roof claim go further.
How to keep leaks from coming back
Almost every leak starts as a crack in sealant that sat unnoticed. Keystone RV recommends inspecting the roof and its sealants at least every 90 days, and Dicor recommends cleaning its EPDM roofs at least four times a year, so a quarterly wash-and-inspect routine covers both. Our roof maintenance schedule turns that into a calendar, and the roof cleaner guide covers what's safe to wash with.
Vents are the most common leak source; our guide to RV roof vents covers resealing and replacement step by step. If a leak has been going a while, check for RV roof soft spots, and use our guide on how often to reseal an RV roof to keep it from happening again.
Frequently asked questions
How do I find where my RV roof is leaking?
Start at the spot where water shows up inside, then check the fixtures and seams above and uphill from it. A slow hose test with a helper inside, working from the lowest suspect area upward, pins down the entry point. Water often travels before it drips, so the source can be several feet away.
Can I repair an RV roof leak myself?
Most fixture and seam leaks are DIY jobs: removing failed sealant, resealing with the right lap sealant, replacing a gasket or taping a seam. Soft or rotted decking, repeat leaks in several places or leaks you can't locate are worth a professional look.
What is the best temporary fix for an RV roof leak?
A strip of roof repair tape rated for your membrane, applied to a clean, dry surface over the suspect seam or flange, is the most reliable temporary fix. A tarp works only if it's tied down so it can't flap and scuff the roof.
Why does my RV leak only when I drive in the rain?
Driving pushes water against the front of the coach at speed, so the front cap seam, cab-over windows and front marker lights are the usual suspects. They can hold in ordinary rain and still leak on the highway.
Should I caulk around my RV air conditioner?
No. Rooftop AC units seal with a foam gasket and mounting bolts. Leaks usually come from a flattened gasket, loose bolts or a blocked condensate drain, and caulk around the base doesn't fix any of those.
How long should I dry out an RV after a roof leak?
Keep fans and a dehumidifier running until moisture meter readings in the ceiling and walls have dropped and stay stable. That's often several days. If readings don't fall, water is still getting in or is trapped behind a panel.
Sources
- Keystone RV: Roof assembly maintenance tips (inspection interval, sealant)
- Dicor Products: Self-Leveling Lap Sealants
- Dicor Products: EPDM roof care (cleaning frequency)
- Alpha Systems: Product care (approved sealants, application temperature, rain time)
- H.B. Fuller EternaBond: RV repair tape
- Roadtrippers: RV roof replacement guide (insurance and warranty)
Free quote
Ready to stop resealing?
Get a seamless polyurea roof from a certified applicator near you. Tell us about your rig in about a minute.