How Often to Reseal an RV Roof (and How to Tell It’s Time)
In short
What RV makers say about inspecting and resealing roof sealant, the signs it's due, how climate and storage change the schedule, and an interval planner.
On this page
There’s no fixed number of years: RV makers tell you to inspect roof sealant every 1 to 6 months, depending on the brand, and reseal any spot that shows cracks, shrinkage, gaps or peeling. Keystone RV says to inspect the roof at least every 90 days, Forest River’s maintenance chart says to inspect and reseal the roof as needed every month, and Jayco says to inspect all sealants at least every six months and reseal at least once a year as preventive maintenance. In practice that means touching up whatever each inspection turns up, and doing a full strip and reseal when the old sealant is failing in many places.
Below is what each maker actually says, what “reseal” includes and what it doesn’t, how to tell when sealant is due, and an interval planner that builds an inspection schedule for your roof and storage conditions.
What RV manufacturers say
| Source | Roof inspection | Resealing |
|---|---|---|
| Keystone RV owner’s manual | At least every 90 days, focusing on seams, joints and attachments | Clean and reseal any cracks, shrinkage or gaps; same sealant as original |
| Keystone, Alpha TPO roofs | Attachments, seams and joints need maintenance every 90 days | Alpha sealants must be used |
| Keystone, walls, windows, moldings, slide-outs | Every six months | Reseal as necessary |
| Forest River maintenance chart | Roof and roof components: each month | Re-seal as needed |
| Jayco | All sealants at least every six months | Reseal at least once a year as preventive maintenance; replace any cracked, peeling or loose sealant |
The common thread is that sealant is a maintenance item, not a one-time job. Keystone’s manual puts it plainly: once the RV leaves the factory, maintaining the sealants is the owner’s responsibility. Jayco goes further and says failing to maintain seals disqualifies a unit from its towable limited warranty. Check your own owner’s manual, because your warranty is written against your maker’s schedule, not anyone else’s.
Why there’s no set reseal interval
Sealant doesn’t fail on a calendar. Keystone’s manual says roof sealant deterioration is accelerated by heavy sun exposure, big temperature swings that make the roof expand and contract, and cold climates. Jayco lists UV, air pollution and freezing temperatures. The coach twisting on the road works joints too. So two identical trailers can need very different care: one stored indoors in a mild climate and used a few weekends a year, and one parked in full desert sun and towed across the country every season.
That’s why every maker frames it as “inspect on a schedule, reseal on condition.” A firm, flexible, fully bonded bead doesn’t need to be replaced because a date passed. A cracked one needs fixing now, even if it went on last spring.
Signs your RV roof sealant needs resealing
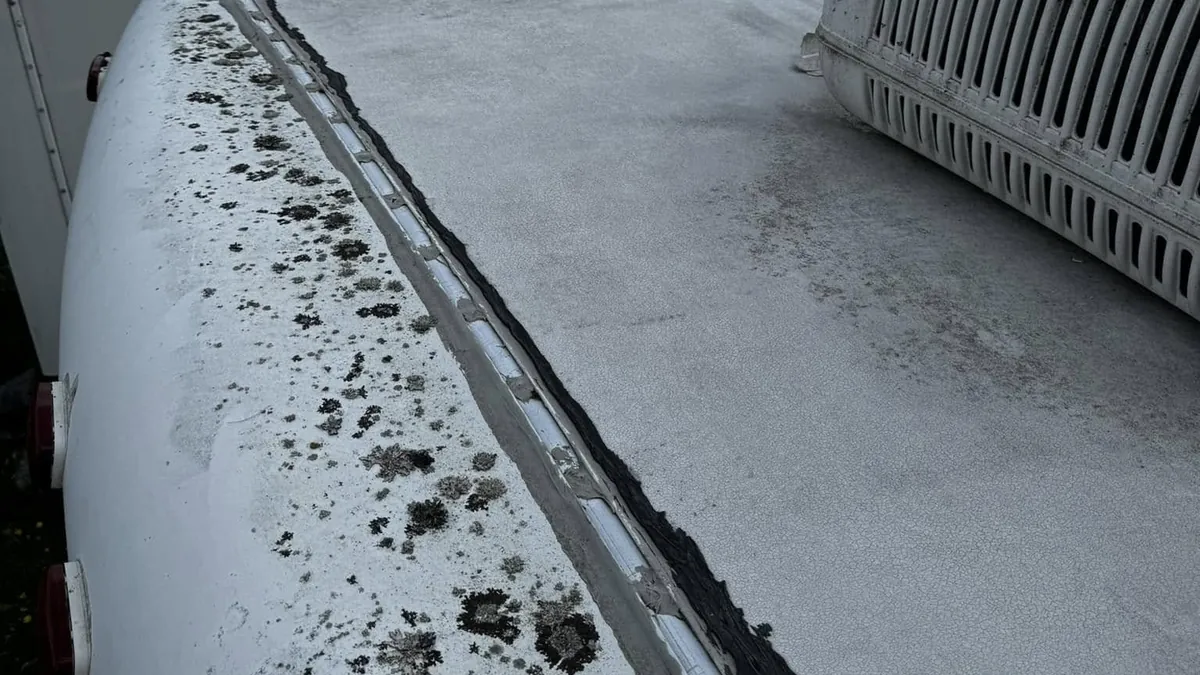
- Cracks in the surface of the bead, especially across it
- Shrinkage: the bead has pulled back and the edge of the flange or seam is showing
- Gaps or voids where the sealant has separated from the roof or the fixture
- Peeling or lifting edges you can get a fingernail under
- Hard, brittle sealant that has lost its flex
- Exposed screw heads on vents, the AC, antenna or trim
- Stains on the ceiling or around interior trim, which mean it’s already late
Keystone’s manual lists cracks, shrinkage and gaps or voids as the things to look for; Jayco adds peeling, breaks, looseness and any sign of physical deterioration.
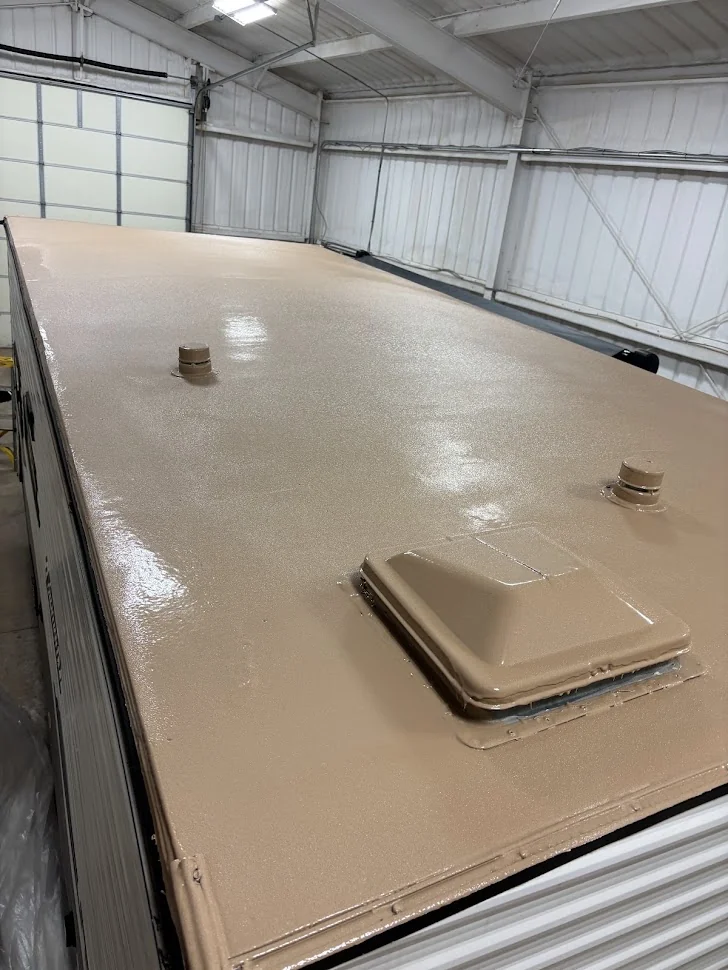
Reseal interval planner
Pick your RV maker, roof type and how the RV is stored and used. The planner gives you the inspection interval your maker publishes, flags conditions that wear sealant faster, and lists your next inspection dates.
RV roof reseal interval planner
Intervals come from each maker’s published guidance. Your owner’s manual always wins.
Where to look at every inspection
| Area | What to check |
|---|---|
| Front and rear cap seams | Edge sealant along the roof termination bar and where the cap meets the roof |
| Side roof edges | Sealant over the edge trim screws along the length of the roof |
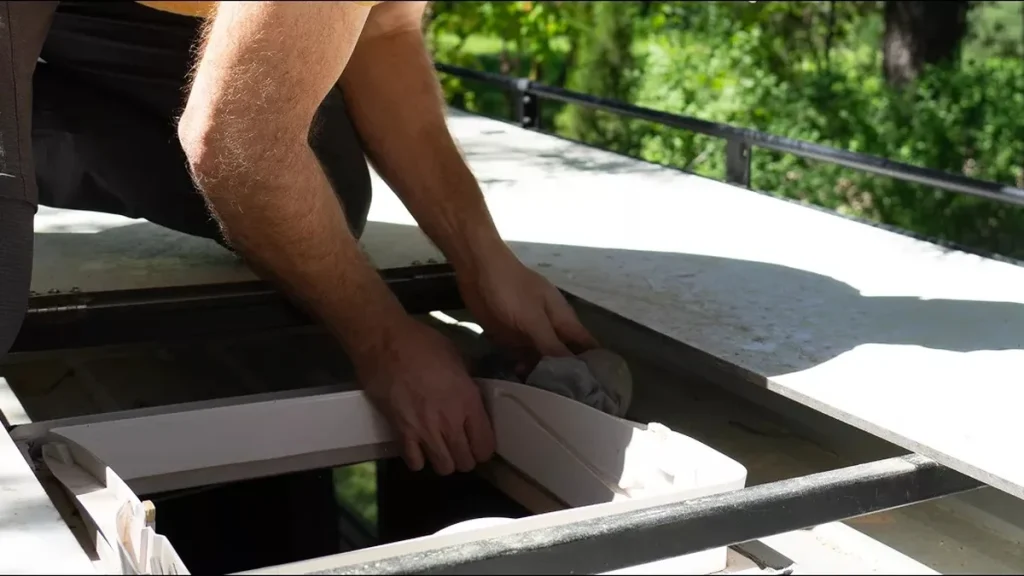
| Vents and fans | Flange corners and every screw head |
| Air conditioner | The gasket from inside (water at the ceiling grille) and any sealant on the roof around the shroud base |
| Skylights and shower domes | Flange sealant and cracks in the dome |
| Antenna, solar and satellite mounts | Screw heads and mounting feet |
| Plumbing vent stacks | Sealant around the base |
| Slide-out roofs | Same items, on a roof you may not see from the main ladder |
For a full walkthrough, see how to inspect your RV roof in 10 minutes and our year-round RV roof maintenance schedule.
Don’t forget the walls and slide-outs
Roof leaks get the attention, but a lot of “roof” water actually comes in lower down. Keystone’s manual sets a six-month inspection for corner moldings (the trim where the front and rear walls meet the sidewalls), windows, other moldings such as roof line and awning rail trim, wall attachments like compartment doors, lights, vents and water fills, and every part of the slide-out box. It singles out corner moldings because a leak there may not show inside until there’s substantial damage. Slide-outs have their own roofs, end walls and moldings, and they’re easy to skip because you can’t see the slide roof from the main ladder with the room extended.
A practical approach is to do the roof on your maker’s roof schedule and fold the walls and slide-outs into every other roof check, so everything gets looked at at least twice a year.
Touch-up, full reseal or coating?
“Resealing the roof” can mean three very different jobs, and it helps to know which one you’re asking a shop to quote.
| Job | What it is | When it fits |
|---|---|---|
| Touch-up | Cleaning a failing spot and adding compatible sealant over or in place of it | A few cracks or gaps found during inspection |
| Full strip and reseal | Removing old sealant from all seams and fixtures, cleaning and applying new | Sealant failing in many places, or layers of mixed products |
| Coating | A liquid coating over the whole roof surface, usually after sealing seams | An aging membrane, chalking, or wanting a seamless surface |
Touch-ups are the routine work. Keystone’s rule for them is to use the same sealant as originally installed, or remove all the old sealant first, because there’s no way to know whether two brands will bond; it also says not to put two different sealants on top of each other, since water can slip between them. Dicor says a cloth dampened with mineral spirits can clean its sealant when soap and water aren’t enough. Our RV roof sealant guide covers which sealant goes on which roof, and our lap sealant explainer covers when patching stops making sense.
A coating is a different job on a different schedule. Dicor says to do any sealant work two weeks before coating its roofs so the sealant has time to cure. For how coatings compare, see our RV roof coating guide and the liquid rubber vs silicone vs polyurea comparison.
How to reseal an RV roof seam or fixture
- Check the forecast. Dicor’s approximate cure times for its lap sealant at 50 to 70 degrees: skins over in 5 minutes, 80 percent cured in 48 hours and fully cured in 30 days. Cooler temperatures slow it down.
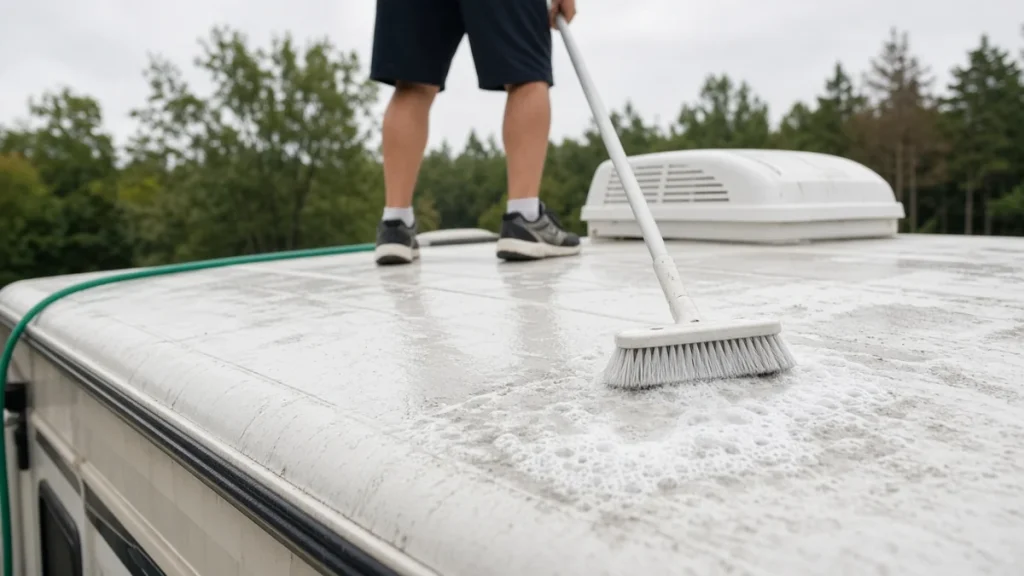
- Wash the roof first with a cleaner your roof maker approves, so you can see every crack. See our RV roof cleaner guide.
- Remove loose and failed sealant with a plastic scraper. Don’t gouge the membrane.
- Clean the area as your sealant maker directs and let it dry.
- Apply the bead. Self-leveling sealant goes on horizontal surfaces; non-leveling sealant is for vertical edges like the front and rear caps.
- Cover every screw head and overlap onto sound sealant and roof surface.
- Leave it alone to cure, and check it at your next inspection.
Dicor notes that its 501 lap sealant can bubble or ripple while it cures and the membrane may lift slightly next to fresh sealant; both are normal and settle within about two weeks.
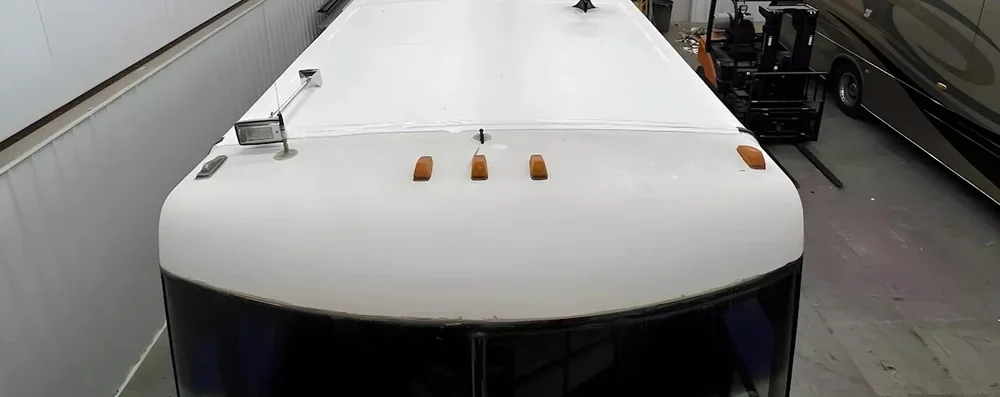
How climate and storage change your schedule
| Condition | Effect on sealant | What to do |
|---|---|---|
| Strong sun, hot climate | UV and heat age sealant faster (Keystone, Jayco) | Stick to the shortest interval your maker gives; consider shade or covered storage |
| Big temperature swings | Expansion and contraction work the joints | Inspect at each change of season |
| Cold winters, snow | Cold accelerates deterioration; Keystone warns snow loads over 2 feet or 30 pounds per square foot can damage the roof | Inspect before and after winter; clear snow before moving the RV |
| Parked under trees | Sap and debris stain and hide cracks; branches scuff | Clean and inspect more often |
| Heavy travel | Road flex works seams | Quick look before and after long trips |
| Indoor or covered storage | Much less UV and weather | Keep your maker’s interval anyway; covered roofs still flex on the road |
If you store outdoors, our guide to RV roof covers explains when a cover helps and when it causes problems, and the winterization guide covers prep before cold weather.
What happens if you skip it
Failed sealant lets water reach the roof decking, and wood decking that stays wet rots. That’s where soft spots come from, and fixing them means cutting out and replacing decking, not just adding sealant. Keystone’s manual warns that a leak at a corner molding may not show inside until there’s substantial damage. Our guides to RV roof soft spots and RV roof leak repair cover what happens next, and our roof vent guide covers the most common leak point.
There’s a warranty angle too. Jayco says unmaintained seals disqualify coverage under its towable limited warranty, and Dicor ties its membrane warranty to maintenance. Keep dated notes or photos of each inspection and reseal, so you can show the work was done. Our RV roof warranty guide explains what to keep.
Keep a simple reseal log
A log takes two minutes per inspection and pays off three ways: you’ll spot spots that keep failing, you’ll have proof of maintenance for a warranty claim, and you’ll have something to show a buyer when you sell. Record:
- The date and who did the inspection
- Each spot that needed work, by location (for example “front cap, driver side corner”)
- The sealant product used, so the next touch-up matches
- Photos before and after
- Any interior signs: stains, soft ceiling, musty smell
If the same seam needs sealant at every check, the problem is usually underneath: movement, a loose screw, rotted wood or a fixture that isn’t bedded properly. Fix the cause rather than adding another layer.
A sample year of sealant care
| When | Task |
|---|---|
| Spring, after storage | Wash the roof, full inspection of roof, walls and slide-outs, touch up anything that cracked over winter |
| Before and after long trips | Quick look at caps, vents and the AC from the ladder |
| Midsummer | Roof inspection, especially in hot, sunny climates; check that lids and skylights aren’t cracking |
| Fall, before storage | Wash, full inspection, reseal before cold weather; clear gutters and debris |
| Winter | Keep snow off the roof and check inside for stains after storms |
| Once a year (Jayco owners) | Preventive reseal, as Jayco recommends |
Shorten this to your maker’s interval: a Keystone owner adds checks so none are more than 90 days apart, and a Forest River owner checks monthly. The maintenance schedule builder can turn this into a printable calendar.
Buying a used RV? Ask about resealing
Sealant history tells you a lot about how a used RV was cared for. Ask the seller when the roof was last inspected and resealed, who did it and what product was used, and whether there are receipts or photos. On the roof, look for many mismatched layers of sealant, silicone smeared over seams, exposed screw heads and cracked beads at the caps. Inside, look for ceiling stains and press gently around vents and the AC for softness. A roof covered in thick, layered patches usually means leaks were chased rather than prevented. Our buyer’s roof inspection checklist walks through the rest.
DIY or have it done?
Inspecting and touching up sealant is one of the most DIY-friendly RV jobs, as long as your roof is walkable and you’re comfortable on a ladder. Keystone’s manual says that if you have any doubt before doing this maintenance, have your dealer do it. A shop makes more sense for a full strip and reseal, for roofs you can’t safely walk on, and when you’re also seeing soft spots or stains inside. Our guide on whether you can walk on an RV roof helps with the first question.
If you’d rather not reseal every year
Some owners eventually move from resealing seams to a roof system that covers the seams and fixture flanges in one continuous layer. A coated roof still needs inspection, and the coating maker’s own care instructions take over from the membrane maker’s. ArmorThane offers three RV roof systems through its applicators: ArmorSeal 100 AL, SureGrip with a UV topcoat, and ArmorFlex UV, described on its RV roof coatings page. They’re one option among several, and our RV roof types guide compares the main choices.
Frequently asked questions
How often should you reseal an RV roof?
There’s no fixed number of years. Inspect on your maker’s schedule (Keystone says at least every 90 days, Forest River each month, Jayco at least every six months) and reseal any spot with cracks, shrinkage, gaps or peeling. Jayco also recommends resealing at least once a year as preventive maintenance.
How long does RV roof sealant last?
It depends on sun, temperature swings, cold and how much the RV travels. Keystone says all of these speed deterioration. Instead of counting years, check it on a schedule and replace it when it cracks, shrinks or pulls away.
Can I put new sealant over old sealant?
Only if it’s the same type and the old sealant is still well bonded. Keystone recommends using the same sealant as originally installed, or removing all the old sealant first, because two brands may not bond to each other.
How long does lap sealant take to cure?
Dicor’s approximate times for its lap sealant at 50 to 70 degrees: skins over in 5 minutes, 80 percent cured in 48 hours and fully cured in 30 days. Cooler weather takes longer.
Does resealing affect my RV warranty?
It can. Jayco says failing to maintain seals disqualifies a unit from its towable limited warranty. Keep dated notes or photos of inspections and resealing.
Should I reseal before coating my RV roof?
Yes, if seams or fixtures need it. Dicor says to do sealant work two weeks before coating so the sealant has time to cure.
Sources
- Keystone RV: 2027 Owner’s Manual (roof seams and joints, Alpha TPO, moldings, snow loads)
- Jayco: Keep your RV properly sealed
- Forest River: Periodic maintenance chart
- Dicor Products: FAQ (lap sealant cure times, sealing before coating)
- Dicor Products: Self-leveling lap sealants
- Dicor Products: Non-leveling lap sealants
- Alpha Systems: Product care
Free quote
Ready to stop resealing?
Get a seamless polyurea roof from a certified applicator near you. Tell us about your rig in about a minute.