RV Roof Coating: Types, Coverage, Cost and How to Apply It
In short
Acrylic, silicone, liquid rubber or sprayed polyurea: which RV roof coating fits your roof, how much you need, what it costs and how to apply it. Includes a coverage and cost calculator.
On this page
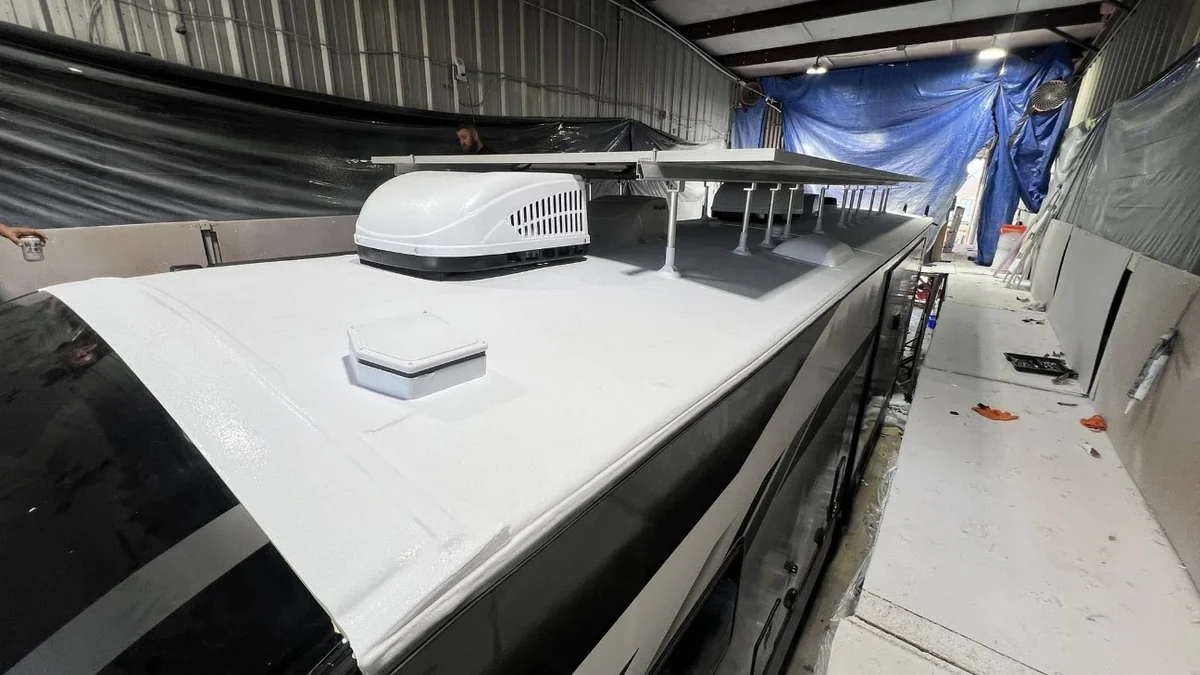
An RV roof coating is a liquid layer, rolled or sprayed over the existing roof, that renews its weatherproofing and UV protection without tearing anything off. Match the coating to the roof: acrylic or silicone systems (with the maker’s primer) for EPDM and TPO, coatings rated for hard surfaces on fiberglass and aluminum, and a professionally sprayed polyurea when you want a thick, seamless membrane. As a sizing benchmark, Dicor’s two-coat silicone system calls for about 4 gallons on an 8 by 30 foot roof.
A coating works well when the roof underneath is still sound and only the surface is wearing out. It’s the wrong move over wet decking, soft spots or a membrane that’s coming loose. This guide covers the coating types, which one fits your roof, how much to buy (there’s a calculator below), how to apply a DIY coating properly, what a professional spray system involves, and the mistakes that make coatings peel.
What a roof coating can and can’t fix
A coating is a skin. It bridges hairline cracks, covers chalky or thin areas of membrane, reflects heat, and gives you a fresh, uniform surface that’s easier to keep clean. A thicker coating can also wrap over seams and up around fixtures so there are fewer separate joints to maintain.
What it can’t do is make a damaged roof structurally sound. If water has already soaked the plywood or OSB deck, coating over it traps the moisture and the rot keeps going under a nice-looking surface. The same goes for a membrane that has pulled away from the deck, sagging areas that pond water, and torn sections. All of that gets repaired first. If you’re unsure, our RV roof repair guide has a damage diagnosis tool that sorts out what you’re looking at.
Check one more thing before you choose a product: what’s on the roof already. Many older roofs have been coated once. Silicone in particular narrows your options. Silicone roofs are generally recoated with silicone after a thorough clean and an adhesion test (GE’s Enduris recoat guide walks through that process), while most other coatings and sealants don’t bond to cured silicone.
The main types of RV roof coating
You’ll see dozens of products, but nearly all of them fall into four groups. The chemistry decides how it’s applied, how thick it goes on and what it can go over.
Acrylic coatings
Water-based, usually white, easy to roll and easy to clean up. Acrylics reflect heat well and are a common choice for EPDM roofs. Dicor’s acrylic RV roof coating, for example, goes on at about 1 gallon per 125 square feet per coat with two coats required, after the roof is treated with Dicor’s cleaner/activator. Acrylics need dry weather to cure and are sensitive to freezing in the first couple of days.
Silicone coatings
Silicone holds up well to UV and standing water and stays flexible. Dicor’s Signature Extended Life silicone coating is rated for EPDM and TPO, needs a roof-specific primer (its cleaner/activator on EPDM, a TPO primer on TPO), and is applied in at least two coats at 1 gallon per 125 square feet per coat. Dicor says the whole process, priming plus both coats, has to be completed in one day, with surface and air temperature between 35 and 100°F and not within 5°F of the dew point. The trade-off is future maintenance: you’ll be using silicone-compatible products on that roof from then on.
Liquid rubber and elastomeric coatings
These build a thicker, rubbery film in several heavy coats. Liquid Rubber’s RV roof coating, as one example, lists a final coverage of about 1 gallon per 50 square feet built up over two or three coats, and its 5-gallon pail is sized for a typical 30-foot RV. They’re forgiving to apply but need longer dry times between coats, so plan for a multi-day window.
Spray polyurea (professional)
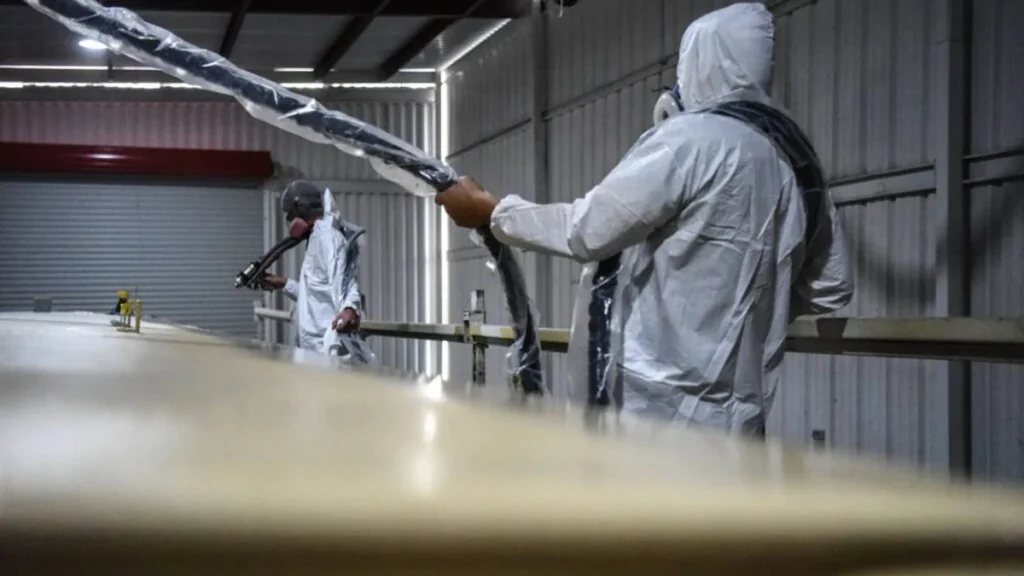
Polyurea is a two-part, fast-setting coating that’s sprayed hot at high pressure through plural-component equipment. It sets in seconds, builds tens of mils in a pass, and forms one continuous membrane over the whole roof, including the seams. ArmorThane’s RV roof page describes typical RV builds in the 60 to 80 mil range. This isn’t a weekend DIY product; you hire an applicator. We cover how that works below.
| Coating type | Typical roofs | How it goes on | Typical coverage | Watch for |
|---|---|---|---|---|
| Acrylic | EPDM (check label for others) | Roller or brush, 2 coats | About 125 sq ft per gallon per coat (Dicor) | Rain and freezing during early cure |
| Silicone | EPDM, TPO with primer | Roller or brush, 2 coats, same day | About 125 sq ft per gallon per coat (Dicor) | Limits future products to silicone |
| Liquid rubber / elastomeric | EPDM and other surfaces listed on the label | Roller, 2 to 3 heavy coats | About 50 sq ft per gallon total (Liquid Rubber) | Long dry times, multi-day job |
| Spray polyurea | Any sound, properly prepped roof | Plural-component spray rig, trained applicator | Set by thickness, often 60 to 80 mils | Applicator skill and prep quality |
If your roof is rubber, our separate rubber roof coating guide goes deeper on EPDM-specific prep. For a side-by-side of membranes and sprayed systems, see comparing RV roof coating options.
Match the coating to your roof
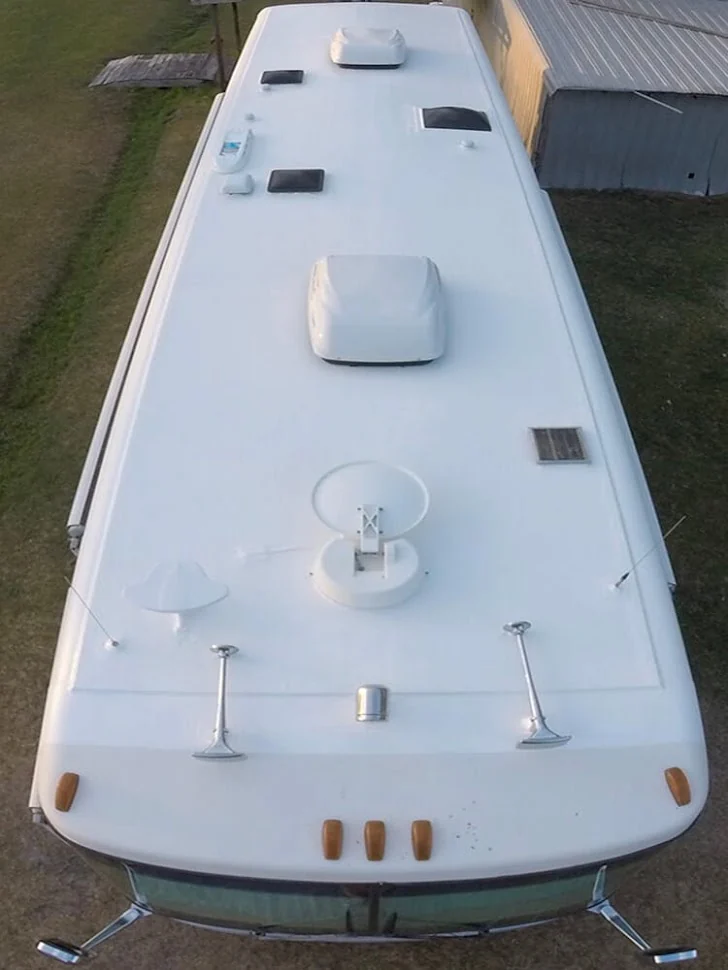
The roof material decides the short list, and the product label has the final word. Here’s how it usually breaks down.
- EPDM (rubber): acrylic, silicone or elastomeric coatings made for EPDM, each with its own cleaner or primer. Skip petroleum and citrus cleaners, which can damage rubber.
- TPO: a coating that specifically lists TPO, with its primer. TPO is slick, and coatings that skip the primer step tend to peel in sheets.
- PVC or proprietary membranes: check with the roof maker first; some warranties restrict coatings.
- Fiberglass: coatings rated for fiberglass, after a thorough clean and a scuff to break the gloss.
- Aluminum: coatings rated for metal, with special attention to seams and rivets. Our Airstream roof post covers aluminum quirks.
- Already coated with silicone: silicone again, or a full removal before anything else.
RV roof coating coverage and cost calculator
Enter your roof size and choose a coating type. The calculator uses each maker’s published coverage, adds a margin for texture and fixtures, and shows gallons, coats and approximate film thickness. Add the price you’re seeing per gallon to get a material cost. For sprayed polyurea, it gives the theoretical gallons for the thickness you pick and a cost range based on published per-foot pricing.
Coverage and cost calculator
Estimates only. Your coating’s label and your applicator’s quote come first.
How thick should an RV roof coating be?
Thickness is where coatings quietly succeed or fail, and it’s easy to work out. One US gallon covers 1,604 square feet at a thickness of one mil (a thousandth of an inch). So a coating spread at 125 square feet per gallon goes on about 12.8 mils wet per coat. How much of that is left when it dries depends on the product’s volume solids: a coating that is 50 percent solids by volume leaves roughly half its wet thickness behind.
That’s why the coverage rate on the label matters. Stretching a gallon over 200 square feet instead of 125 cuts the film by more than a third, and thin coatings are the ones that wear through, crack or chalk away early. For a deeper reference on units, see our mils, millimeters and inches conversion chart.
Sprayed polyurea works differently because the common systems are 100 percent solids, so wet and dry thickness are the same. At 60 mils, a gallon theoretically covers about 27 square feet. Real jobs use more because of overspray and masking, which is one reason applicators quote by the foot rather than by the gallon.
| Coverage rate | Wet film per coat | Dry film at 50% volume solids | Dry film at 100% solids |
|---|---|---|---|
| 200 sq ft/gal | 8.0 mils | 4.0 mils | 8.0 mils |
| 125 sq ft/gal | 12.8 mils | 6.4 mils | 12.8 mils |
| 50 sq ft/gal | 32.1 mils | 16.0 mils | 32.1 mils |
| 27 sq ft/gal | 59.4 mils | 29.7 mils | 59.4 mils |
How to apply a DIY RV roof coating, step by step
Every coating has its own instructions, and they override anything general. That said, the sequence is close to the same for nearly every roll-on product.
- Pick the weather window first. Look for a stretch with no rain, dew or freezing in the forecast for the full cure time. Dicor’s silicone, for example, needs 35 to 100°F and a surface more than 5°F above the dew point, and the whole system in one day. Early mornings with heavy dew are a common trap.
- Repair before you coat. Replace soft decking, patch tears, re-attach loose membrane and reseal fixtures with compatible sealant. Our RV roof sealant guide covers which sealant matches which roof.
- Clean thoroughly. Scrub with the coating maker’s cleaner or an approved roof cleaner, rinse well and let it dry fully. Oxidized chalk and dirt are the most common reasons coatings peel.
- Prime or activate. Apply the primer or activator the coating maker specifies for your membrane, and follow its dry time before coating.
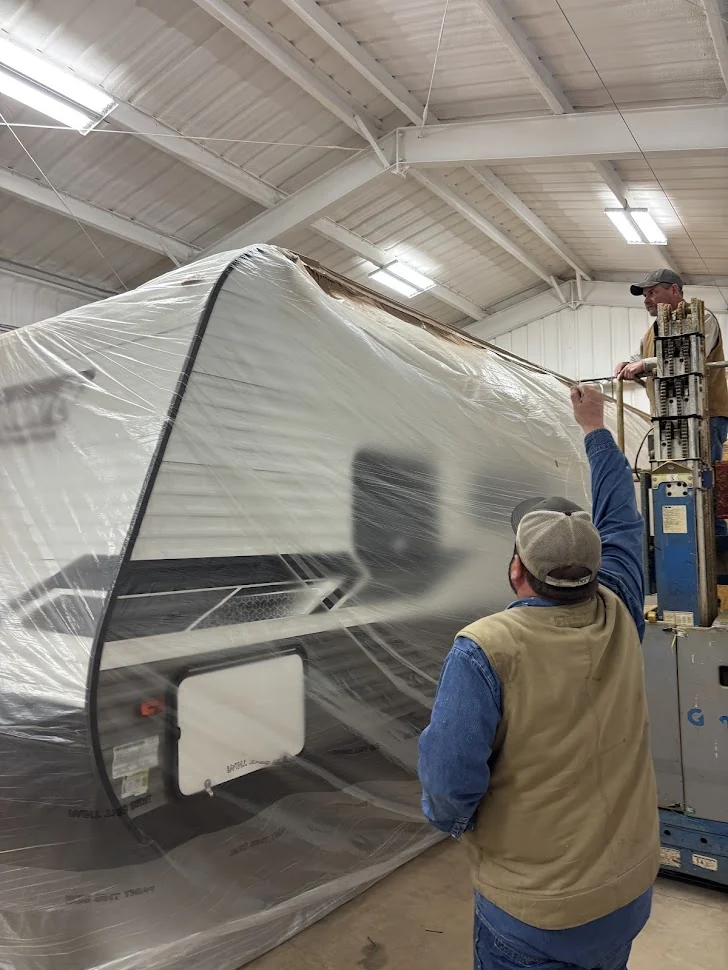
- Mask and protect. Run plastic sheeting down the sidewalls and end caps to the ground, and cover vents, skylights and the AC shroud. Confirm the AC condensate drains away from the coated area; our condensate drainage check explains why.
- Cut in around fixtures. Brush coating around vents, the AC, antennas and roof edges first, working it into seams.
- Roll the first coat. Work in sections with a medium-nap roller at the coverage rate on the label. Measure your sections so you’re not guessing.
- Let it dry, then roll the second coat at a right angle. Cross-rolling fills pinholes and evens out thin spots.
- Inspect and clean up. Look for thin areas, voids and pinholes while you can still touch them up, then pull the masking.
Professional sprayed roofs: how they work
Sprayed polyurea is a different category of job. An applicator removes or masks fixtures, cleans and prepares the roof, wraps the coach, and sprays a continuous membrane over the whole roof and its seams with heated, high-pressure plural-component equipment. Because the material sets in seconds, the roof can usually be handled the same day, and the result is one seamless layer rather than a membrane with dozens of sealed joints.
ArmorThane, which makes spray polyurea systems used by independent applicators, offers three RV roof products. Applicators pick between them based on the roof and the look the owner wants:
| ArmorThane product | What it is | How it’s used on RV roofs |
|---|---|---|
| ArmorSeal 100 AL | Fast-set, 100% solids modified polyurea with aluminum pigment, made primarily for roofing | Sprayed directly as the roof membrane; can be topcoated if a different color is wanted |
| SureGrip | Aromatic, fast-set spray polyurea with high elongation | Basecoat for build and toughness, with a UV-stable topcoat over it |
| ArmorFlex UV | Aliphatic, color-stable polyurea (UV-resistant) | Sprayed on its own as a single, color-stable system in white, grey, black or clear |
The difference between aromatic and aliphatic matters here. Aromatic polyureas are tough and economical but change color in sunlight, which is why they’re either pigmented to shield themselves or topcoated. Aliphatic products hold their color under UV. For specifications, see ArmorThane’s RV roof coatings page. To get quotes, find an applicator near you and bring the information listed in our estimate packet guide. Warranty terms vary by applicator, so ask for them in writing.
A thicker roof can change your clearance slightly once fixtures are reinstalled, so it’s worth re-measuring afterward. This short post explains how to update your travel height.
What an RV roof coating costs
For DIY coatings, cost is mostly material: gallons times the shelf price, plus primer or cleaner, rollers, brushes, masking and tape. The calculator above handles the gallon math, and prices vary enough by brand, size and store that it’s better to plug in what you’re actually seeing than to trust a blanket number.
Professional sprayed roofs are priced by the job, usually quoted per linear foot of coach. ArmorThane’s 2026 cost guide puts a sprayed polyurea roof at roughly 170 to 210 dollars per linear foot, and a coat-over or reseal job well below that, from about 500 to 3,000 dollars depending on scope. Rotted decking, fixture replacement and travel add to any quote. For a fuller breakdown, see ArmorThane’s RV roof replacement cost guide, and compare against our roof replacement guide if a coating may not be enough.
Why RV roof coatings fail
When a coating peels or cracks early, it’s rarely the product alone. These are the usual causes:
- Coating over chalk or dirt. Oxidized membrane acts like a release layer.
- Skipping the primer or activator. Especially on TPO, where adhesion depends on it.
- Coating over silicone. Non-silicone coatings won’t hold onto it.
- Applying into dew or rain. Moisture on the surface or during early cure ruins adhesion.
- Going too thin. Stretching coverage to save a gallon cuts the life of the coating.
- Coating over wet or soft decking. The rot continues under the new surface.
- Forgetting the AC condensate. Constant water at one spot can soften some coatings over time.
Coated roofs still need checks. Use our roof maintenance guide and keep up with seasonal inspections.
Looking after a coated roof
A coating changes what maintenance looks like, but it doesn’t end it. The surface is now the coating, so you clean and inspect it on the coating maker’s terms rather than the original membrane’s. Use the cleaner the coating maker recommends, a soft brush and plenty of water. Pressure washers can lift edges and drive water under seams, so keep the nozzle well back or skip it.
Fixtures are still the weak points. Vents, skylights, the AC and anything bolted on after the coating was applied need the same seasonal look they always did. Touch-ups should use a sealant the coating maker approves; Dicor, for instance, points owners of its silicone-coated roofs to its Ultra sealant for lap seal upkeep. If you add solar or a new antenna, plan the mounts with the coating in mind; our solar installation post covers drilling and sealing on a coated roof.
Keep a simple record: the product name, batch or receipt, the date, the coverage you actually used and photos before and after. If you ever need a warranty claim or an insurance adjuster looks at the roof, that file is worth more than any memory of the job. It also tells the next person exactly what is on the roof, which saves them from guessing at compatibility.
Still choosing a product? Our liquid rubber vs silicone vs polyurea comparison filters the options by roof type, and the RV roof types guide helps you confirm what is up there now. Before any coating, clean with a product both makers approve (see the RV roof cleaner guide), and afterward keep it on the roof maintenance schedule.
Before coating, check the deck: coatings can’t fix RV roof soft spots, and rotted decking has to be replaced first. Our guides to how often to reseal an RV roof and whether you can walk on an RV roof help with the prep work, and if the RV is stored outdoors, see when RV roof covers help.
Frequently asked questions
How many gallons of coating does an RV roof need?
It depends on the product’s coverage rate and number of coats. Dicor’s two-coat silicone system is applied at 1 gallon per 125 square feet per coat, and Dicor says an 8 by 30 foot roof takes 4 gallons. Liquid Rubber lists about 1 gallon per 50 square feet in total, so the same roof would need about 5 gallons.
Can you put a coating over an RV rubber roof?
Yes, if the membrane is still bonded and the decking underneath is dry and solid. Use a coating made for EPDM and the cleaner or primer its maker specifies. Repair soft spots, tears and loose membrane before coating.
Is silicone or acrylic better for an RV roof?
Both work on EPDM when applied to the maker’s instructions. Silicone handles standing water and UV well, but future coatings and sealants will need to be silicone-compatible. Acrylic is water-based and easy to apply but needs dry, frost-free weather to cure. Your roof type and climate decide it more than the label does.
How long does an RV roof coating last?
It varies with the product, thickness, climate and how the roof is maintained, so check the coating’s warranty for a realistic figure. Thin coats wear out first, which is why applying at the labeled coverage rate matters.
How thick should an RV roof coating be?
Follow the label’s coverage rate. At 125 square feet per gallon, each coat goes on about 12.8 mils wet. Professionally sprayed polyurea roofs are often built to 60 to 80 mils, according to ArmorThane.
Can I coat over silicone on my RV roof?
Generally only with another silicone coating, after a thorough clean and an adhesion test. Most other coatings and sealants won’t bond to cured silicone, so otherwise it has to be removed completely.
Sources
- Dicor Products: Signature Extended Life Silicone Coating (coverage, primers, temperature and dew point, one-day application)
- Liquid Rubber: RV roof coating FAQ and application guide (coverage, coats)
- Dampney: Calculating coating requirements (1,604 sq ft per gallon at one mil, volume solids)
- GE Enduris: Silicone recoat field installation guide (recoating silicone)
- ArmorThane: RV roof coatings (typical polyurea thickness, products)
- ArmorThane: RV roof replacement cost guide (per-foot pricing ranges)
- ArmorThane technical data sheets for ArmorSeal 100 AL, SureGrip and ArmorFlex UV
Free quote
Ready to stop resealing?
Get a seamless polyurea roof from a certified applicator near you. Tell us about your rig in about a minute.