EternaBond Tape on an RV Roof: How to Use It the Right Way
In short
What EternaBond tape is, which version to buy, where it belongs on an RV roof, how to apply and remove it, and how much you need. Includes a tape-length estimator.
On this page
EternaBond is a 35-mil roof repair tape with a non-curing adhesive and a UV-stable backing, and on an RV it’s used to seal seams, roof edges, fixture flanges and tears in one step. H.B. Fuller lists it for EPDM, TPO, Hypalon, aluminum, galvanized steel, wood and fiberglass, but not for silicone-treated surfaces. It works when the surface is truly clean (H.B. Fuller lists EternaClean, acetone or lacquer thinner, though Dicor and Alpha Systems say no acetone on their membranes), the air is between 40 and 150°F, and you press it down hard with a steel roller.
It’s one of the most useful things you can keep in an RV, and also one of the easiest to waste if the prep is rushed. This guide covers what the tape is, which version to buy, where it belongs on a roof and where it doesn’t, how to apply it step by step, how to estimate how much you need (there’s an estimator below), and how to get it off again if you ever have to. We’re not affiliated with H.B. Fuller; the specs here come from its published product information.
What EternaBond tape actually is
EternaBond tapes use what H.B. Fuller calls MicroSealant technology. According to the RoofSeal data sheet, the adhesive is a 100 percent solids blend of synthetic resins, thermoplastics and non-curing rubber with a built-in primer, bonded to a UV-stable backer and protected by a release liner. “Non-curing” is the key part. Unlike lap sealant, the adhesive doesn’t harden over time, so it can keep moving with the roof as the coach flexes and goes through hot and cold cycles.
| Property (RoofSeal) | Published value |
|---|---|
| Total thickness | 35 mils |
| Elongation | 700% (ASTM D882) |
| Application temperature | 40 to 150°F (4 to 65°C); EternaPrime recommended below 40°F |
| Service temperature | -40 to 212°F (-40 to 100°C) |
| Stays flexible to | -70°F (-57°C) |
| Standard rolls | 2, 3, 4 and 6 inches by 50 feet; wider widths available; 4 and 6 inch by 10 foot repair packs |
| Backer colors | White, black, gray and tan (varies by product) |
| Not compatible with | Silicone sealants and lubricants |
H.B. Fuller also says the tape seals to itself, so it can be cut and folded around an object, and that a properly installed repair can last 20 years or more. That’s the maker’s claim, and it assumes the prep and pressure steps were done right.
Which EternaBond product to buy
There are several EternaBond products, and the names on the shelf don’t always make the differences obvious.
| Product | What it is | Best use on an RV |
|---|---|---|
| RoofSeal | MicroSealant tape with a smooth UV-stable backer | Most roof seams, edges, flanges and tears; not meant to be painted |
| WebSeal | MicroSealant core with a woven polyester backing | Areas you plan to paint or coat over later |
| AlumiBond | MicroSealant core with an aluminum backing | Aluminum or galvanized steel surfaces where you want it to blend in |
| DoubleStick | Double-sided MicroSealant adhesive | Bonding two surfaces together, such as under a flange or trim |
| EternaClean | Aerosol solvent cleaner | Surface prep before tape |
| EternaPrime | Aerosol adhesion booster | Cold weather (below 40°F), porous or rough surfaces |
For most owners, a roll of 4-inch RoofSeal in the color of the roof plus a can of EternaClean covers nearly everything. Wider rolls are handy for covering a long tear or a full front or rear cap seam in one pass.
Color is mostly about looks and heat. White or tan tape on a white or tan roof blends in and stays cooler in the sun, while black and gray suit darker roofs and aluminum trim. Width matters more than color. A strip that only just covers a seam leaves little margin for error, so when in doubt, go one size wider. It’s also worth buying a little more than the estimator says. A partial roll stored in a cool, dry spot in its original packaging is the first thing you’ll reach for when a branch finds your roof on a trip.
Where to use it on an RV roof, and where not to
Tape shines on long joints and on damage that sealant alone can’t hold. If you’re not sure what your roof is made of, check our RV roof types guide first. Good places for it include:
- Front and rear cap seams. Where the roof membrane meets a fiberglass or aluminum cap, the two materials move differently and sealant tends to crack along the joint.
- Roof edges and termination bars. Taping over the edge trim and its screws covers dozens of potential leak points at once.
- Tears and punctures. A clean, rounded patch of tape over sound decking is a quick, lasting repair.
- Around vent and skylight flanges. Tape around the flange, overlapping the roof membrane, adds a continuous seal over the screws.
- Aluminum roof seams, where AlumiBond or RoofSeal can cover long joints. Our aluminum roof post explains why those seams move.
Places where tape is the wrong tool, or needs extra thought:
- Over silicone. It won’t bond. All silicone has to come off first.
- Over soft or wet decking. It will seal the water in. Fix the wood first; our RV roof repair guide covers how.
- Under or around the air conditioner. The AC seals with its own gasket, and you’ll need to remove the unit someday.
- Anything you service often. Taping over a fixture you remove every season just makes more work.
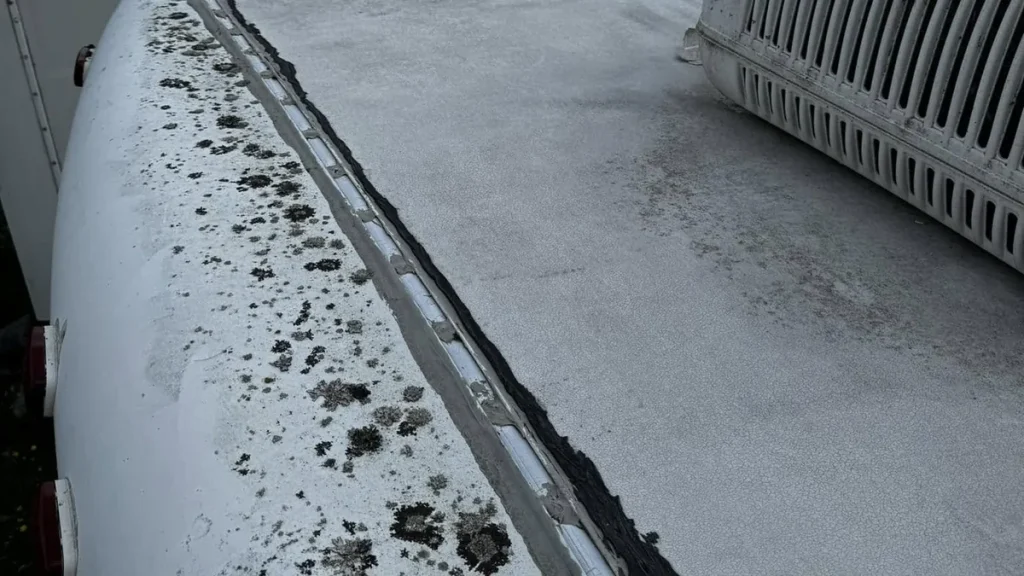
- Over old, cracked sealant. H.B. Fuller recommends removing old sealant that’s dirty, dry or cracked before taping, because a bad surface gives a bad seal.
EternaBond tape length estimator
Add up the places you plan to tape. The estimator converts it to linear feet, adds overlap and waste, and tells you how many 50-foot rolls (or 10-foot repair packs) to buy.
Tape length estimator
Edit any number. Leave a line at 0 if you’re not taping it.
How to apply EternaBond tape, step by step
The steps are simple. Doing every one of them is what makes the difference.
- Check the weather and the tape. Work between 40 and 150°F, on a dry day, and keep the roll at room temperature beforehand; cold tape is stiff and grabs less. Below 40°F, H.B. Fuller recommends EternaPrime.
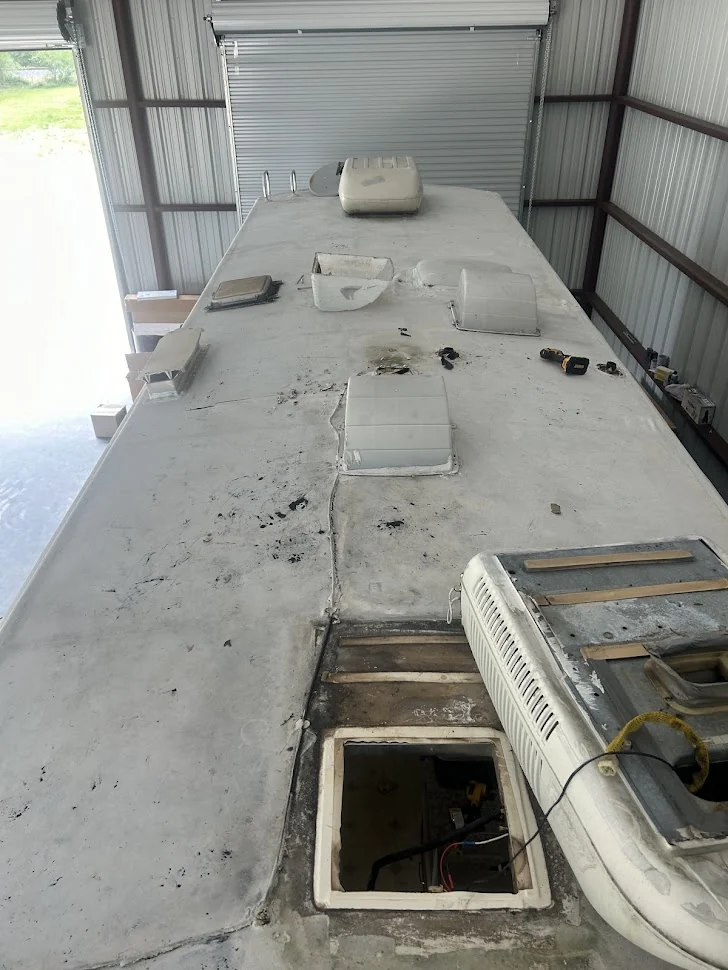
- Remove what shouldn’t be there. Scrape off loose, cracked or dirty lap sealant with a plastic scraper. Remove every trace of silicone.
- Clean the area wider than the tape. Wipe with EternaClean, acetone or lacquer thinner. H.B. Fuller’s instructions say not to use detergent cleaners, which can leave a film. On a Dicor EPDM or Alpha Systems roof, skip the acetone: both makers say not to use it on their membranes. Use EternaClean or the prep product your roof maker approves, as a quick wipe on the taped area only, and never let solvent soak into the membrane.
- Scuff aged thermoplastic roofs. On older TPO, PVC or Hypalon, the instructions call for scuffing the surface with sandpaper to expose fresh material, then cleaning again.
- Let it dry completely. The data sheet is plain about it: surfaces must be clean and dry.
- Measure and cut with rounded corners. Rounded corners resist peeling. Plan for the tape to extend well past the seam or damage on both sides.
- Peel the liner gradually. Pull back a few inches of release liner at a time as you lay the tape, so dust and fingers don’t touch the adhesive. Don’t stretch the tape as you go.
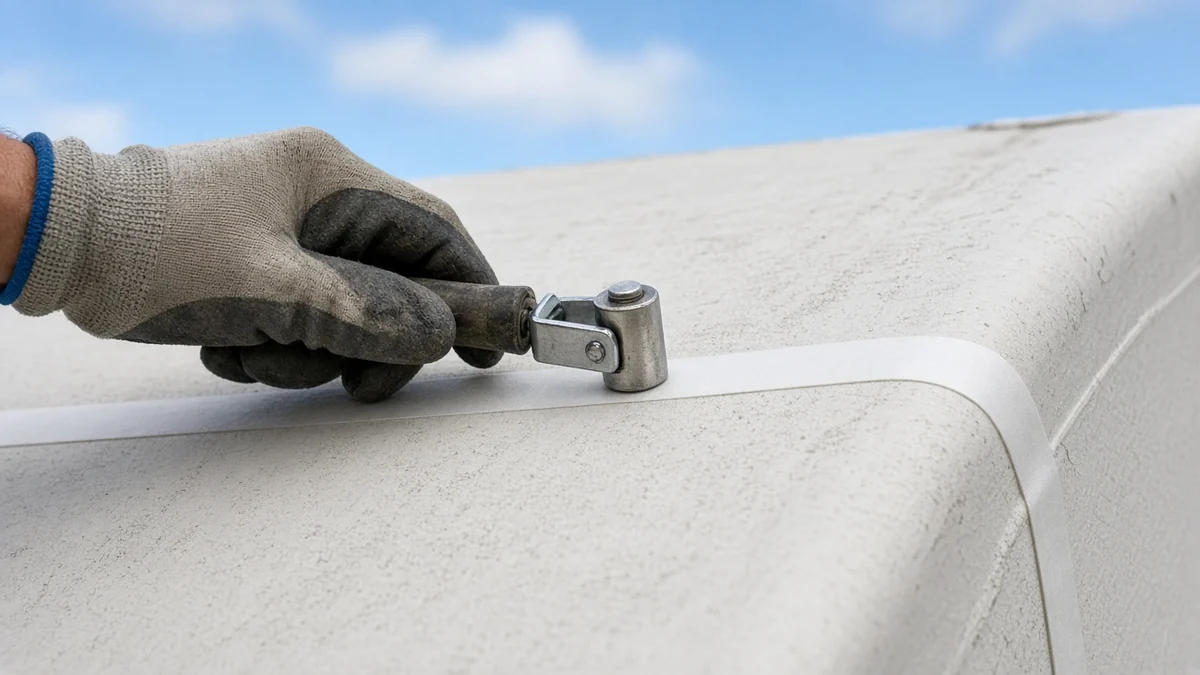
- Roll it hard. Press with a steel roller, working from the center out to the edges to push out air and activate the bond. Hand pressure works in a pinch, but a roller gets a better, more even bond.
- Overlap the ends. Where two pieces meet, overlap them. The tape seals to itself, so a generous overlap closes the joint.
That’s it. Unlike lap sealant, there’s no separate cure to wait for before the area can see rain, though the bond builds as the adhesive settles into the surface.
Tips for the spots you’ll tape most
Front and rear cap seams
This seam runs across the full width of the roof, so it’s usually one continuous piece. Center the tape on the joint so it lands on both the roof membrane and the cap, and lay it without stretching from one side to the other. Where the seam turns down at the corners, the tape has to follow a curve. Make small relief cuts at the edge of the tape rather than pulling it into a wrinkle; a wrinkle is a channel for water. Then roll the whole length, paying extra attention to the corners.
Roof edges and termination bars
Many owners tape right over the edge trim to cover the line of screws. Use a width that reaches past the screws onto the roof membrane and down past the bottom of the trim, which often means 4 inches or more. Make sure every screw is snug and the old sealant is cleaned off before you start; tape that bridges over a lump of old sealant leaves a gap along each side of it. Because these runs are long, work in manageable lengths of a few feet at a time, peeling the liner as you go.
Vent and skylight flanges
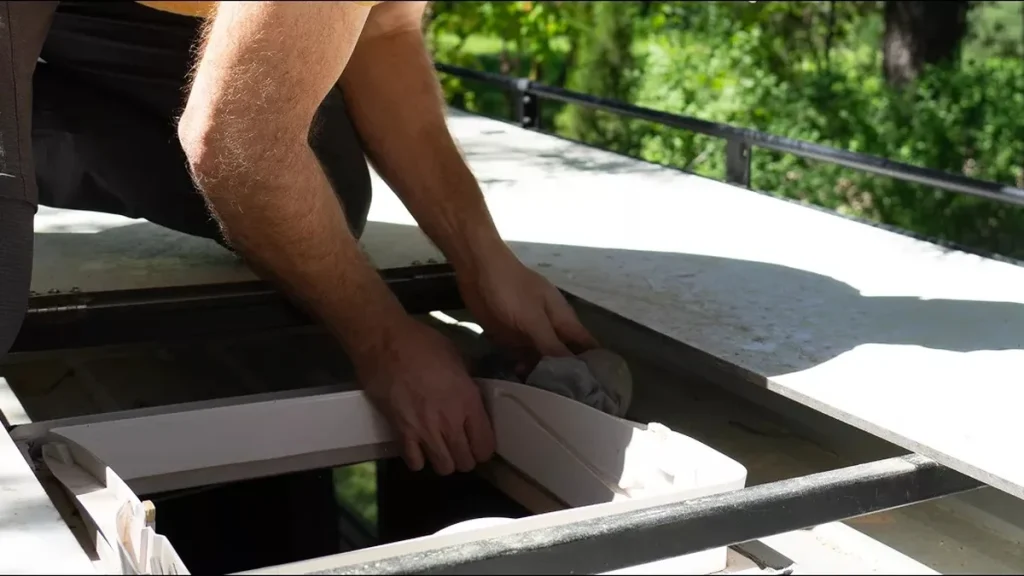
Run one piece along each side of the flange, overlapping the roof membrane by at least a couple of inches, and overlap the corners. Since the tape seals to itself, overlapped corners close up well. Leave the vent lid and its hinge clear so it still opens. If the flange has a raised lip, press the tape firmly into the inside corner where the flange meets the roof before rolling the flat sections.
Tears and punctures
Clean an area larger than the patch, then cut a piece that reaches at least a couple of inches past the damage in every direction, with rounded corners. For a long tear, a single wide piece is better than several narrow strips. Press from the middle outward. Before you patch, press around the damage; if the deck feels soft, the patch can wait until the wood is fixed.
Cold-weather repairs
If you have to make a repair below 40°F, the tape needs help. Warm the roll indoors first, use EternaPrime on the cleaned surface as H.B. Fuller recommends, and roll with extra pressure. Revisit the repair when the weather warms up and re-roll any edge that looks lifted.
EternaBond tape vs lap sealant
These aren’t really competitors. Most well-kept roofs use both, each where it fits.
| EternaBond tape | Lap sealant | |
|---|---|---|
| Best at | Long seams, edges, tears and patches | Around fixtures, screw heads and irregular shapes |
| Cure | Non-curing adhesive; seals on application | Skins in minutes, waterproof in hours, full cure in weeks (Dicor self-leveling) |
| Surface prep | Critical: solvent clean, dry, scuff aged thermoplastics | Clean and dry |
| Temperature to apply | 40 to 150°F (primer below 40°F) | Varies; cures slowly in cold weather |
| Inspection | Look for lifted edges or corners | Look for cracks, shrinkage and gaps |
| Over silicone | No | No |
For more on choosing a sealant for fixtures, see our RV roof sealant guide and its sealant picker. For a refresher on lap sealant types, our earlier post on lap sealant lifespan and when to stop patching is a good companion.
Can you coat or paint over EternaBond?
It depends on the product. H.B. Fuller says RoofSeal’s smooth UV-stable backer isn’t meant to be painted, and that sanding, painting or altering it isn’t recommended. If you need a paintable or coatable surface, the maker points to WebSeal, which has a woven fabric backing for paint adhesion.
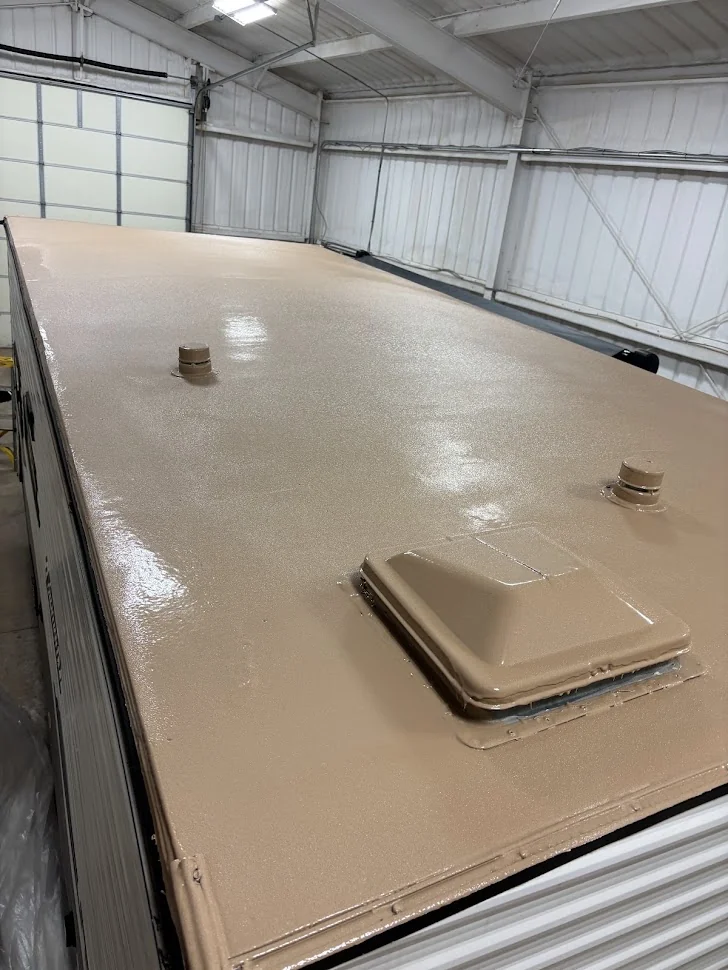
If you’re planning a full roof coating, check what the coating maker says about taped seams before you start; our RV roof coating guide covers prep. If you’re having a seamless roof sprayed, tell the applicator about any tape on the roof. Applicators who spray ArmorThane RV roof systems (ArmorSeal 100 AL, SureGrip with a topcoat, or ArmorFlex UV) handle seams and fixtures as part of their own prep, and they’ll decide whether existing tape stays or comes off. ArmorThane’s RV roof coatings page explains those systems, and you can find an applicator nearby.
How to remove EternaBond tape
EternaBond is meant to be permanent, so removing it takes patience. H.B. Fuller’s own advice is to warm the area gently with a heat gun or hair dryer, pull the tape back slowly, scrape the remaining adhesive with a plastic putty knife, and clean the residue with EternaClean or acetone. Go easy with heat on a rubber or TPO membrane, and never use a metal blade on it. Check your roof maker’s guidance on solvents before using them on the membrane.
How long does it last?
H.B. Fuller says a properly installed EternaBond repair can last 20 years or more. In practice, how long a given strip lasts depends on the prep, the surface underneath and what the roof goes through. Check taped areas during your regular roof inspections, which Keystone RV recommends at least every 90 days; our 10-minute roof inspection checklist makes that quick. Look for lifted corners, edges that have collected dirt underneath, or any spot where water seems to sit against the tape. A lifted corner can usually be cleaned, trimmed round and covered with a new piece that overlaps sound tape.
Tape is also a great thing to carry. A roll and a can of cleaner are central to the kit in our post on roof emergencies on the road. If tape and sealant can no longer keep up with your roof, compare your options in our RV roof replacement guide.
Tape is often the first fix for a leak. To find where the water is actually coming in, use the locator in our RV roof leak repair guide, and before you tape, clean with a product your roof maker approves; the RV roof cleaner guide covers which ones.
Tape is a fix for a surface problem. If the roof gives underfoot around the damage, read our guide to RV roof soft spots first. For vent flanges specifically, see our guide to RV roof vents, and check whether you can walk on an RV roof before you go up.
Frequently asked questions
What surfaces does EternaBond stick to?
H.B. Fuller lists EPDM, TPO, Hypalon, aluminum, galvanized steel, wood and fiberglass. It is not recommended for silicone-treated surfaces, and RoofSeal’s data sheet says it is not compatible with silicone sealants or lubricants.
Can you put EternaBond over old lap sealant?
H.B. Fuller recommends removing old sealant first, because it’s usually dirty, dry or cracked and a bad surface leads to a bad seal. Scrape it off with a plastic scraper and clean the area before taping.
How do you clean an RV roof before applying EternaBond?
Wipe the area with EternaClean or a non-residue solvent such as acetone or lacquer thinner and let it dry completely. Avoid detergent cleaners. On aged TPO, PVC or Hypalon, scuff with sandpaper and clean again.
What temperature do you need to apply EternaBond?
Between 40 and 150 degrees Fahrenheit. Below 40, H.B. Fuller recommends using EternaPrime to improve adhesion. Keep the roll at room temperature before you use it.
Can you paint over EternaBond RoofSeal?
H.B. Fuller says RoofSeal’s smooth UV-stable backer isn’t intended for painting. For areas you want to paint or coat, it recommends WebSeal, which has a woven fabric backing.
How long does EternaBond last on an RV roof?
H.B. Fuller says a properly installed EternaBond repair can last 20 years or more. Real-world life depends on prep and conditions, so check taped areas during regular roof inspections.
How do you remove EternaBond tape?
Warm it gently with a heat gun or hair dryer, pull it back slowly, scrape the leftover adhesive with a plastic putty knife and clean the residue with EternaClean or acetone, per H.B. Fuller’s guidance.
Sources
- H.B. Fuller EternaBond: RV roof leak protection and repair tape (products, compatible surfaces, application temperature, FAQ, removal)
- EternaBond RoofSeal data sheet (composition, thickness, elongation, temperatures, roll sizes, silicone limitation)
- Keystone RV: Roof assembly maintenance tips (inspection interval)
- Dicor Products: Self-Leveling Lap Sealants (lap sealant cure times)
Free quote
Ready to stop resealing?
Get a seamless polyurea roof from a certified applicator near you. Tell us about your rig in about a minute.