RV Roof Maintenance Schedule: Monthly, Seasonal and Yearly
In short
What to check on your RV roof every month, every three months, each season and once a year, with a calendar builder that prints a checklist or exports reminders to your calendar.
On this page
A solid RV roof maintenance schedule comes down to four layers: a quick look every month you’re using the RV, a full wash and inspection every three months, extra checks before and after storage, and a yearly deep check. That rhythm lines up with what roof makers publish. Dicor says to clean its EPDM roofs at least four times a year, and Keystone RV recommends inspecting the roof and its sealants at least every 90 days. Add a check after every storm or close call with a tree branch.
Below is the full schedule, a builder that turns it into a month-by-month plan for your roof, climate and storage pattern (with a printable checklist and a calendar file you can import), and the details of what each check involves.
RV roof maintenance schedule at a glance
| How often | Task | Why |
|---|---|---|
| Monthly, while in use | Quick look from the ladder; check ceilings inside for stains | Catch debris, damage and leaks early |
| Every 3 months | Wash the roof and inspect every fixture, seam and edge | Dicor: clean at least 4 times a year. Keystone: inspect at least every 90 days |
| Before storage | Clean, inspect, reseal anything cracked, clear debris | Problems left over winter get worse unseen |
| Before the first trip | Inspect for storage damage, clean, check vents and AC | Snow, ice, branches and critters do damage while parked |
| Yearly | Deep check: domes and lids, moisture inside, soft spots, records | Plastic parts age; hidden moisture builds slowly |
| After storms or impacts | Inspect and photograph | Fresh damage and insurance documentation |
Build your roof maintenance calendar
Choose your roof, how you use the RV and your conditions. The builder lays out twelve months of tasks starting with the month you pick. Tick tasks off as you go, print the checklist, or download a calendar file with yearly repeating reminders for Google Calendar, Apple Calendar or Outlook.
RV roof maintenance calendar builder
Based on published guidance from Dicor, Alpha Systems, Keystone RV and Liquid Rubber. Your roof’s manual comes first.
Monthly checks while you're using the RV
These take five minutes and don't require walking the roof.
- Look from the ladder. Check for branches, leaves or debris, and anything obviously cracked, lifted or missing around vents, the AC and the edges.
- Look up inside. Scan the ceiling around every vent, fan, skylight and the AC for stains, bubbles or sagging. Press gently on panels near fixtures.
- Use your nose. A musty smell in one cabinet or corner is often the first sign of a slow leak.
- Check the AC drain. Condensate should run off the roof, not pool around the unit.
If anything looks off, our leak repair guide has a locator that turns a ceiling stain into a checklist of likely sources.
Every three months: wash and full inspection
This is the core of the schedule. Washing first makes the inspection better, because cracks and gaps are easier to see on a clean roof.
- Check the weather and your footing. Pick a mild, dry day with no rain in the forecast if you might need to reseal. Dicor warns that a wet membrane is slippery.
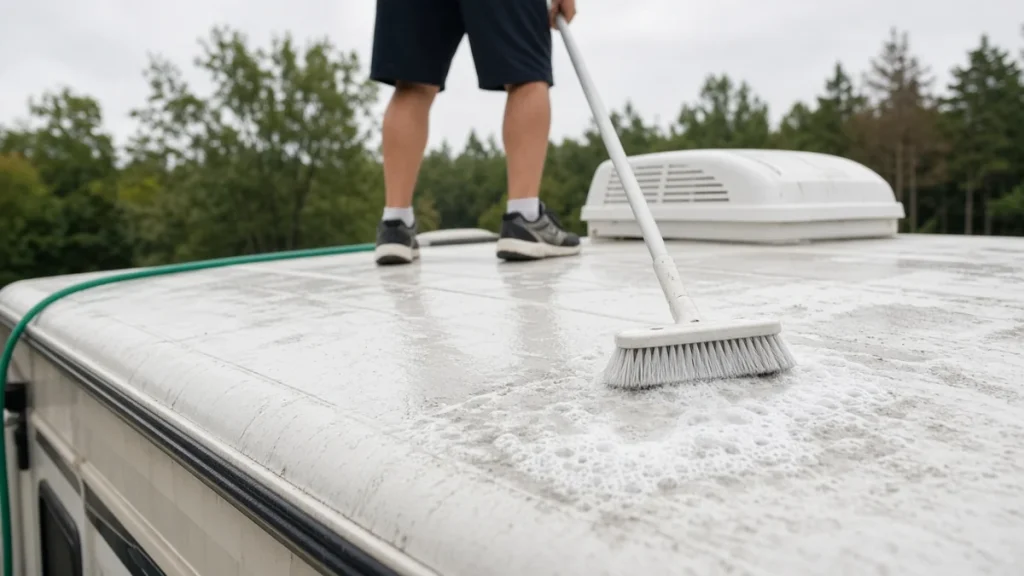
- Clear and rinse. Sweep off debris, then rinse the whole roof.
- Wash with an approved cleaner. Use what your roof maker recommends and a soft or medium brush, working in sections. Our RV roof cleaner guide has a compatibility checker.
- Rinse thoroughly so no residue is left on the roof or running down the sides.
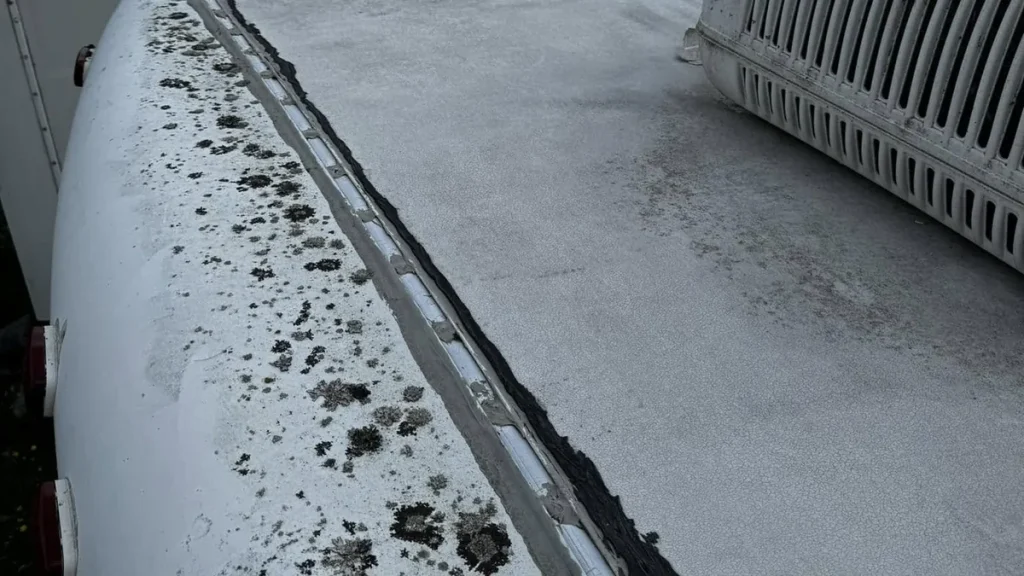
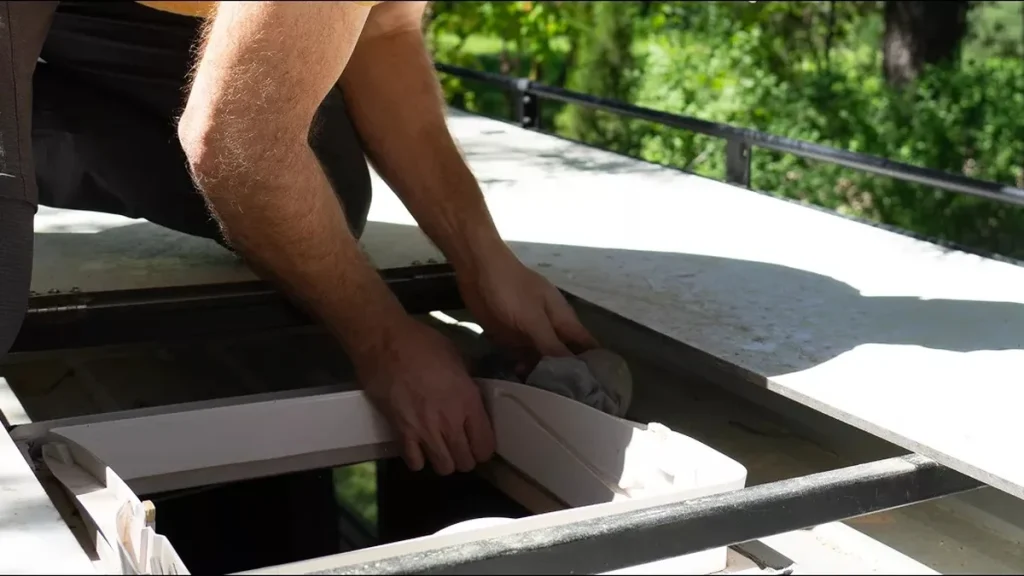
- Inspect every fixture. Vents, fans, skylights, the AC, antennas, solar mounts, plumbing vents and ladder brackets. Look for cracked, lifted or missing sealant and uncovered screw heads.
- Inspect seams and edges. Front and rear cap joints, termination bars and any membrane seams.
- Walk carefully for soft spots, if your manual says the roof is walkable, staying near the edges and over framing.
- Photograph and log what you found and anything you fixed.
For a quick version of the inspection, see how to inspect your RV roof in 10 minutes. When you find cracked sealant, our RV roof sealant guide covers which product to use.
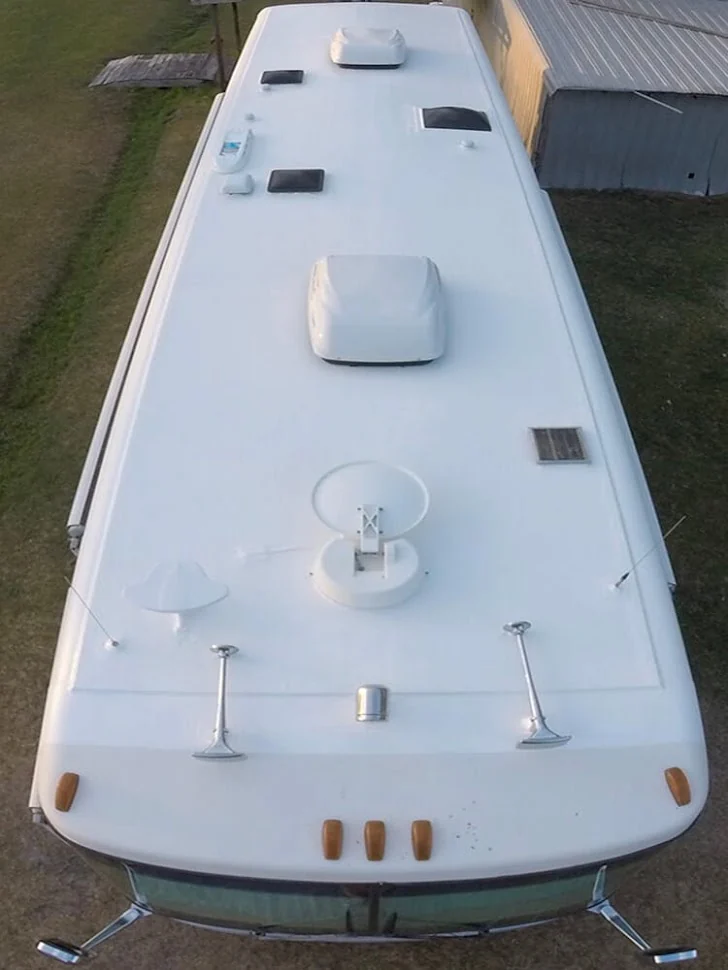
Seasonal tasks
Spring: getting out of storage
Before the first trip, inspect for anything winter did: debris, cracked vent lids, sealant that pulled away in the cold and any stains inside. Wash the roof, check the AC gasket and drain, and make sure vents open and close. Sealants have minimum application temperatures (Alpha Systems lists 40 degrees F and up for its sealant), so spring is often the first chance to fix what you found in fall.
Summer: sun, heat and storms
UV is hardest on a roof in summer. Watch plastic vent lids and skylight domes for chalkiness or fine cracks, and keep up with washing if you're parked under trees, since Dicor warns that sap and fruit can leave stains on EPDM that won't come out. Check the roof after every hailstorm or strong wind.
Fall: before storage
This is the most important visit of the year. Clean the roof, inspect everything, and reseal anything cracked while temperatures still allow sealant to cure. Clear gutters and leaves, trim branches near where the RV will sit, and decide on covered storage or a breathable cover. Our roof winterization guide walks through it.
Winter: in storage or on the road
In storage, check after big snowfalls and wind storms, and clear heavy snow carefully with a soft tool if your roof and situation make it safe. If you're living in the RV through winter, condensation becomes a bigger issue than leaks; ventilation and a dehumidifier help, and our post on condensation vs a roof leak explains the difference.
Yearly deep check
- Plastic parts: vent lids, fan housings and skylight domes become brittle with UV. Replace anything cracked.
- Moisture inside: a moisture meter check around each fixture and along the front and rear walls catches slow leaks you can't see.
- Sealant overview: look at the sealant as a whole, not just spot cracks. Dicor allows its self-leveling sealant to go directly over its existing sealant after cleaning, which makes refreshing it straightforward on Dicor roofs.
- Membrane condition: heavy chalking, thin spots, bubbles or loose areas.
- Coatings: if your roof is coated, follow the coating maker's inspection schedule. Liquid Rubber, for example, says to inspect its roof coatings every six months.
- Records: update your roof log, photos and receipts.
After storms, hail and low branches
Don't wait for the next scheduled check. Hail can crack vent lids and dent or puncture a roof; a low branch at a campground can tear a membrane in one pass. Inspect as soon as it's safe, photograph any damage with the date, and cover anything open with roof repair tape until it can be fixed properly. Fresh, dated photos are what an insurer will want; our post on RV insurance and roof coverage explains why. For quick fixes away from home, see emergency roof repairs on the road.
Schedule adjustments by roof type
| Roof type | Cleaning | Extra notes |
|---|---|---|
| EPDM | At least 4 times a year (Dicor) | Chalking is normal; protectant only if it's the roof maker's own, such as Dicor Roof Gard |
| TPO and PVC | 3 to 4 times a year (Alpha Systems) | Alpha says protectants aren't needed and can damage its membranes; use only approved sealants |
| Fiberglass | Each quarter with the full inspection | Watch gelcoat for oxidation and fixtures and cap joints for sealant cracks |
| Aluminum | Each quarter with the full inspection | Check rivets and seams; keep mold cleaners off the metal |
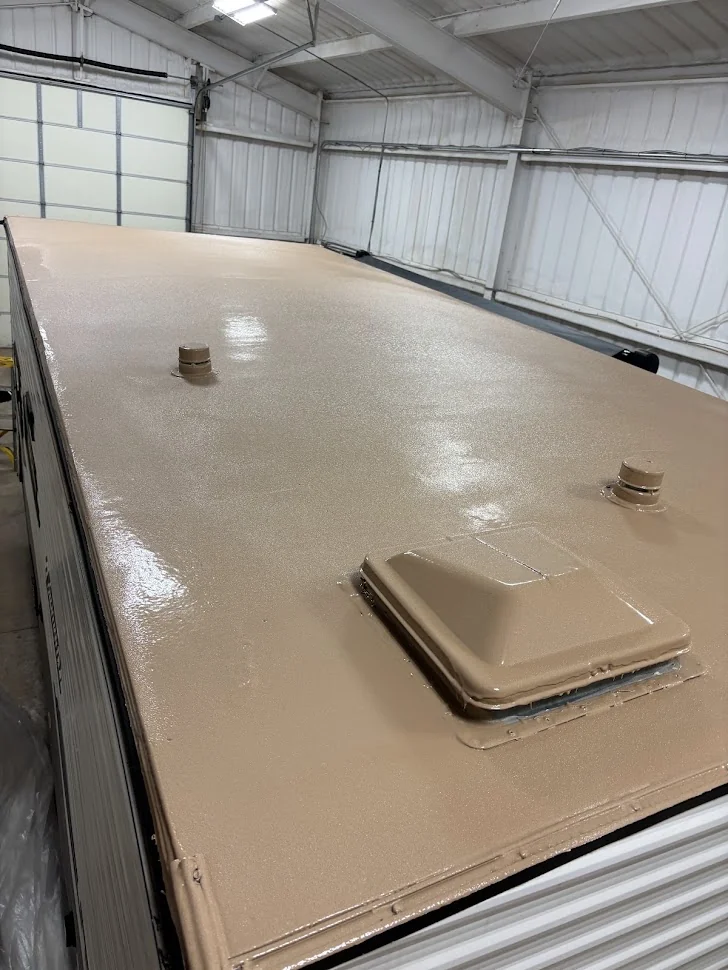
| Coated or sprayed | As the coating maker directs | Inspect on the coating maker's schedule |
Not sure which you have? Our RV roof types guide has a quiz.
A sample year for a seasonal camper
Here's how the schedule plays out for a common pattern: an EPDM-roofed travel trailer used from spring through fall and stored from November through February in a place with cold winters.
| Month | Roof tasks |
|---|---|
| March | Before the first trip: inspect for winter damage, wash, check vents and the AC gasket and drain. Yearly deep check. After-thaw sealant check. |
| April, May | Monthly quick checks. If you park under trees, rinse off sap and debris before it stains. |
| June | Second quarterly wash and inspection; check vent lids and domes for UV damage. |
| July, August | Monthly quick checks, plus a look after any hail or strong wind. |
| September | Third quarterly wash and inspection. |
| October | Before storage: clean, inspect, reseal anything cracked before freezing nights, clear debris, trim branches. |
| November to February | In storage: check after storms and heavy snow, with a fourth, lighter quarterly inspection in December if you can safely get to the roof. Wash it if the weather allows, or roll the wash into the March visit. |
That's four washes and inspections, a handful of five-minute checks, and two bigger visits at each end of the season. Set the builder above to start in March with four months of storage beginning in November and it lays out this same pattern, ready to print or export. Change the months and it adjusts every task to match.
Full-timers: a different rhythm
If you live in your RV, the roof never gets a season off, and it sees more weather, more campgrounds with low branches and more miles. Stick to the quarterly wash and inspection without exception, do the monthly quick check every month, and inspect after every storm and every site with overhanging trees. Moving between climates matters too: a roof that spent the summer in desert sun needs a closer look at plastic parts and sealant than one parked in mild weather. Condensation is a bigger issue when you're living aboard in cold weather, so keep ventilation and a dehumidifier in the routine.
A roof maintenance kit worth keeping
- The cleaner your roof maker approves, a medium-bristle brush on a pole and a soft brush
- Lap sealant matched to your roof (self-leveling and non-sag), a caulk gun and a plastic scraper
- A roll of roof repair tape rated for your membrane and a small hand roller
- Spare vent screws, butyl putty tape and clean cotton rags
- A moisture meter and a flashlight for checking inside around fixtures
- A notebook or phone note for the roof log
What regular maintenance buys you
Most of a roof's lifespan is decided by how quickly small problems get caught. Dicor says a properly maintained roof should last a minimum of 20 years. Liquid Rubber says most of its full roof applications last 10 or more years, depending on climate, usage and application. Neither number happens on its own; both assume the kind of cleaning and inspection routine laid out here. The payoff is simple: a cracked bead of sealant found in a quarterly check costs a tube of sealant, while the same crack found a year later can mean wet decking and a much bigger repair.
Keep a roof log
A simple log is one of the most useful maintenance tools you can have. Note the date, what you cleaned with, what you inspected, what you found and what you fixed, with a few photos each time. It shows you whether a problem is new or growing, it gives a buyer confidence when you sell, and it's the evidence you'll want if you ever need to make a warranty or insurance claim. Many roof and coating warranties come with care requirements, so read yours and keep records that show you met them.
Staying safe on the roof
- Check your owner's manual before walking the roof. Not every RV roof is designed to be walked on everywhere.
- Use a sturdy ladder, keep three points of contact and have someone on the ground.
- Stay off wet or soapy membranes as much as possible; Dicor warns they're slippery.
- Keep weight near the edges and over framing, and avoid skylights entirely.
- Skip the roof in wind, rain, frost or extreme heat.
Common maintenance mistakes
- Using the wrong cleaner. Petroleum solvents, citrus cleaners and acetone are on Dicor's list of products to avoid on its EPDM.
- Caulking over a problem without cleaning it first. New sealant over dirt or loose old sealant won't last.
- Using a sealant your roof maker doesn't allow. Alpha Systems, for one, restricts sealants to its own.
- Skipping the fall check. It's the one that prevents the most damage.
- Ignoring small stains. By the time a stain is obvious, the decking may already be wet.
We cover more in 7 roof maintenance mistakes.
Maintenance on coated and sprayed roofs
A coating or sprayed membrane changes the schedule rather than ending it. The fixtures, edges and any penetrations still need checking, and the coating itself should be inspected for cracks, peeling or thin spots on its maker's schedule. Some owners move to a professionally sprayed roof to cut down on sealant work around fixtures. Applicators using ArmorThane products can choose from three RV roof systems: ArmorSeal 100 AL, SureGrip with a UV topcoat, or ArmorFlex UV, described on ArmorThane's RV roof coatings page. Our RV roof coating guide compares coating options, and you can find an applicator near you.
If a check turns up more than routine wear, the RV roof repair guide and replacement guide help you decide what comes next.
For more detail on individual tasks, see our guides on how often to reseal an RV roof, whether you can walk on an RV roof, RV roof vents and RV roof covers. If an inspection turns up a spongy area, read our guide to RV roof soft spots.
Frequently asked questions
How often should RV roof maintenance be done?
Plan on a full wash and inspection every three months, plus a quick look each month you use the RV. Dicor says to clean its EPDM roofs at least four times a year, and Keystone RV recommends inspecting the roof and sealants at least every 90 days.
How often should I reseal my RV roof?
Reseal whenever an inspection finds cracked, lifted or missing sealant rather than on a fixed date. Checking every 90 days, as Keystone RV recommends, catches failing sealant before it leaks.
What should I do to my RV roof before winter storage?
Clean the roof, inspect every fixture and seam, reseal anything cracked while temperatures still allow sealant to cure, clear debris and trim nearby branches, and decide on covered storage or a breathable cover.
Should I put a UV protectant on my RV roof?
Only if your roof maker approves one. Dicor offers Roof Gard for its EPDM, while Alpha Systems says its membranes don't need protectants and that they can damage the roof.
How often should a coated RV roof be inspected?
Follow the coating maker's schedule. Liquid Rubber, for example, recommends checking its roof coatings every six months and after severe weather.
Can I walk on my RV roof to maintain it?
Check your owner's manual first, because not every RV roof is designed to be walked on everywhere. If it is, stay near the edges and over framing, avoid skylights and stay off wet or soapy surfaces.
Sources
- Dicor Products: EPDM roof care (cleaning frequency, slippery when wet, sap stains, sealant over existing)
- Keystone RV: Roof assembly maintenance tips (90-day inspections)
- Alpha Systems: Product care (cleaning frequency, protectants, sealant temperature)
- Dicor Products: FAQ (cleaners to avoid, roof lifespan)
- Liquid Rubber: RV Roof Coating Application Guide (six-month inspections, coating lifespan)
Free quote
Ready to stop resealing?
Get a seamless polyurea roof from a certified applicator near you. Tell us about your rig in about a minute.