RV Roof Sealant: How to Pick the Right One for Your Roof
In short
Which sealant belongs on your RV roof, where each type goes, how much to buy, and when another tube is no longer the fix. Includes a free sealant picker.
On this page
The right RV roof sealant depends on what your roof is made of and where the bead is going. On rubber (EPDM), TPO and PVC roofs, use a self-leveling lap sealant made for that membrane on flat seams and fixtures, a non-sag lap sealant on vertical edges, and butyl putty tape under anything that screws down. Fiberglass and aluminum roofs take a polyurethane or hybrid RV sealant instead, and silicone does not belong on any RV roof that you ever plan to reseal.
That is the short version. The rest of this guide covers how to tell your roof type in a couple of minutes, which product family goes where, how much to buy, how long each one needs to cure, and the point where another tube of sealant stops being the right fix. If you only want an answer for your rig, the sealant picker further down will give you one along with a tube count.
Start with the roof, not the tube
Most sealant mistakes happen before the caulk gun comes out. Someone grabs the tube that worked on the house gutters, or the one the last owner left in a storage bay, and runs it over a membrane it was never meant to touch. Lap sealants, urethanes and silicones are different chemistries, and an RV roof membrane only gets along with some of them.
So the first job is identifying the surface. Your owner’s manual or the manufacturer’s spec sheet will usually name the roof material, and many coaches have a label inside a cabinet or on the roof itself. If you can’t find it, the clues below will get you close. Our guide to RV roof types goes deeper, and this short checklist walks through the identification step on its own.
| Roof surface | How it usually looks and feels | Sealant family that fits | Avoid |
|---|---|---|---|
| EPDM (rubber) | Matte, slightly soft, leaves white chalk on your hand when it ages | EPDM-rated self-leveling and non-sag lap sealant, butyl tape under flanges | Silicone, petroleum or citrus cleaners, urethanes not rated for EPDM |
| TPO | Smoother and a little shinier than EPDM, stiffer, little or no chalking | Lap sealant listed for TPO, butyl tape under flanges | Silicone, products that don’t list TPO |
| PVC or proprietary membrane (for example Alpha Systems) | Smooth, often a printed brand name near the edge | The membrane maker’s own sealant or one it approves | Generic sealant that voids the roof warranty |
| Fiberglass | Hard, glossy or gel-coated, molded shapes, no give underfoot near the edges | Polyurethane or hybrid RV sealant, non-sag lap sealant at seams | Silicone if you ever want paint or coating to stick |
| Aluminum | Seamed metal sheets or riveted panels, common on Airstreams and older campers | Polyurethane or hybrid sealant rated for aluminum, seam tape on long joints | Silicone, acid cleaners |
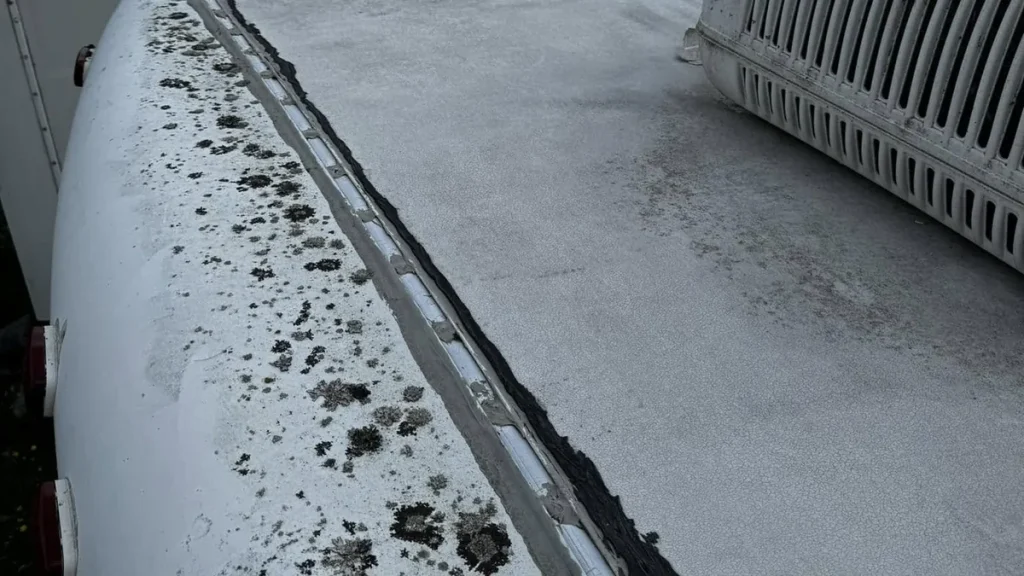
One more check matters as much as the membrane: what is already on the seams. If you can push a fingernail into the old bead and it feels like stiff putty, it is most likely lap sealant. If it is rubbery, slick and clear or bright white, and nothing seems to stick to it, a previous owner may have used silicone. That changes your plan, and we cover it below.
The sealant types you’ll actually use on an RV roof
Walk the RV aisle of any parts store and you’ll see dozens of tubes, but they fall into a handful of families. Brand names change; the jobs they do don’t.
Self-leveling lap sealant
This is the workhorse on rubber and TPO roofs. It goes on thick and then slumps into a smooth, feathered edge, which is exactly what you want around a vent flange or along the front and rear cap seams on a flat roof. Dicor’s self-leveling lap sealant, which is the factory product on a huge number of RVs, is rated for EPDM, TPO and PVC, and the maker is clear that it is for horizontal surfaces only. Its published cure timeline at 50 to 70°F (10 to 21°C) is a good reference for the whole category: it skins over in about five minutes, is waterproof in about four hours, reaches roughly 80 percent cure in 48 hours and is fully cured at around 30 days. Small bubbles while it cures are normal, according to Dicor, and come from solvent working its way out.
Non-sag (non-leveling) lap sealant
Same idea, different body. Non-sag lap sealant stays where you put it, so it’s the one to use on vertical surfaces: the sides of a roof-to-wall termination bar, the face of a front cap seam, around a ladder bracket on the end wall, or anywhere a self-leveling product would run down the side of the coach. Dicor sells it as 551LS. If you use self-leveling sealant on a vertical joint, it will drip, leave the top of the seam thin, and you’ll be doing it again next season.
Butyl putty tape
Butyl tape is the gasket that goes under a flange before it gets screwed down: roof vents, skylights, antennas, plumbing vent caps, ladder feet and the termination bars along the roof edges. It never fully hardens, which lets it keep sealing as the roof flexes and the coach goes over bumps. Lap sealant then goes over the edge of the flange and the screw heads. Skipping butyl and trying to make lap sealant do both jobs is a common reason a vent that was “just resealed” leaks again a year later.
Polyurethane and hybrid RV sealants
These are gun-grade sealants for hard surfaces. Geocel’s Pro Flex RV, for example, is made for aluminum, fiberglass, wood, steel and vinyl, is paintable, and can go over itself when it’s time to redo a joint. Geocel’s own product page says not to use it on TPO or EPDM, which is a good illustration of why you read the label before the roof. On a fiberglass or aluminum roof, this family is often a better choice than lap sealant for side seams, marker lights, trim and the roof-to-wall joint.
Silicone, and why it causes trouble later
Silicone is cheap, it’s everywhere, and it can look fine for a while. The problem is what happens next. Very little sticks to cured silicone, including lap sealant, seam tape like EternaBond (H.B. Fuller lists silicone as an incompatible surface) and most roof coatings. Keystone RV’s roof maintenance guidance tells owners not to use silicone on the roof at all. If a previous owner used it, the only clean fix is to remove all of it, mechanically and completely, then clean the area before anything new goes on.
| Type | Best place on the roof | Works on | Cure notes | Watch out for |
|---|---|---|---|---|
| Self-leveling lap sealant | Flat seams, around vents, AC flanges, screw heads | EPDM, TPO, PVC (check the label) | Waterproof in hours, full cure in weeks | Runs on anything that isn’t level |
| Non-sag lap sealant | Vertical seams, end caps, termination bars, ladder brackets | EPDM, TPO, PVC, fiberglass, aluminum (check the label) | Similar to self-leveling | Doesn’t feather out, so tool it by hand |
| Butyl putty tape | Under flanges before they are screwed down | Nearly every roof surface | Doesn’t cure; stays tacky | Not a top seal on its own |
| Polyurethane or hybrid RV sealant | Seams and trim on fiberglass and aluminum | Hard surfaces; many are not rated for EPDM or TPO | Paintable after cure on many products | Read the membrane limits first |
| Silicone | Not recommended on RV roofs | Glass and some interior uses | Fast | Almost nothing sticks to it afterward |
Find the right sealant for your roof
Pick your roof surface, where the leak or seam is, and what’s on it now. The tool gives you the sealant family to buy, what to put underneath it, a few cautions, and a rough tube count for the length you plan to seal.
RV roof sealant picker
Answers update as you choose. Always confirm against your roof maker’s manual and the product label.
Where each product goes on a typical roof
Every roof has the same handful of places where water gets in. Here’s how they usually get sealed on a rubber or TPO roof. On a fiberglass or aluminum roof, swap the lap sealant for a polyurethane or hybrid RV sealant wherever the label allows.
| Spot | Underneath | On top | Why it leaks |
|---|---|---|---|
| Roof vents and fan housings | Butyl putty tape | Self-leveling lap sealant over the flange edge and every screw head | Sealant shrinks and cracks at the corners first |
| Front and rear cap seams | Factory tape or butyl | Self-leveling on the flat part, non-sag on the vertical face | The cap and the roof move differently as the coach flexes |
| Termination bars along the roof edge | Butyl putty tape | Non-sag lap sealant along the top of the bar and over screws | Screws loosen and the bar lifts |
| Air conditioner | Gasket under the unit (not sealant) | Lap sealant only on any separate flange, never under the AC | Compressed or old gasket, loose mounting bolts |
| Skylights | Butyl putty tape | Self-leveling around the flange | UV-cracked plastic dome, not always the sealant |
| Antennas, satellite and solar mounts | Butyl tape or the mount’s own gasket | Self-leveling over each fastener | Unsealed screws added after the coach left the factory |
| Ladder brackets on the end wall | Butyl putty tape | Non-sag sealant | Load on the ladder works the screws loose |
If you’ve added solar, look closely at every mount. Owners and installers often drill new holes and dab sealant over them, and those spots get missed at inspection time. Our post on working around solar panels covers that layout.
How to reseal an RV roof seam, step by step
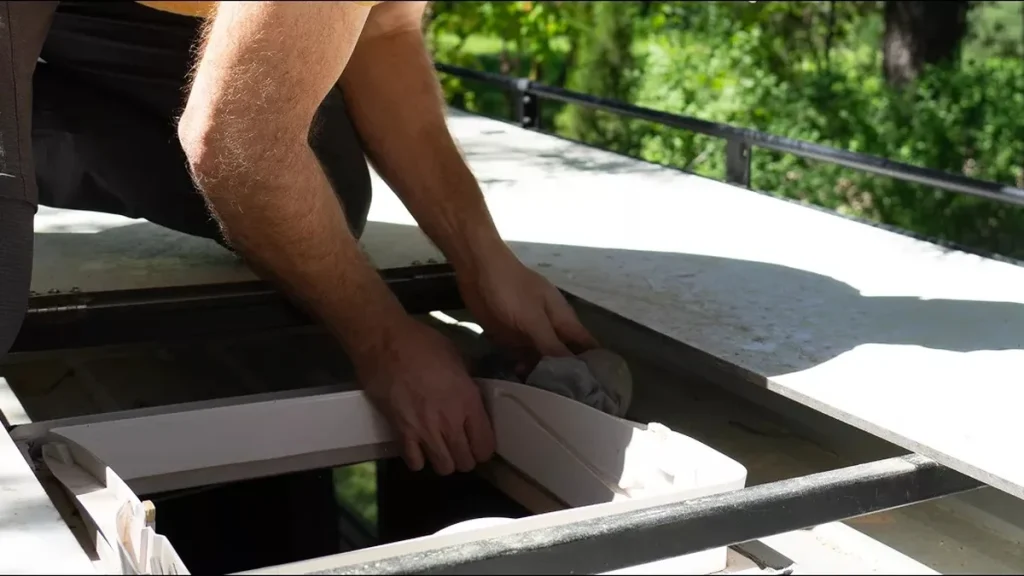
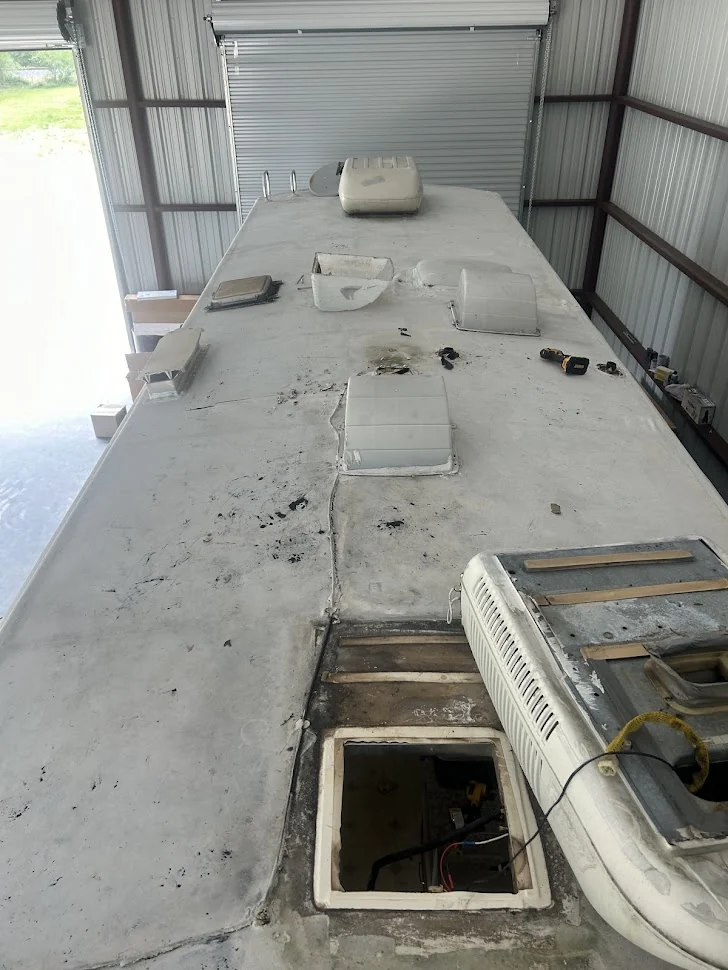
Resealing a seam or a vent is one of the more satisfying jobs on an RV because it’s simple, cheap, and it prevents the kind of damage that gets expensive quickly. The steps below assume a rubber or TPO roof with lap sealant. Pick a dry day with no rain in the forecast for at least the first several hours, ideally in the range where your sealant cures best.
- Get up there safely. Check your owner’s manual to confirm the roof is rated to walk on. If it isn’t, work from a ladder or scaffold. Lay a piece of plywood or a foam pad to spread your weight, and stay off skylights.
- Clean the area. Wash with a cleaner that your roof maker approves, then let it dry fully. Petroleum-based and citrus cleaners can damage rubber roofs, so skip anything that isn’t labeled safe for your membrane. Our roof cleaning guide covers products in detail.
- Remove what’s failed, keep what’s sound. Use a plastic scraper to take off sealant that is cracked, lifting, hollow or hard. Old lap sealant that is still bonded and flexible can usually stay; Keystone’s guidance is to reseal with the same type of sealant that was originally installed, which makes layering over sound material straightforward. Don’t use a metal scraper or a razor on a membrane.
- Check the fasteners. Snug any loose screws on flanges and termination bars. If a screw spins without biting, the wood beneath may be soft, and that’s a repair rather than a reseal. See our RV roof repair guide before you add more sealant over it.
- Wipe it down. Give the area a final wipe with a clean rag and whatever solvent the sealant maker recommends for prep, then let it flash off.
- Lay the bead. Cut the nozzle so you get a bead around a quarter to three-eighths of an inch, which is the size Dicor recommends for its self-leveling product. Center it over the edge of the flange or the seam so it covers both surfaces, and run it in one continuous pass where you can.
- Cover every screw head. Put a dab over each fastener so it overlaps the head completely.
- Leave it alone. Don’t tool self-leveling sealant unless there’s a gap; let it settle. Keep foot traffic off until it skins and avoid rain on it for the first several hours.
- Look again in a week. Fresh sealant sometimes pulls back from a corner as it cures. A quick second look catches it before a storm does.
The whole process for a few vents and the cap seams is a weekend morning for most owners. A full-roof reseal takes longer mainly because of the cleaning and scraping.
How much sealant do you need?
You can estimate this with a little geometry instead of guessing. A standard 10.3 fluid ounce tube holds about 18.6 cubic inches of sealant (one fluid ounce is about 1.8 cubic inches). A round bead a quarter inch across has a cross section of about 0.05 square inches, and a three-eighths inch bead about 0.11 square inches. Divide one by the other and you get roughly how far a tube goes before waste.
| Bead size | Approximate reach per 10.3 oz tube | Good for |
|---|---|---|
| 1/4 inch | About 30 feet | Screw heads, small fixtures, touch-ups |
| 3/8 inch | About 14 feet | Vent flanges, cap seams, termination bars |
| 1/2 inch | About 8 feet | Wide gaps and uneven flanges |
Real-world numbers will be lower because of nozzle waste, overlaps at corners and the dab over each screw, so add 15 to 20 percent. As a rough example, a roof with four vents or fans, an AC, a skylight, two cap seams and the side termination bars can easily total 100 feet or more of bead. At three-eighths of an inch, that’s around eight or nine tubes. Buy one more than you think you need; a half-finished seam is worse than a leftover tube.
How often should you reseal?
There isn’t a single correct interval because sun, heat, storage and how far you drive all change it. What the manufacturers do agree on is regular inspection. Keystone tells owners to inspect the roof and its sealants at least every 90 days. A short look every few months, plus a check after hail, a low-branch strike or any long trip, is what keeps a reseal job small.
When you look, you’re watching for:
- Hairline cracks in the sealant, especially at flange corners
- Sealant that has shrunk back and left the edge of a flange or screw exposed
- Gaps where the bead has separated from the membrane
- Hard, brittle sealant that no longer gives when pressed
- Stains, ceiling bubbles or a musty smell inside, which point to water already getting in
Our 10-minute roof inspection checklist is a good routine to follow, and if you’re seeing stains but no obvious cracks, these leak detection signs will help you track down the source. Before winter storage, do one full pass with the winterization steps; cold-weather sealant work is harder, and most lap sealants cure slowly below about 50°F.
Mistakes that make a reseal fail early
Most failed reseals come down to a short list of mistakes.
- Silicone anywhere on the roof. It’s the one that costs the most time later.
- Sealing over dirt or chalk. Oxidized rubber dust acts like a release agent. Clean until the rag comes away mostly clean.
- Self-leveling on a vertical surface. It runs, leaves the high side thin and opens up in a season.
- Skipping butyl under a reinstalled vent. The flange needs a gasket; the top bead alone won’t keep up with movement.
- Wrong cleaner. Harsh, petroleum or citrus cleaners can swell or weaken some membranes.
- Using sealant to patch a torn membrane. A tear needs a patch or seam tape. A smear of caulk over a split looks fine until the edges start to lift.
- Mixing brands on a proprietary roof. If your coach has an Alpha Systems or similar roof, Keystone advises using that system’s sealant, and the roof warranty may depend on it.
When another tube of sealant isn’t the answer
Sealant is maintenance, not a structural repair. There are signs that the roof needs something more than a fresh bead:
- Soft or spongy spots when you press near a vent or edge mean the wood decking under the membrane has taken on water.
- Fabric showing through the membrane surface, or a membrane that is thin and chalky all over, means it’s near the end of its life.
- Leaks at several fixtures at once, or a roof that you are resealing every few months.
- Wrinkles, bubbles or loose membrane away from any fixture, which point to adhesive failure under the membrane.
At that point you’re choosing between a repair, a full roof coating, or a replacement. Our guides on RV roof repair, RV roof coatings and RV roof replacement walk through each path, including a decision tool that weighs the age and condition of your roof. For a torn membrane or a long seam, EternaBond tape is often the better quick repair.
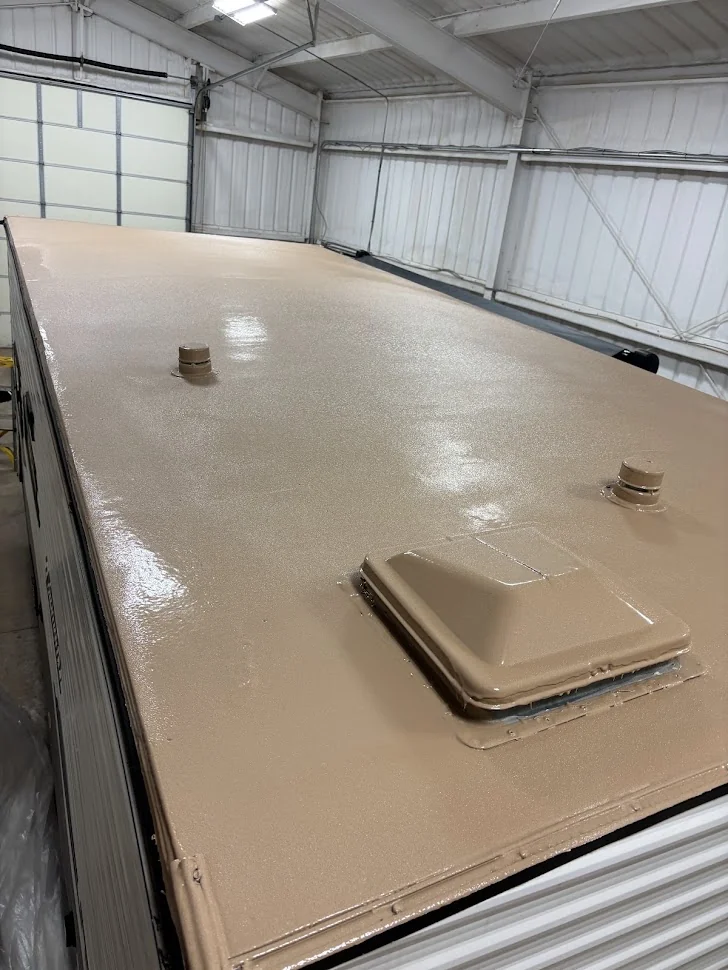
A professionally sprayed roof system is the other option some owners choose when a membrane is worn out. Spray applicators who use ArmorThane products have three RV roof options to choose from: ArmorSeal 100 AL, a fast-set aluminum-pigmented polyurea made primarily for roofing; SureGrip, an aromatic polyurea basecoat that’s topcoated for UV; and ArmorFlex UV, an aliphatic, color-stable system sprayed on its own. These are plural-component, high-pressure systems applied by trained crews, not DIY products, and they form one continuous membrane that wraps over seams and up around fixtures. ArmorThane’s RV roof coatings page lists the details, and you can find an applicator near you here.
Sealant is one part of a routine. Clean the roof with a product your membrane maker approves before you reseal (our RV roof cleaner guide has a compatibility checker), confirm what the roof is made of with the RV roof types quiz, and put sealant checks on a calendar with the roof maintenance schedule. If water is already getting in, start with the leak repair guide.
For timing, see our guide on how often to reseal an RV roof, which compares what Keystone, Jayco and Forest River recommend. Vent flanges are the most common place sealant fails, and our guide to RV roof vents covers resealing and replacing them. If sealant has already let water through, check for RV roof soft spots.
Frequently asked questions
What is the best sealant for an RV rubber roof?
A self-leveling lap sealant rated for EPDM is the standard choice for flat seams and fixtures on a rubber roof, with a non-sag lap sealant on vertical faces and butyl putty tape under any flange. Dicor’s self-leveling lap sealant is the factory product on many RVs and lists EPDM, TPO and PVC compatibility.
Can I use silicone on my RV roof?
No. Silicone doesn’t bond well to RV roof membranes, and once it cures almost nothing sticks to it, including lap sealant, seam tape and roof coatings. Keystone RV advises owners not to use silicone on the roof. If it’s already there, remove all of it before resealing.
Can I put new lap sealant over old lap sealant?
Usually yes, if the old sealant is clean, flexible and still bonded. Cut away anything cracked, hollow or hard first. Keystone recommends resealing with the same type of sealant that was originally installed.
How long does RV roof sealant take to cure?
For Dicor self-leveling lap sealant at 50 to 70 degrees Fahrenheit, it skins in about five minutes, is waterproof in about four hours, reaches about 80 percent cure in 48 hours and fully cures in about 30 days. Colder weather slows every stage.
How often should I reseal my RV roof?
There’s no fixed interval. Inspect the roof and sealants at least every 90 days, as Keystone recommends, and after hail or branch strikes. Reseal any spot that shows cracks, gaps or shrinkage rather than waiting for a set date.
How many tubes of sealant do I need for an RV roof?
A 10.3 ounce tube lays roughly 14 feet of a 3/8 inch bead before waste. A roof with several vents, an AC, a skylight, cap seams and edge bars can total 100 feet or more, which works out to about eight or nine tubes once you add 15 to 20 percent for waste.
Sources
- Dicor Products: Self-Leveling Lap Sealants (membrane compatibility, horizontal use, bead size, cure times)
- Dicor Products: Non-Leveling Lap Sealants (vertical surfaces)
- Keystone RV: Roof assembly maintenance tips (90-day inspections, same sealant as original, no silicone)
- Geocel: Pro Flex RV Flexible Sealant (surfaces and limitations)
- H.B. Fuller EternaBond: RV products (silicone incompatibility)
Free quote
Ready to stop resealing?
Get a seamless polyurea roof from a certified applicator near you. Tell us about your rig in about a minute.