RV Roof Repair: How to Diagnose the Damage and Fix It Right
In short
How to find the real source of an RV roof leak and fix it: resealing, patching, vent replacement, soft decking, fiberglass and aluminum. Includes an interactive damage diagnosis flowchart.
On this page
Most RV roof repairs come down to one of four jobs: resealing a failed seam or fixture, patching a puncture or tear, replacing a cracked vent or skylight, or cutting out and replacing rotted decking. The first three are reasonable DIY work with the right materials. The fourth is bigger, and it’s the one you want to catch early. Before you fix anything, find where the water is actually getting in, because a ceiling stain is often a few feet away from the real leak.
This guide starts with diagnosis, including a quick flowchart that narrows down what you’re dealing with, then walks through each repair step by step. It ends with the signs that a roof has moved past repair and needs a recoat or a replacement instead.
First, find where the water is really getting in
Water on an RV roof rarely drops straight down. It gets under a flange or through a split, runs along the top of the decking or the ceiling panel, and shows up wherever it finds a low point or a seam. So the stain over the dinette may be coming from the vent above the bathroom. Fixing the wrong spot is the most common reason a “repaired” roof leaks again in the next storm.
A methodical hose test is the most reliable way to find it. You need a helper inside and a dry roof to start with.
- Start low and work up. Run a gentle stream of water on the lowest suspect area first, such as the roof edge or a termination bar, for several minutes. Water runs downhill, so testing from the top first just wets everything below it.
- Isolate one feature at a time. Move to the next fixture only after your helper confirms nothing is coming through. Vents, the AC, skylights, antennas, ladder mounts and the front and rear cap seams each get their own turn.
- Don’t forget the sides. Marker lights, the awning rail and window frames near the roof line leak too, and the water can look like it’s coming from above.
- Mark what you find. When the helper calls out, mark the spot with painter’s tape and take a photo before you start scraping or sealing.
Also rule out condensation before you climb up with a caulk gun. Water that shows up on cold mornings or while the AC is running, with no rain involved, is often moisture from inside the coach. Our post on telling condensation from a roof leak covers what to record, and these warning signs help you spot leaks before they stain anything.
RV roof damage diagnosis flowchart
Answer a few questions about what you’re seeing. The flowchart points you to the most likely problem, the repair that fits, and whether it’s a reasonable DIY job.
RV roof damage diagnosis
Common RV roof damage and how to fix it
| What you see | Likely cause | Usual fix | DIY? |
|---|---|---|---|
| Cracked or shrunken sealant around a fixture | Age, UV and roof flex | Remove loose sealant, reseal with a compatible lap sealant | Yes |
| Small puncture or short tear in EPDM or TPO | Branches, dropped tools, hail | Clean and patch with membrane-compatible seam tape or a patch kit | Yes |
| Cracked plastic vent lid or skylight dome | UV embrittlement, impact | Replace the lid or the full vent with butyl tape and lap sealant | Yes |
| Soft or spongy area near a fixture or edge | Water in the decking beneath | Open the membrane, cut out and replace rotted decking, re-membrane the area | Advanced or pro |
| Bubbles or wrinkles away from fixtures | Adhesive failure, sometimes trapped moisture | Check decking; re-adhere or replace the affected section | Usually pro |
| Chalky, thin membrane, fabric showing | End of membrane life | Recoat if sound, or replace | Depends on scope |
| Cracks in a fiberglass roof or cap | Impact, flexing, age | Fiberglass repair and gelcoat, or professional repair | Small cracks yes |
| Leaking seams or rivets on an aluminum roof | Movement and failed sealant | Clean, seal with a polyurethane sealant rated for aluminum, or seam tape | Yes |
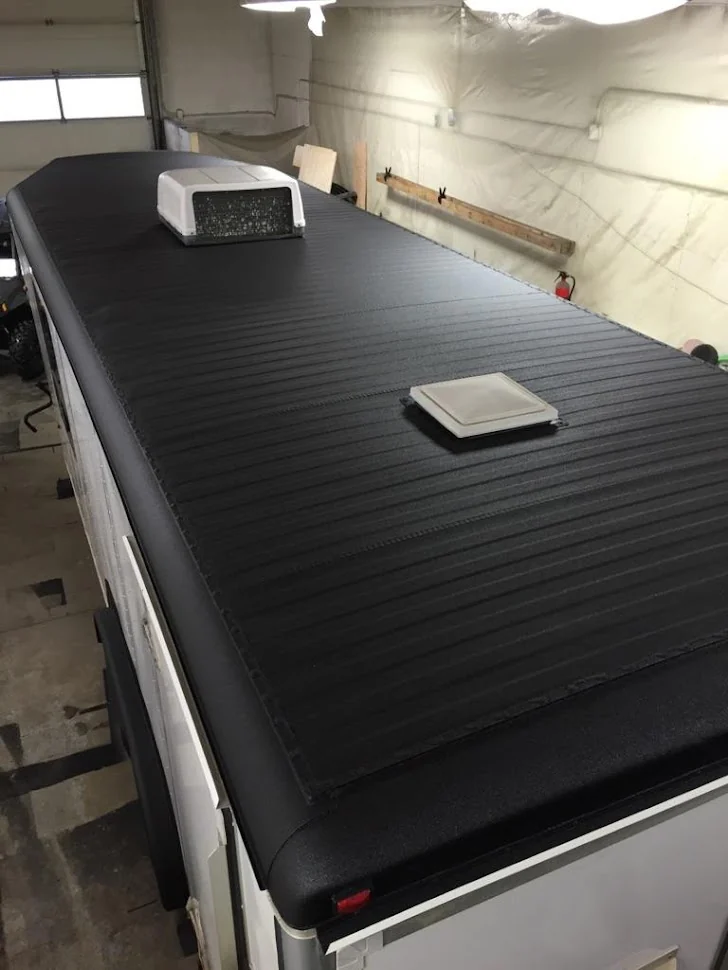
How to do the common repairs
Before any of these, confirm your roof is safe to walk on, check the weather, and gather everything you need so you’re not leaving an open roof to run to the store. Identify your roof material, too; our roof types guide shows how.
Resealing a leaking fixture or seam
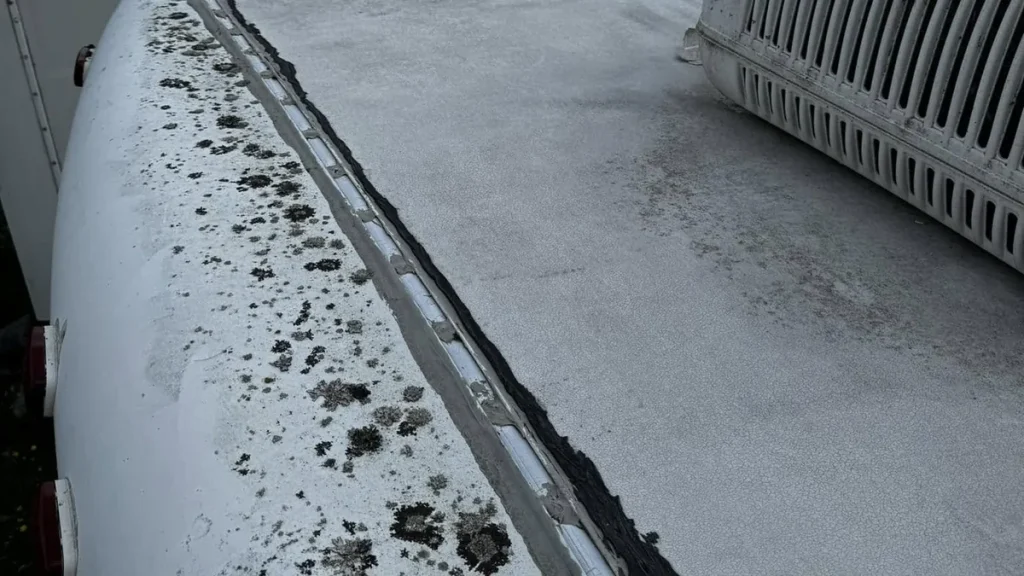
This is the most common repair and the cheapest. Scrape off sealant that’s cracked, lifted or hollow with a plastic scraper, clean the area with a cleaner your roof maker approves, and lay a new bead of lap sealant that matches the roof: self-leveling on flat surfaces, non-sag on vertical faces. Cover every screw head. Our RV roof sealant guide covers products, bead size and cure times, and has a picker that matches the sealant to your roof.
Patching a puncture or tear in a rubber or TPO roof
- Check under it. Press around the damage. If the deck is soft, the patch has to wait until the wood is dealt with.
- Clean a wide area. Clean at least a few inches past where the patch will land on every side. For EternaBond tape, H.B. Fuller says to clean with its EternaClean, acetone or lacquer thinner and not to use detergent cleaners; on older TPO, PVC or Hypalon it also recommends scuffing the surface with sandpaper first.
- Cut the patch with rounded corners. Square corners are where patches start to peel. Size it so it extends well past the damage on all sides.
- Apply and roll. Lay the patch without stretching it and press it down hard with a steel roller, working from the center out to push out air.
- Seal the edges if the product calls for it. Some patch kits and tapes ask for lap sealant around the edge; others don’t.
Temperature matters with tape. EternaBond lists an application range of 40 to 150°F and recommends its EternaPrime primer below 40°F. Our EternaBond tape guide has a tape-length estimator and more detail.
Replacing a cracked roof vent
- Measure the opening (most RV roof vents fit a 14 by 14 inch opening) and buy a matching vent, or just the lid if the base is sound.
- Scrape the old lap sealant off the flange and remove the screws.
- Pry the flange up gently with a plastic tool; the old butyl will fight you. Clean the old butyl and sealant off the membrane without cutting it.
- Look at the wood around the opening. Dark, soft or crumbling decking needs attention before the new vent goes in.
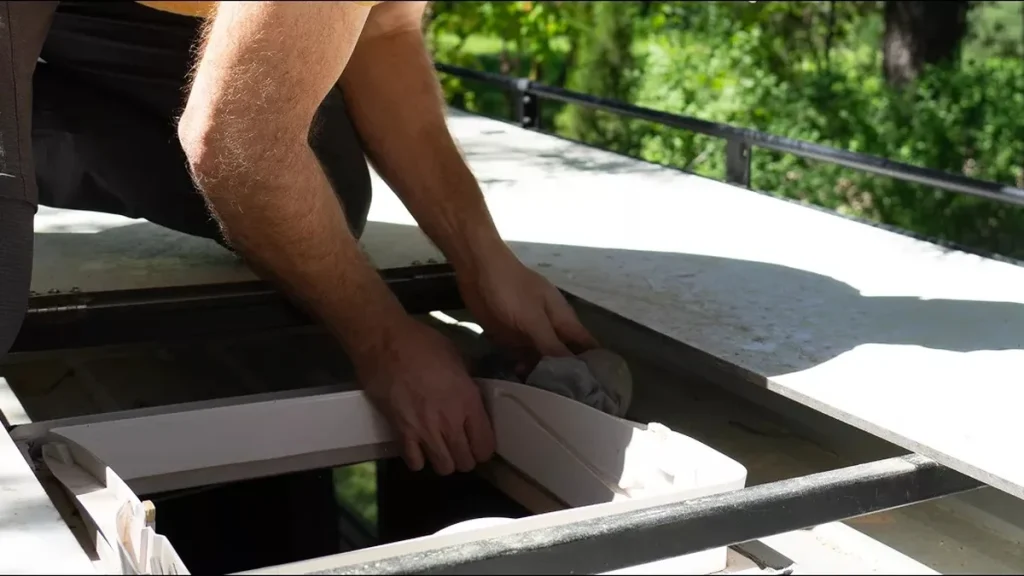
- Run butyl putty tape around the underside of the new flange, set the vent, and screw it down evenly.
- Cover the flange edge and every screw with self-leveling lap sealant.
Repairing soft spots and rotted decking
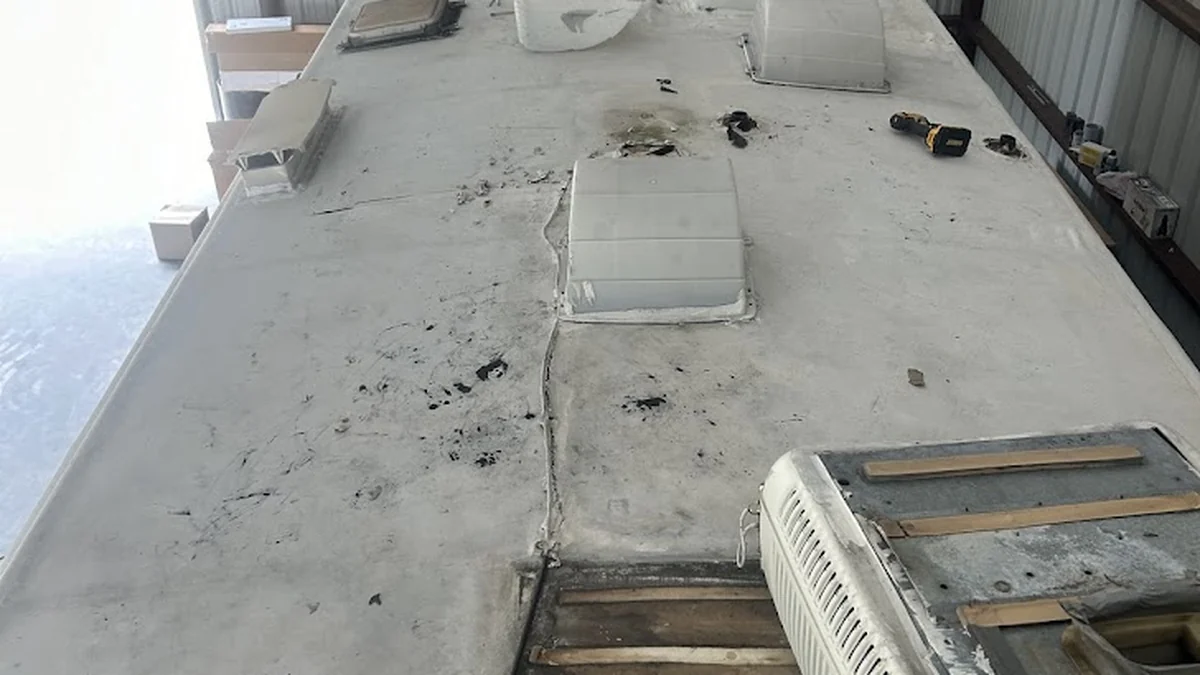
Soft spots mean water has been getting into the roof deck, usually for a while. The repair is to open the membrane over the damaged area, cut back to solid wood, let the area dry, fit new decking of the same thickness, then cover it with new membrane or a patch that overlaps sound material by several inches. It’s very doable for a confident DIYer on a small area, but it is the repair most likely to grow once you open it up, and an area that’s larger than expected often tips the decision toward a new roof.
Take photos as you go. If the damage came from a single event, such as a storm or a branch, those photos help with an insurance claim; our post on documenting roof claims covers what adjusters want to see.
Fixing cracks in a fiberglass roof
Hairline cracks in gelcoat are cosmetic until they let water reach the laminate. Small cracks can be ground out, filled with a fiberglass repair product and finished with gelcoat. Cracks that go through the laminate, flex when pressed or radiate from an impact point are a structural repair and worth having a fiberglass shop look at.
Sealing an aluminum roof
Aluminum roofs leak at seams, rivets and fixtures as the metal moves. Clean the seam, remove loose old sealant and reseal with a polyurethane or hybrid sealant rated for aluminum; long seams are often covered with seam tape. Our Airstream roof guide covers aluminum specifics.
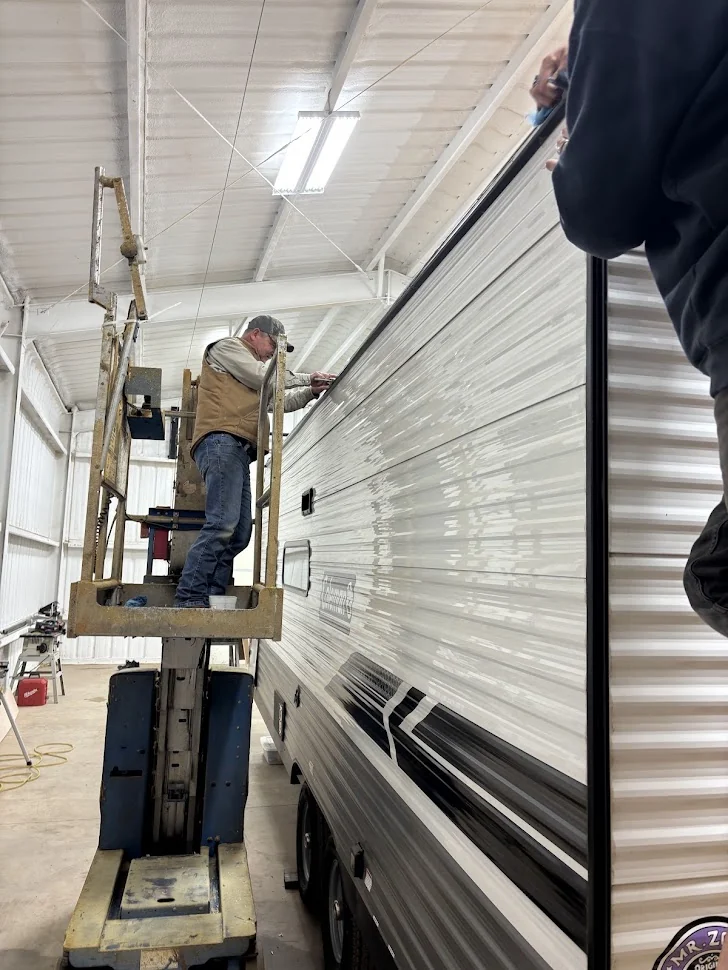
A basic roof repair kit worth keeping
Most roof problems are easier to handle when you don’t have to shop for parts in the middle of a storm. A small kit in a storage bay covers nearly everything in this guide, and it travels well.
| Item | What it’s for |
|---|---|
| Two tubes of lap sealant matched to your roof (self-leveling and non-sag) | Resealing fixtures and seams |
| A roll of roof repair tape rated for your membrane, 4 or 6 inches wide | Punctures, tears and emergency seam repairs |
| Butyl putty tape | Bedding a vent or fixture you have to reinstall |
| Plastic scraper and a small steel roller | Removing old sealant without cutting the membrane; pressing tape down |
| Acetone or the tape maker’s cleaner, plus clean rags | Prepping surfaces so sealant and tape actually stick |
| Spare vent lid that fits your vents | The most common part to crack on the road |
| Painter’s tape and a marker | Marking leak points during a hose test |
| A medium tarp and soft tie-downs | Covering damage too large for tape |
Check the sealant every season. Opened tubes skin over and cure in the nozzle, and a tube that’s been cooking in a hot bay for two summers may not dispense or cure the way it should.
How to keep the next repair small
Almost every expensive roof repair started as a cheap one that wasn’t caught in time. Keystone RV tells owners to inspect the roof and its sealants at least every 90 days, and that habit alone catches most problems while they’re still a bead of sealant. Add a look after hailstorms, after driving through low branches, and before and after storage.
Keep the roof clean, too. Dirt and leaves hold moisture against the membrane and hide early cracks, and a clean roof is far easier to inspect. Our 10-minute inspection checklist is a good routine, and the pre-winter steps matter if your RV sits outside through freeze and thaw cycles. If you’re buying a used RV, the buyer’s roof checklist can save you from inheriting someone else’s soft spots.
Emergency repairs when you can’t get to a shop
If a roof starts leaking mid-trip, the goal is to stop water getting in until you can do it properly. Dry the area, then cover the damage with roof repair tape that’s rated for your membrane. If the damage is too large for tape, a well-secured tarp is better than nothing, though it’s hard to anchor on a moving RV. Inside, catch and divert drips and run a fan or dehumidifier to keep moisture from soaking into the walls. Our guide to roof emergencies on the road has a kit list and step-by-step help.
DIY or professional?
Plenty of owners handle their own roof repairs. The question is less about skill and more about scope and what’s under the membrane.
| Usually DIY | Usually worth a professional |
|---|---|
| Resealing fixtures and seams | Soft spots larger than a small area |
| Small punctures and short tears | Loose, bubbling or wrinkled membrane |
| Replacing a vent or skylight | Leaks you can’t locate after a hose test |
| Aluminum seam sealing | Structural fiberglass cracks |
| Temporary road repairs | Anything covered by a roof or extended warranty |
Check your warranty before you start. Some roof manufacturers require approved products or authorized repairs, and DIY work with the wrong sealant can affect coverage.
What RV roof repairs cost
DIY repairs are mostly material: a few tubes of lap sealant, a roll of seam tape, a replacement vent, cleaner and butyl tape. Professional repair pricing depends on the shop, travel and what they find once the roof is opened. Decking damage is what moves the number most. ArmorThane’s RV roof cost guide puts replacement of rotted decking at roughly 1,500 to 6,000 dollars on top of other roof work, and a reseal or recoat between about 500 and 3,000 dollars. If you’re getting quotes, our estimate packet guide helps you get comparable numbers.
When repair turns into recoat or replace
A repair makes sense when the rest of the roof is healthy. These signs suggest you’re patching a roof that’s near the end:
- You’re fixing new leaks every season, in different places.
- The membrane is chalky and thin across the whole roof, or scrim fabric is showing.
- There are soft spots in more than one area.
- The membrane is loose or wrinkled in several places.
If the deck is solid but the surface is worn, a full coating can buy years; see our RV roof coating guide and its calculator. If the deck is compromised or the membrane is failing everywhere, read our RV roof replacement guide, which includes a repair, recoat or replace decision tool.
Some owners skip a new membrane and have a seamless roof sprayed once the deck is repaired. ArmorThane’s spray applicators use one of three RV roof systems, ArmorSeal 100 AL, SureGrip with a topcoat, or ArmorFlex UV, chosen to suit the roof. ArmorThane also publishes a detailed RV roof repair guide, and you can find an applicator if you want a quote.
For leaks specifically, the RV roof leak repair guide has a locator that turns a ceiling stain into a checklist of likely sources. To keep repairs from piling up, follow the roof maintenance schedule, and check what your roof is made of with the roof types quiz before buying materials.
For specific repairs, see our guides to RV roof soft spots (finding and replacing rotted decking) and RV roof vents (resealing or replacing a leaking vent). Before you climb up, check whether you can walk on an RV roof.
Frequently asked questions
How do I find where my RV roof is leaking?
Run a hose test with a helper inside. Start at the lowest suspect area, wet one fixture or seam at a time for several minutes, and work uphill. Water often travels along the deck, so the source can be a few feet from the stain.
Can I repair an RV roof myself?
Yes, for most common repairs: resealing fixtures and seams, patching small punctures or tears, replacing a vent or skylight, and sealing aluminum seams. Soft decking over a large area, loose membrane and leaks you can’t locate are usually worth a professional.
What is the best way to patch an RV rubber roof?
Clean the area well, cut a patch or seam tape rated for EPDM with rounded corners so it overlaps sound membrane on every side, and press it down hard with a roller. H.B. Fuller’s EternaBond instructions call for cleaning with EternaClean, acetone or lacquer thinner rather than detergents.
What does a soft spot on an RV roof mean?
It means water has reached the plywood or OSB decking under the membrane. The repair is to open the membrane, cut out the rotted wood, let the area dry, fit new decking and re-cover it. Sealing over a soft spot traps moisture and lets the rot spread.
How much does RV roof repair cost?
Small DIY repairs cost little beyond sealant, tape and a vent. Professional repairs vary widely with what’s found under the membrane. ArmorThane’s cost guide lists rotted deck replacement at about 1,500 to 6,000 dollars and resealing or recoating between about 500 and 3,000 dollars.
Should I repair or replace my RV roof?
Repair when the rest of the roof is healthy. If leaks keep appearing in new places, the membrane is chalky and thin everywhere, or there are soft spots in several areas, compare a full recoat or replacement instead.
Sources
- H.B. Fuller EternaBond: RV products and EternaBond how-to instructions (cleaning, scuffing, roller, application temperature)
- Dicor Products: Self-Leveling Lap Sealants
- Keystone RV: Roof assembly maintenance tips
- ArmorThane: RV roof replacement cost guide (deck repair and reseal pricing ranges)
- ArmorThane: RV roof repair guide
Free quote
Ready to stop resealing?
Get a seamless polyurea roof from a certified applicator near you. Tell us about your rig in about a minute.